I recently got a somewhat beat up Emco Compact 5 CNC lathe. I spent a bit of time retrofitting it. (Note: "Emco" is Austrian lathe as opposed to "Enco," cheap Chinese) While the manual has a schematic, I didn't see much on taking it apart, which is a bit nerve wracking since Emco doesn't seem to make replacement parts. This is the first chunk of photos from what I did. No guarantees it will help, but perhaps you can at least see things to avoid.
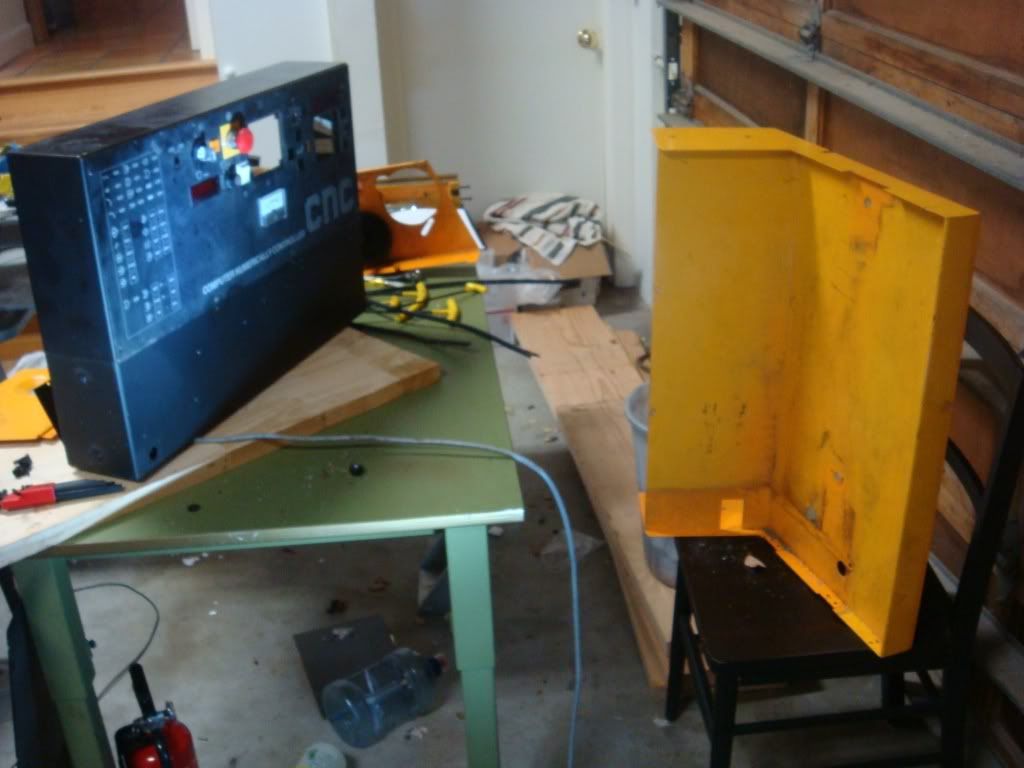
So here's what we have to work with:
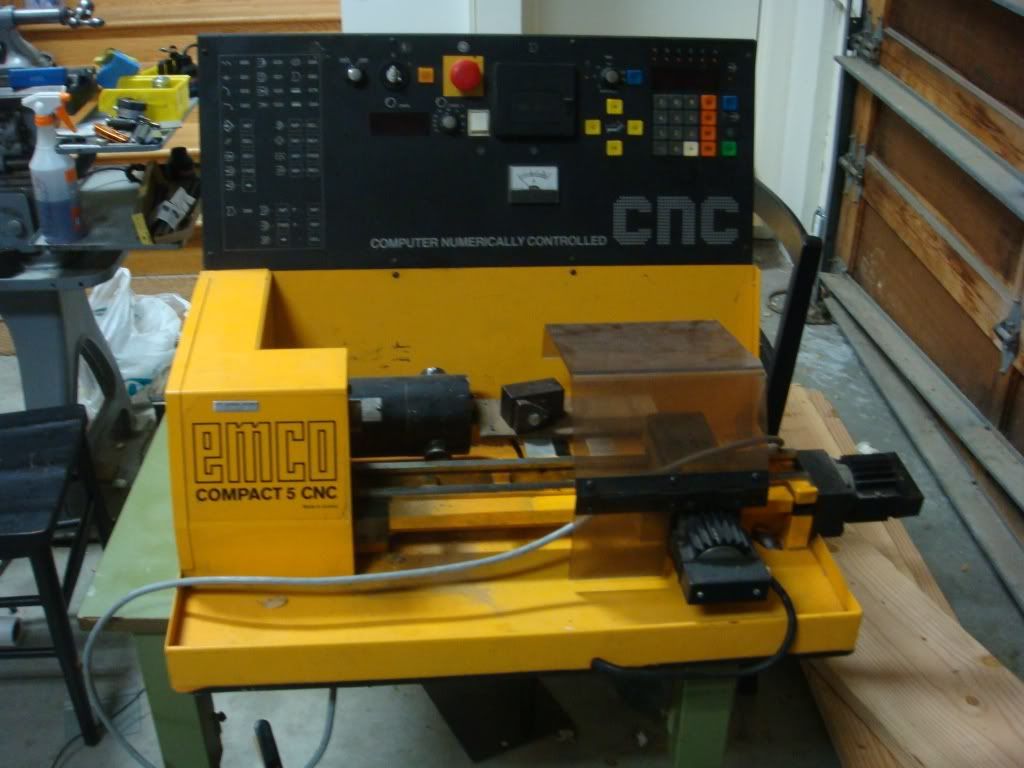
Pretty dirty, some rust spots.
The spindle moves if you manually program it, but there's no way to save programs other than a tape player(!) and no way to upload other than typing.
I bought a plug&play CNC setup from dmauch@seanet.com, which includes a set of Nema 23 500oz motors and a GeckoG540 controller. You can drive it using Mach3 or (hopefully EMC2).
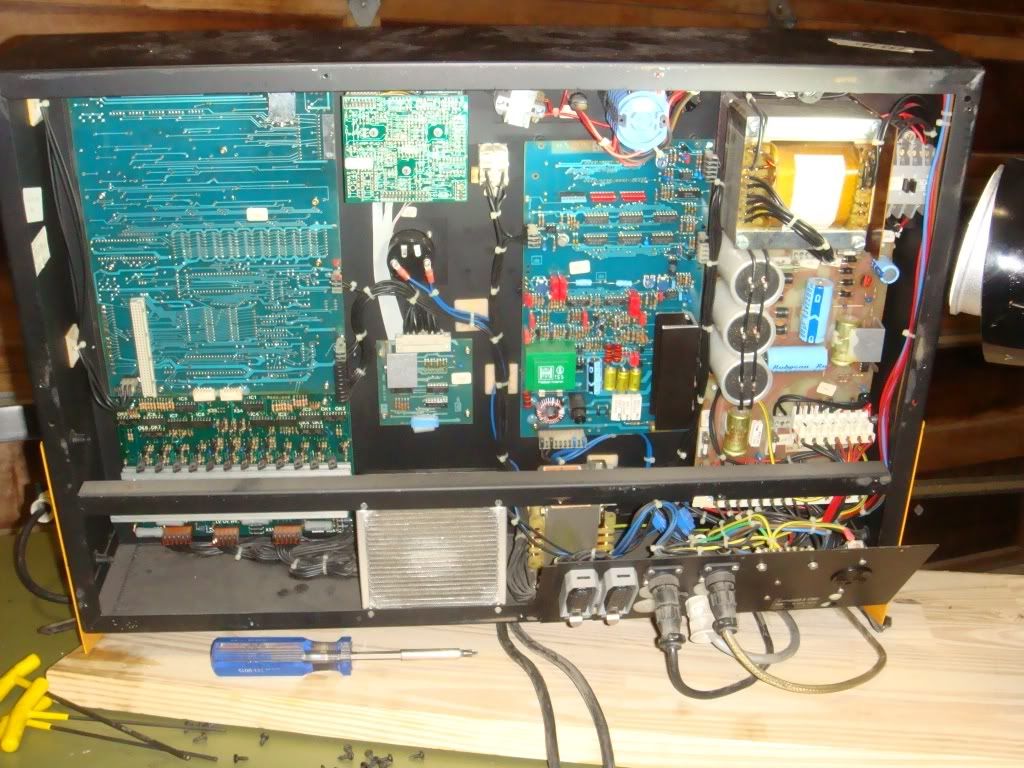
In any case: first thing is to strip the lathe down.
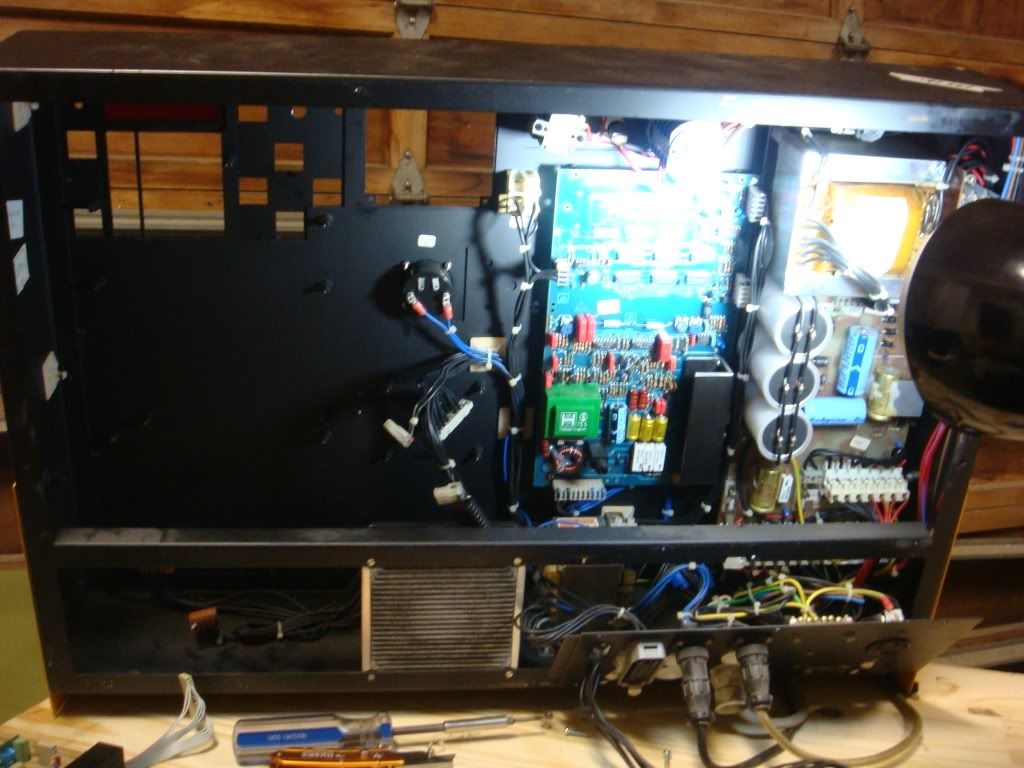
Here's the back, with all the old electronics's. The backplate screws right off. Most of the electronics are attached with small hex screws.
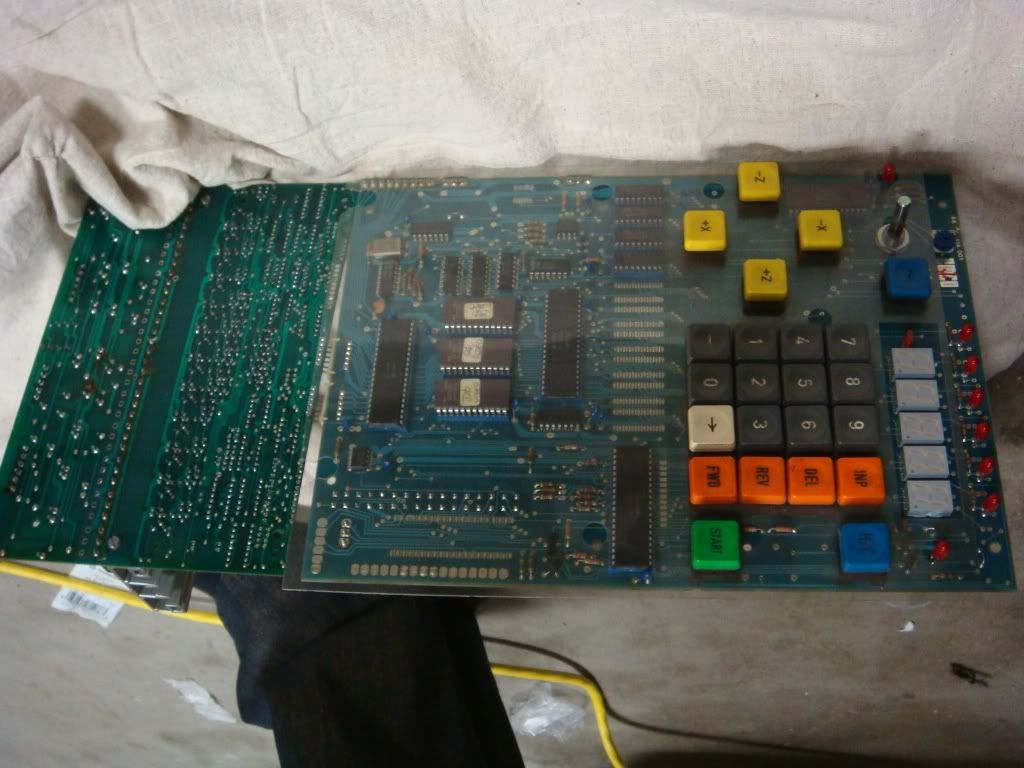
The main board comes off pretty easily:
As does the tape drive:
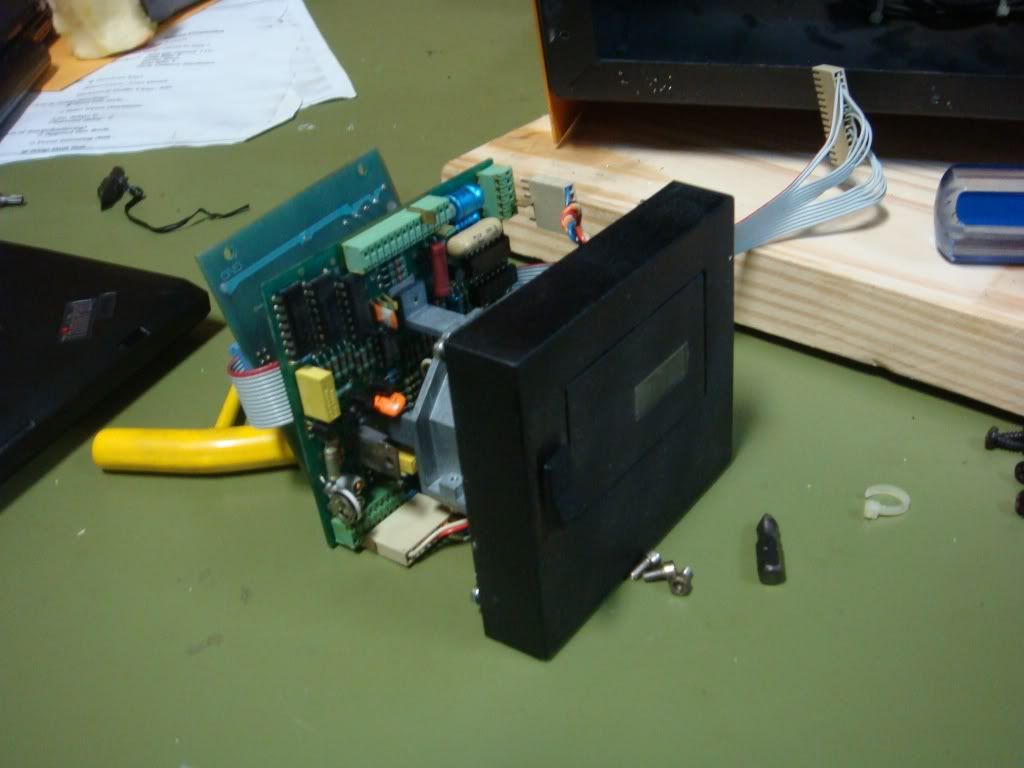
I especially like removing these since we don't have to remember how to put them back!
The bare space left:
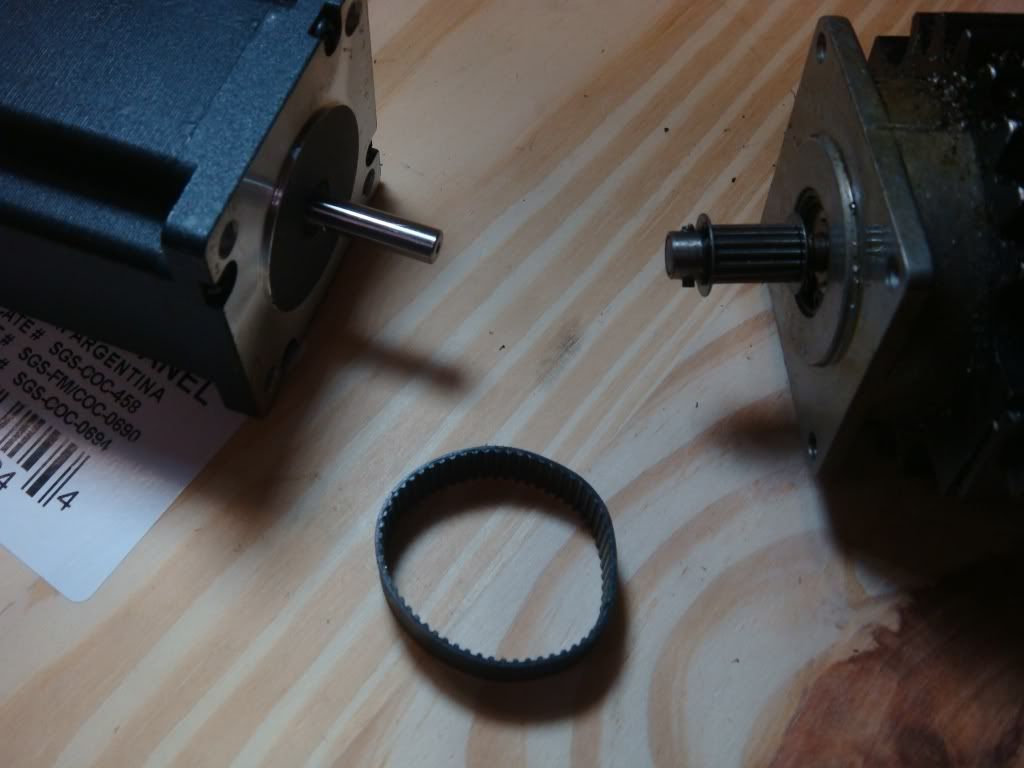
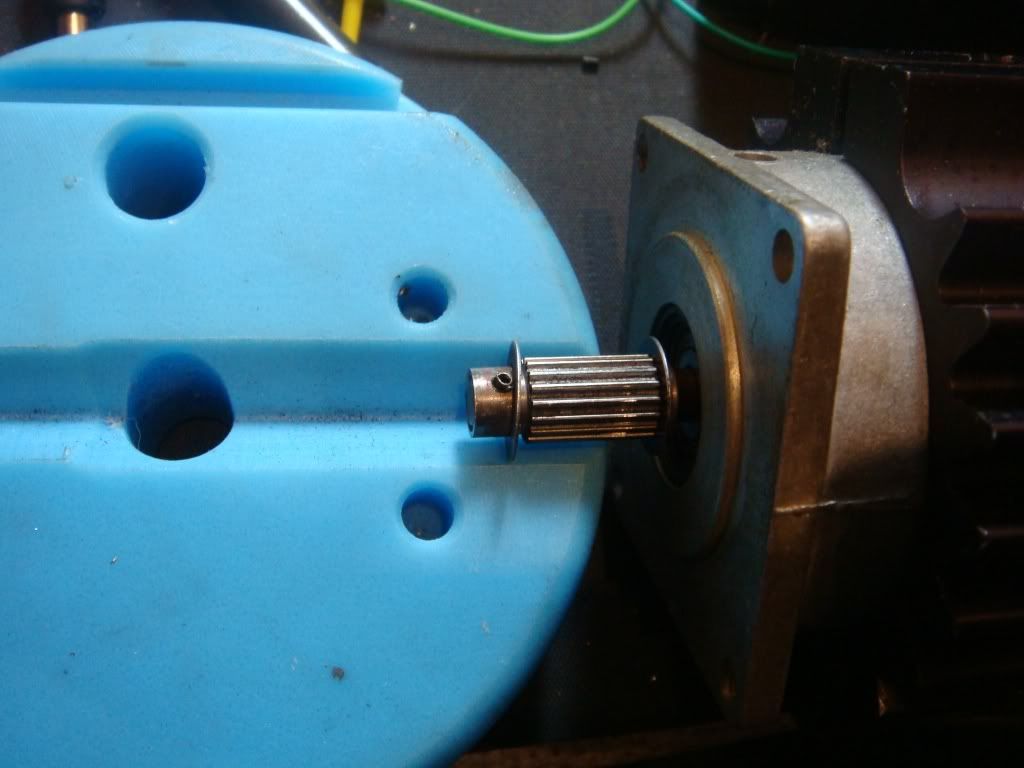
Since we're replacing motors we skip ahead and remove them just to see if it's going to be a pain to bolt on the new ones:

A few hex nuts off and we're good to go. The new motor on the left, old motor on the right. The lathe is belt driven.
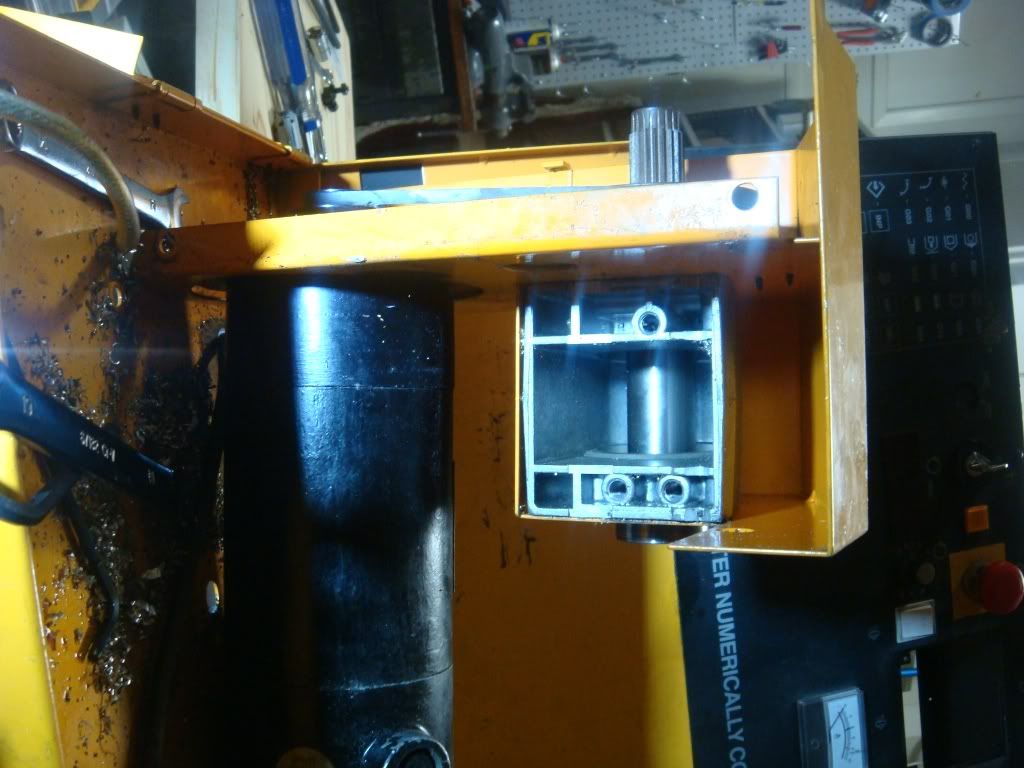
The top of the topslide comes right off, exposing a bunch of gunk:
There are two bolts on the bottom of the lathe bed. Remove them, and off comes the bed:

To remove the entire cross slide you undo a fair number of hex bolts on underneath it:
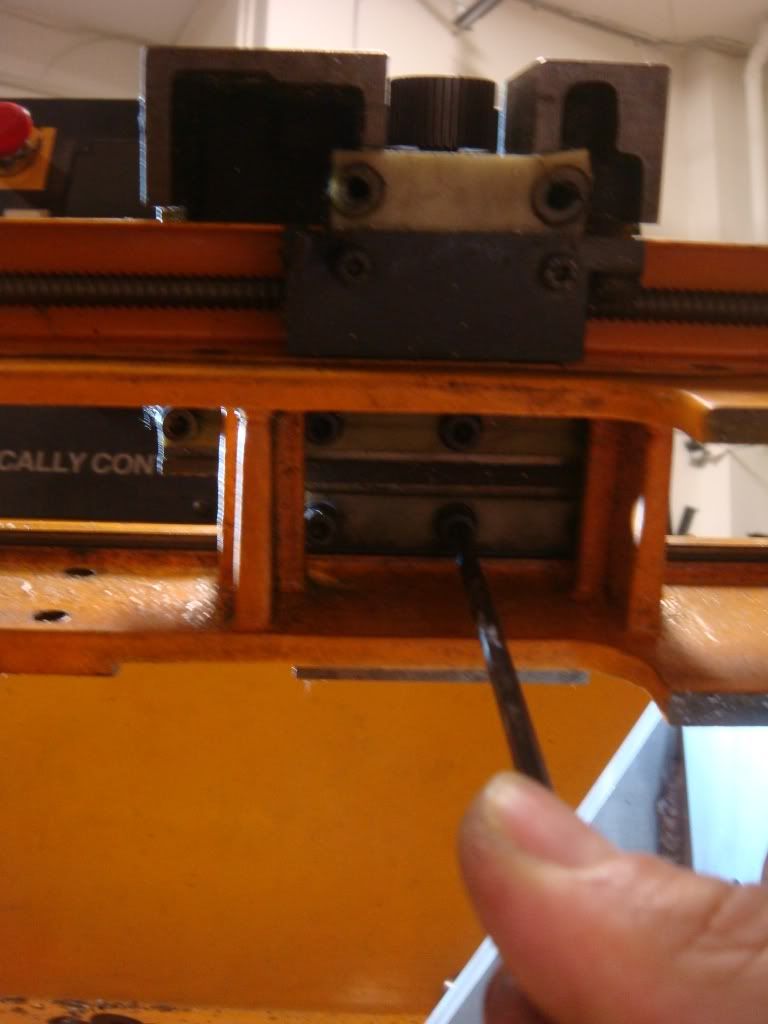
Winding up with this when you're done:
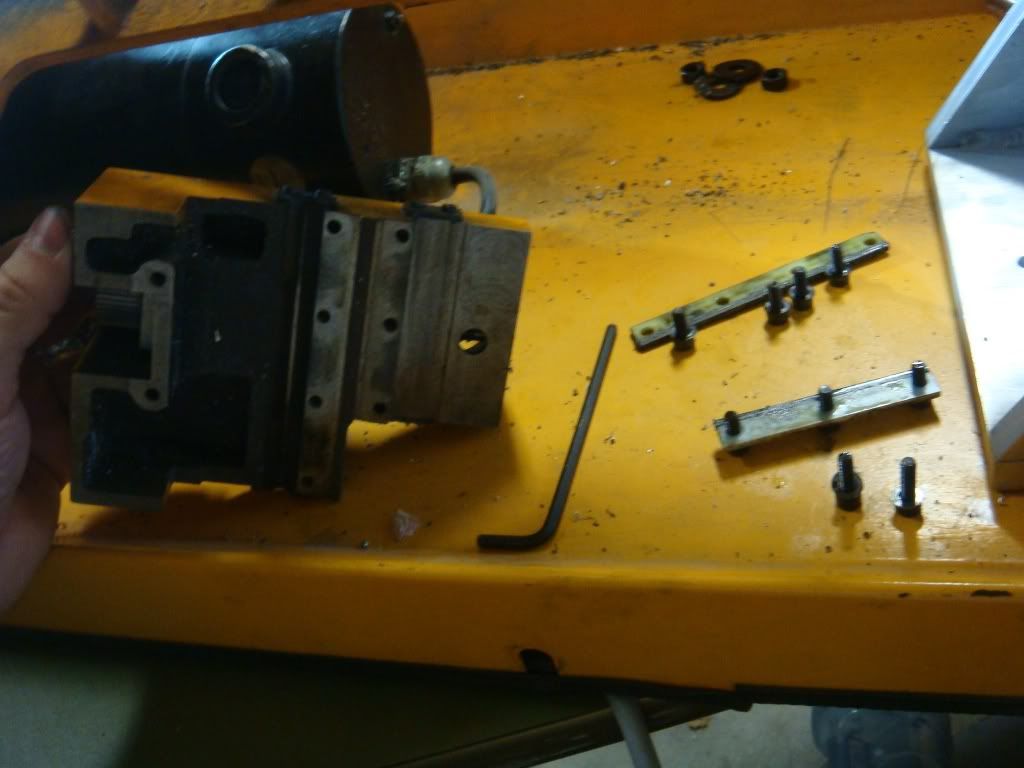
The plastic seems like a cheap touch, but I'm not sure if it's a good idea to replace it with aluminum.
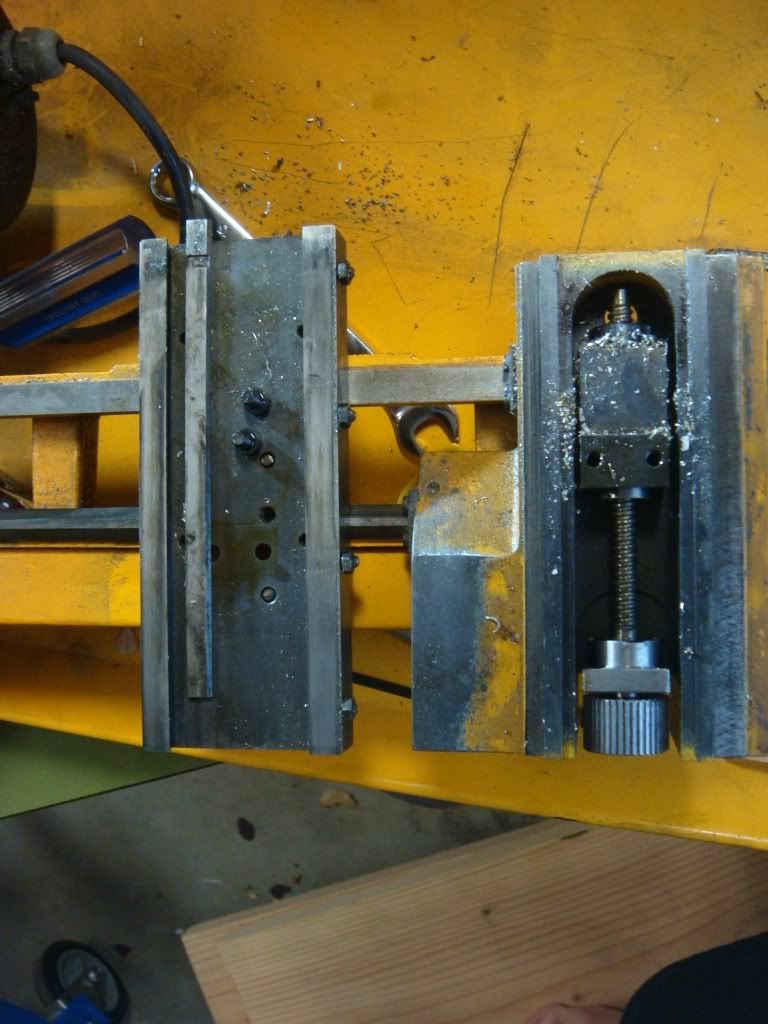
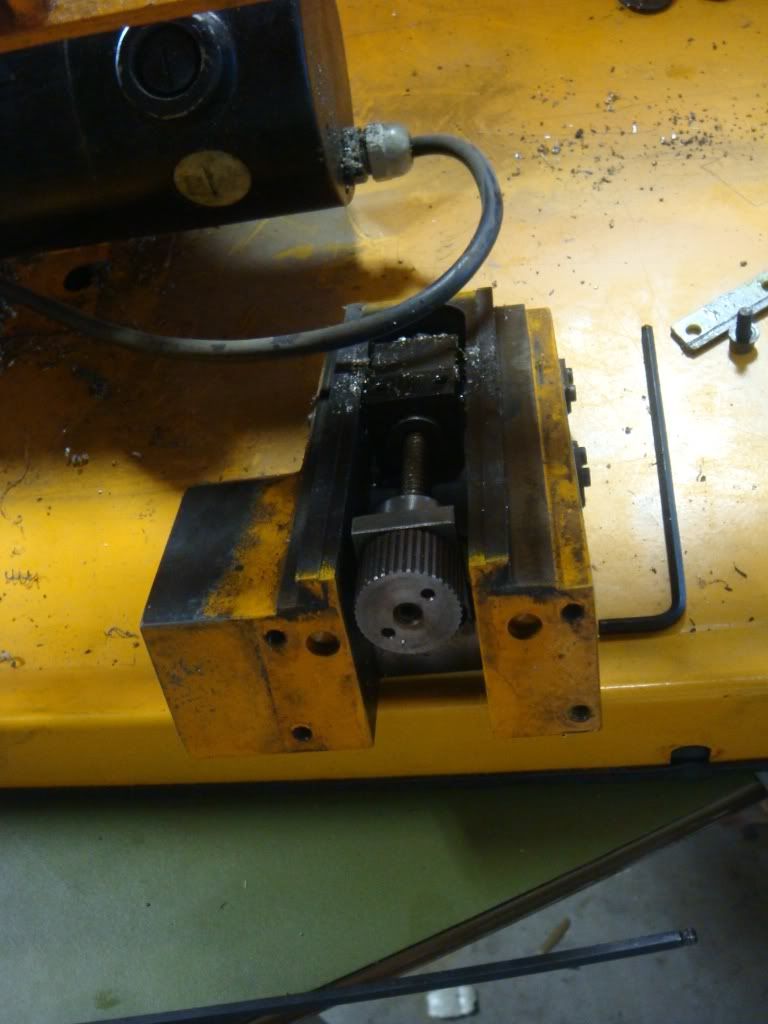
The plastic that holds the ballscrew connector is definitely cheap, and broken. You can also see where some jackass ran into the headstock, bending the metal that holds the oiled felt against the ballscrew:

Remove a couple of bolts and off comes the short cross slide ballscrew:
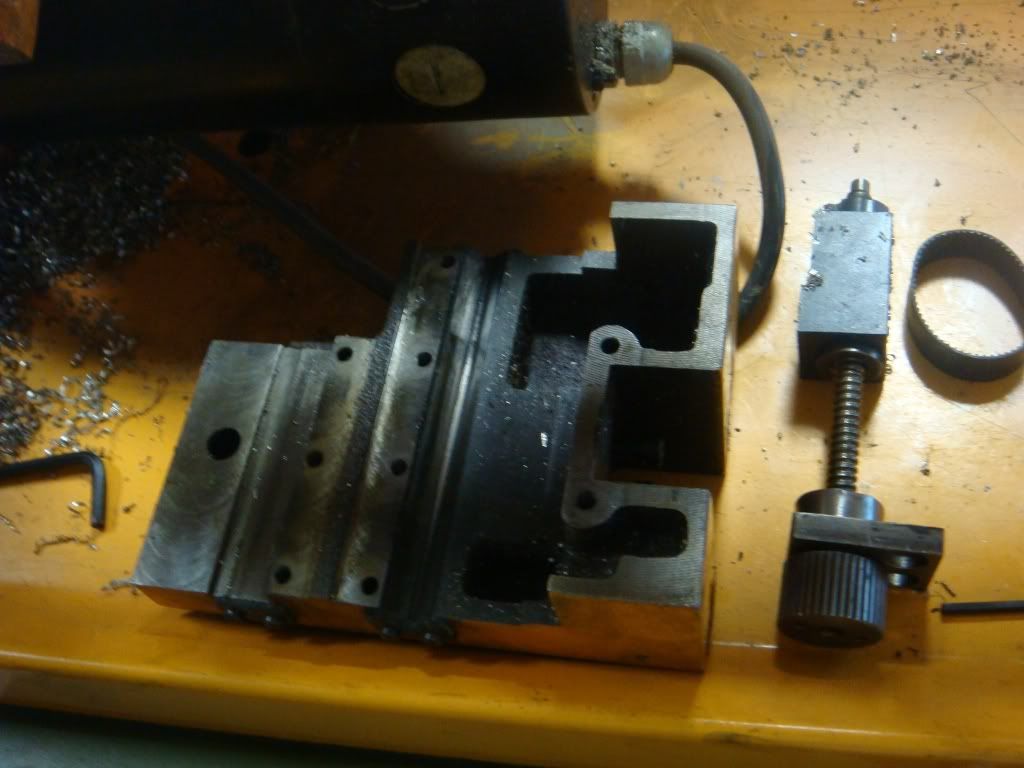
Unscrewing the protector:

The bed is held onto the headstock with four metric screws.
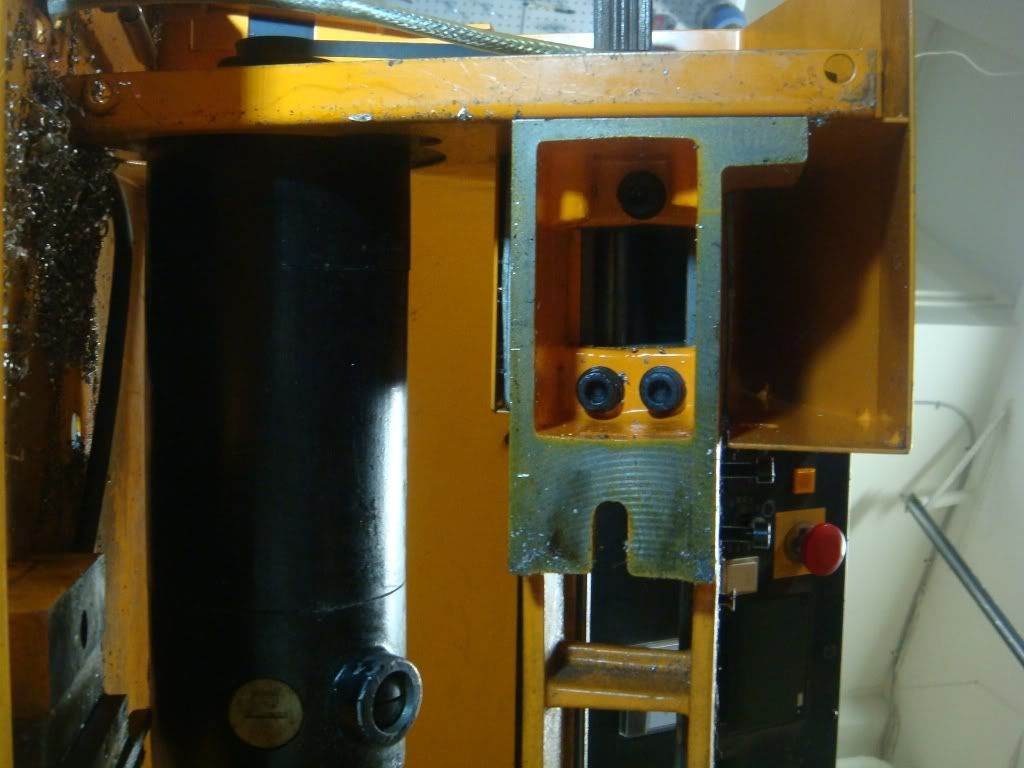
But not for long!
The condition of the bed is criminal. As expected since the machine came from a school.

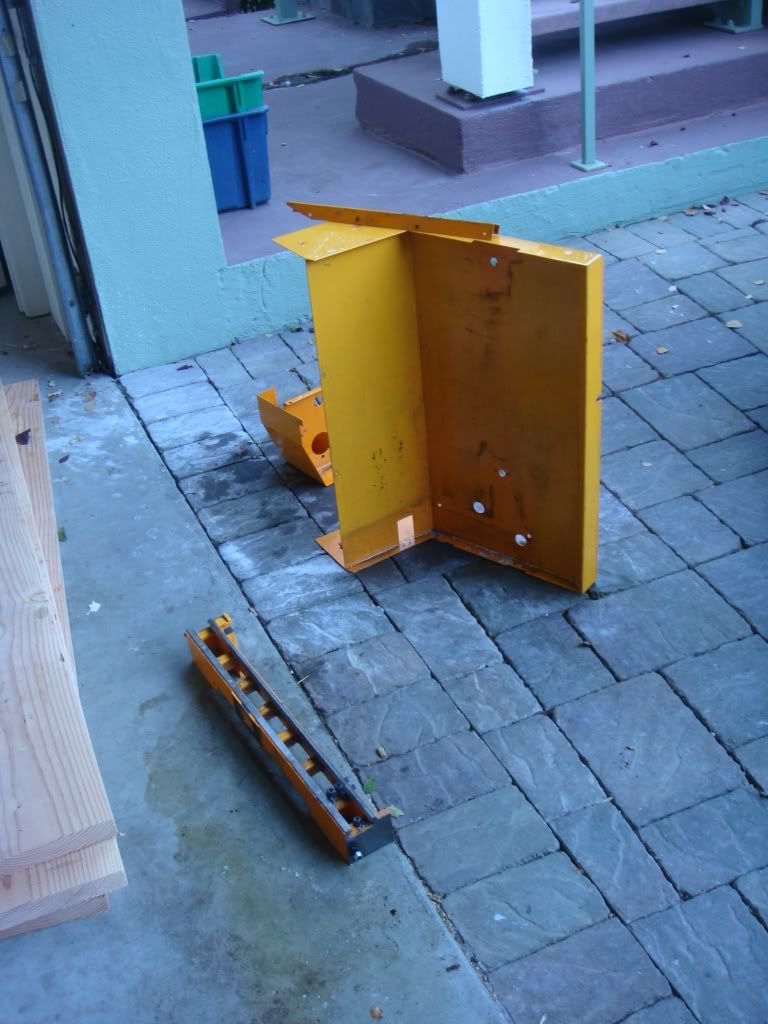
Two bolts on each side and the electronics enclosure comes off as well:
Now we need to get the pulley off of the old motor. First knock out the
pin:
Then pry it off with a knife (should have used something else, obviously):
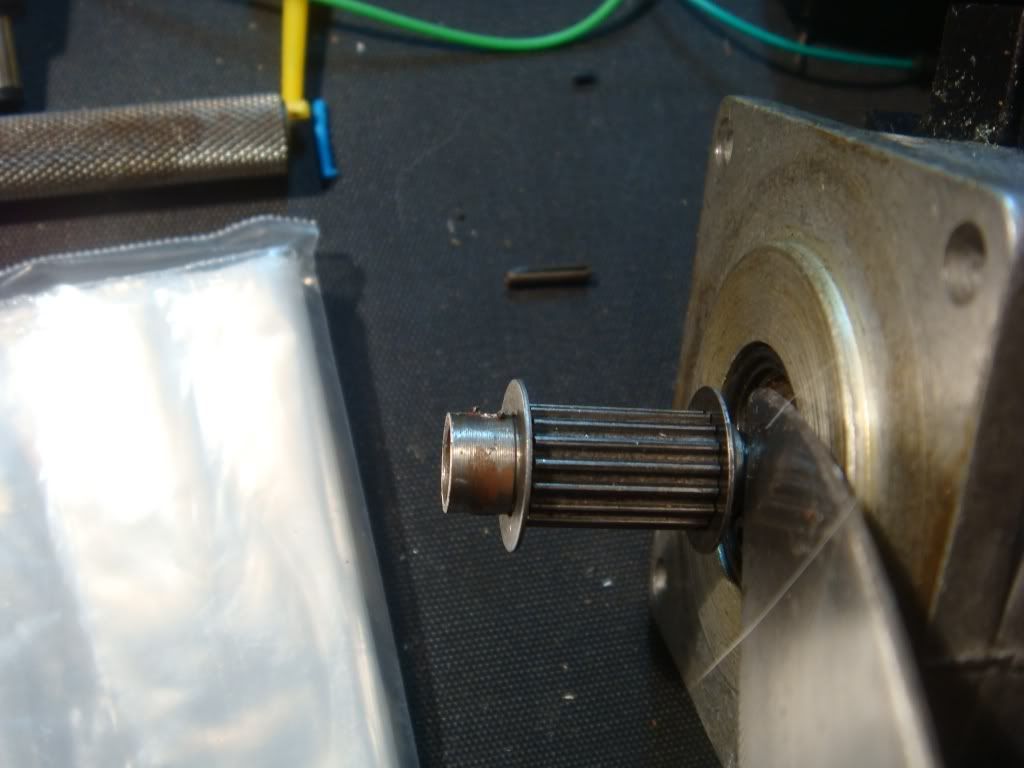
Leaves:

The wrong thing to do is to remove the spring washer at the end of the pulley, since that accomplishes nothing, other than losing the washer. Ask me how I know. This is one of the many cases where The Right Way to do something feels wrong --- if you pull on the pulley, it won't budge, so you figure there must be a different way. But no: in this case using brute force is actually the right way. Who knew.
For example, to get the spindle out, you have to remove the pulley at the rear of the lathe. But if you pull on them, even with some effort, they won't budge. Which of course means we just have to pull harder! The main trick is to not break the not-that-sturdy plastic on the pulley. So we use a "pulley puller" (I kid you not: that is the name). Three prongs with a central screw that you screw down that slowly exerts significant force and pulls a pulley off.
Here it is on the spindle, along with a metal plate since the center of the spindle is hollow:
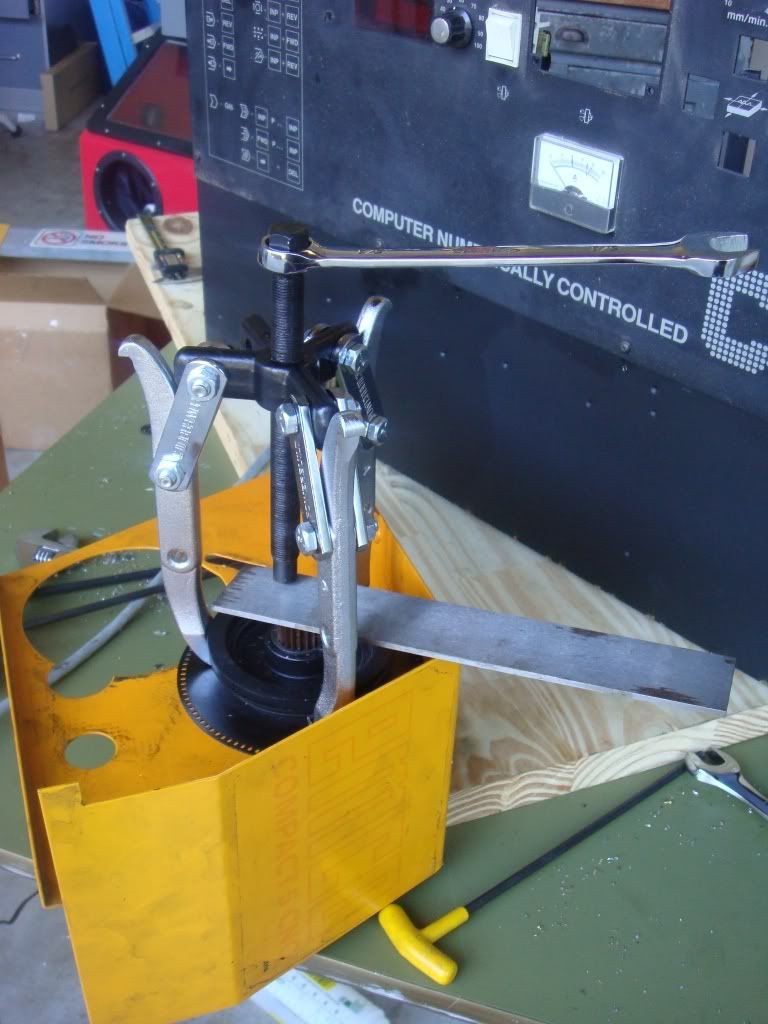
Bingo, comes right off. And then the spindle does, and then the headstock. It's disassembly jackpot:

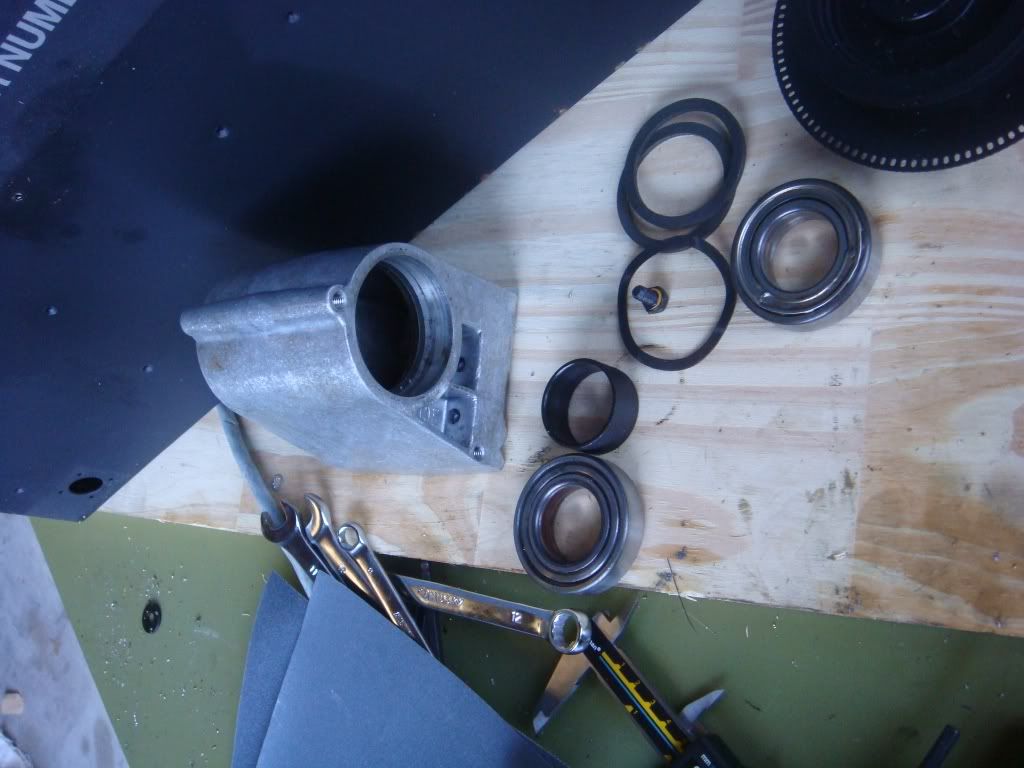
The only thing left is the bearings. If you push on these they don't want to come out the front. The wrong thing to do is to try to get the snap ring on the inside out (not shown since this is wrong). What we should obviously do is do more of what wasn't working! If the bearings don't come out with a small bit of force, hit the suckers! You want to be careful here and (1) use a wood dowel with a fairly large diameter and (2) tap them out evenly rather than just hitting one point. I didn't do (1) (used a brass rod like an idiot) so bent one of the bearings as you can see --- I was going to replace it anyway, but still it's pretty stupid. Note that there is only one wavey washer (for the back). It's easy to think that when you hit the bearings out that you lost one. An odd asymetry:
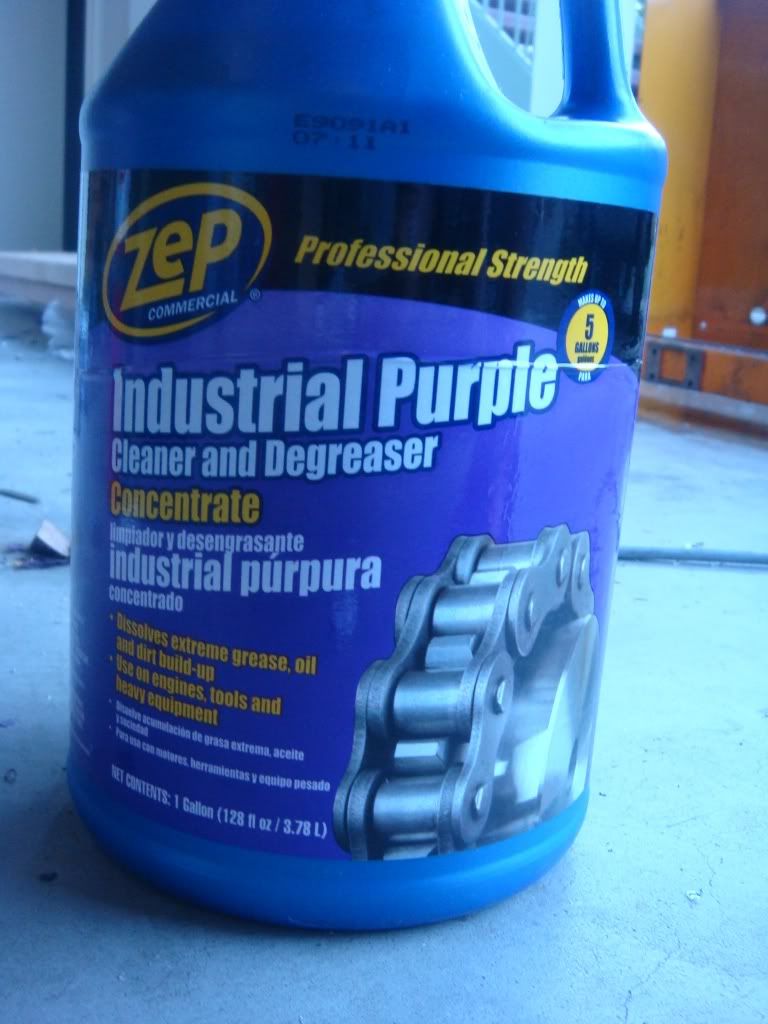
Next we scrub with industrial degreaser. This stuff is great, but it will remove many different types of paint, so only use it when that is ok:
Degreased before painting:
Putting things back together: http://coltpython.blogspot.com/2009/12/part-ii-retrofit-of-emco-compact-5-cnc.html

Hi the broken plastic piece that is on the ball screw. did you replace it? what with and do you have the dimensions.?
ReplyDeleteJim
I just swapped it out. I think the dimensions are given in the "files" section of the emco compact 5 user group on yahoo. It's worth joining; people are very helpful.
ReplyDeleteWhere did you get the bearings?
ReplyDeleteWhere did you get the stepper motor?
ReplyDelete