The stuff below is just for entertainment. I am not suggesting this is what you should do or how you should do it. Consider it a fast way to ruin your gun. If you see something where I'm ruining mine please point it out!
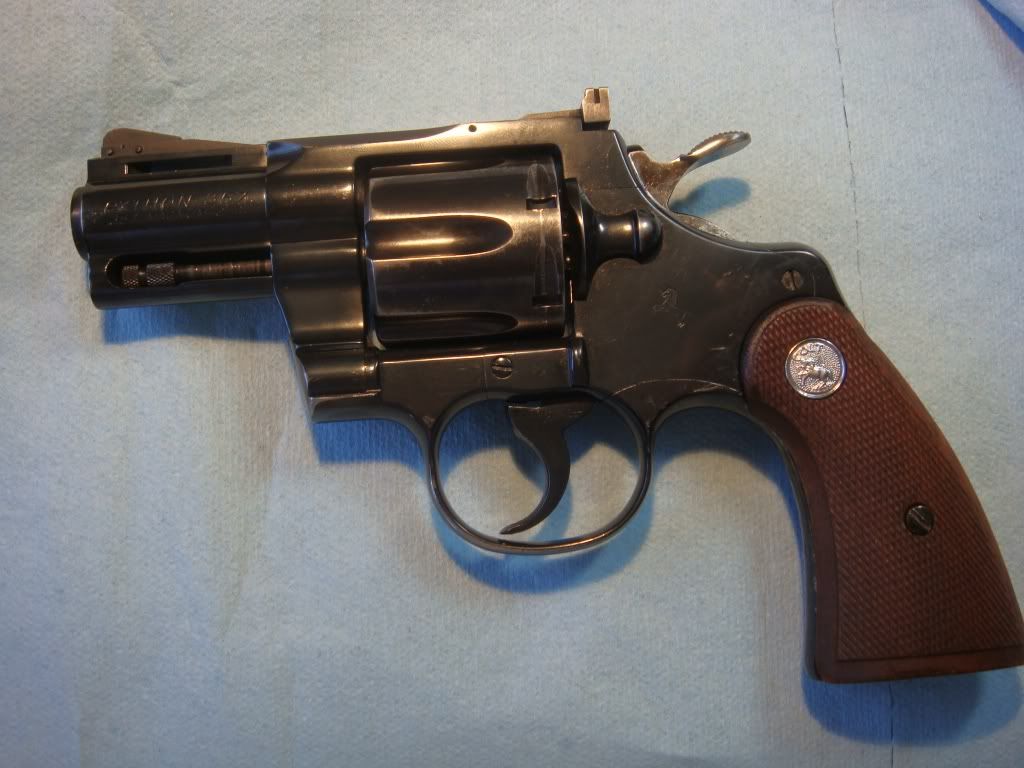
I recently came into possession of the all time most loose python ever. At rest the cylinder shakes more than white trash going through meth withdrawal. It's the worst of any colt I've seen and not by a tiny amount. Oh, and the action sucks too.
Fortunately, it was all fixable, though dealing with bolt/rebound issues took around 6 hours. (Unbelievable!)
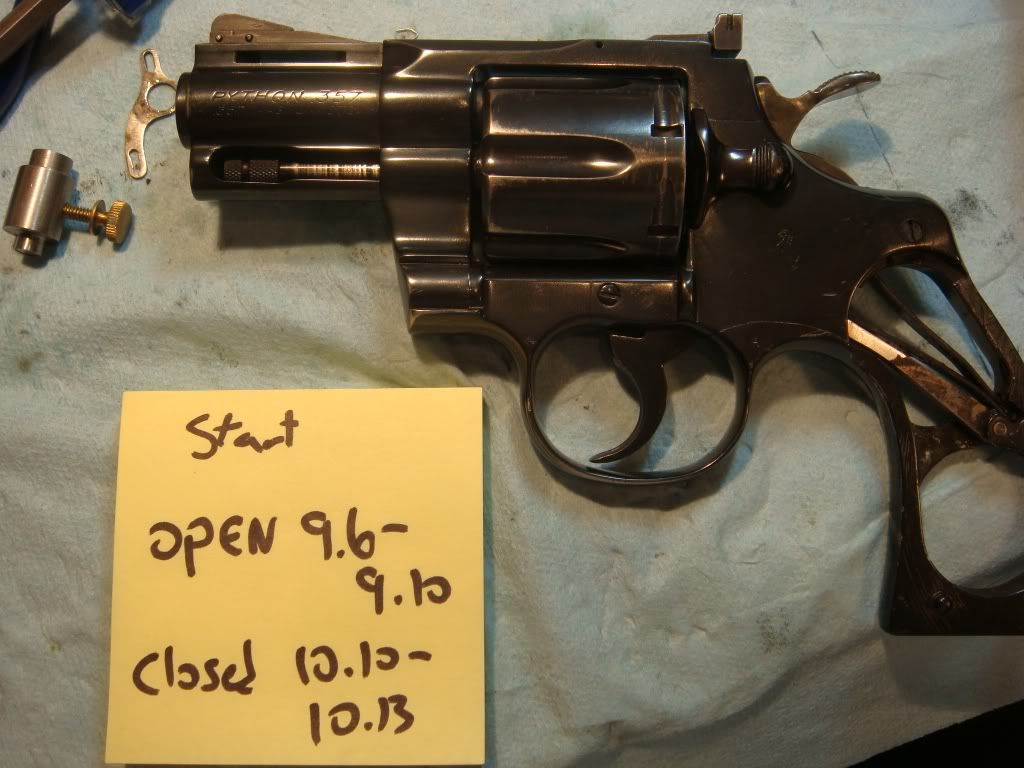
Here's the beast. As you can see, somewhat worse for wear: a lot of blueing off, wrong stocks, and (as will be revealed in part II) the insides are pretty messed up:
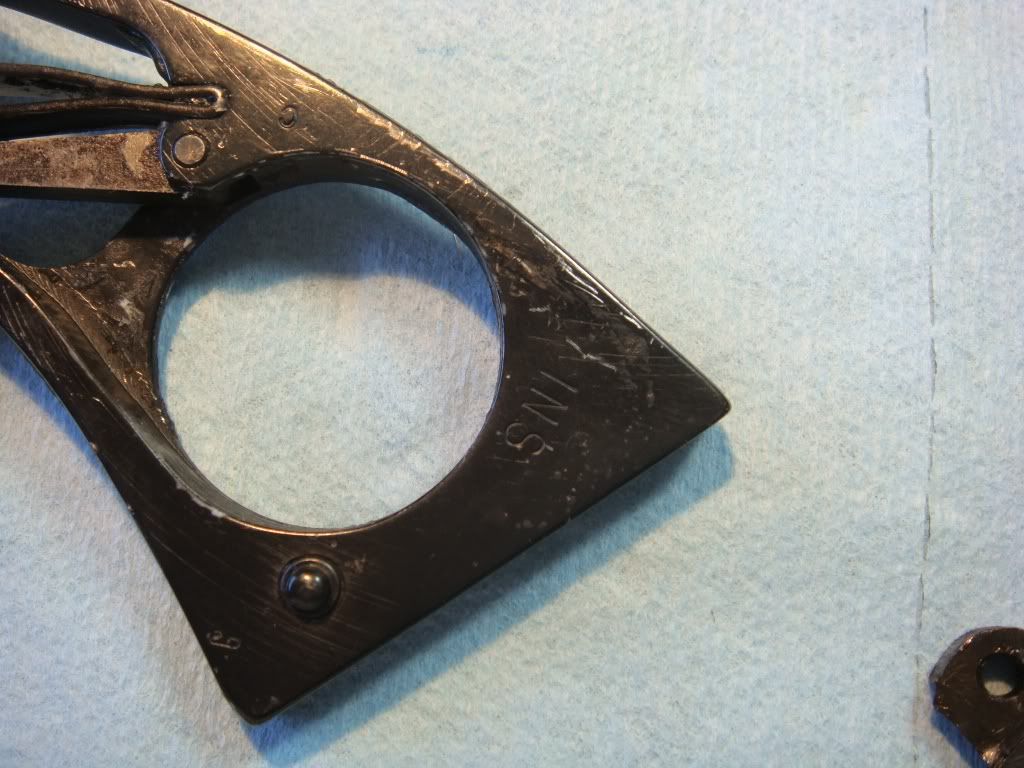
It's a pretty old colt (duh), enough so that it has the "INS" stamp on it:
It also appears that someone tried to do cold blueing, at least on the frame
handle.
Representative wear:
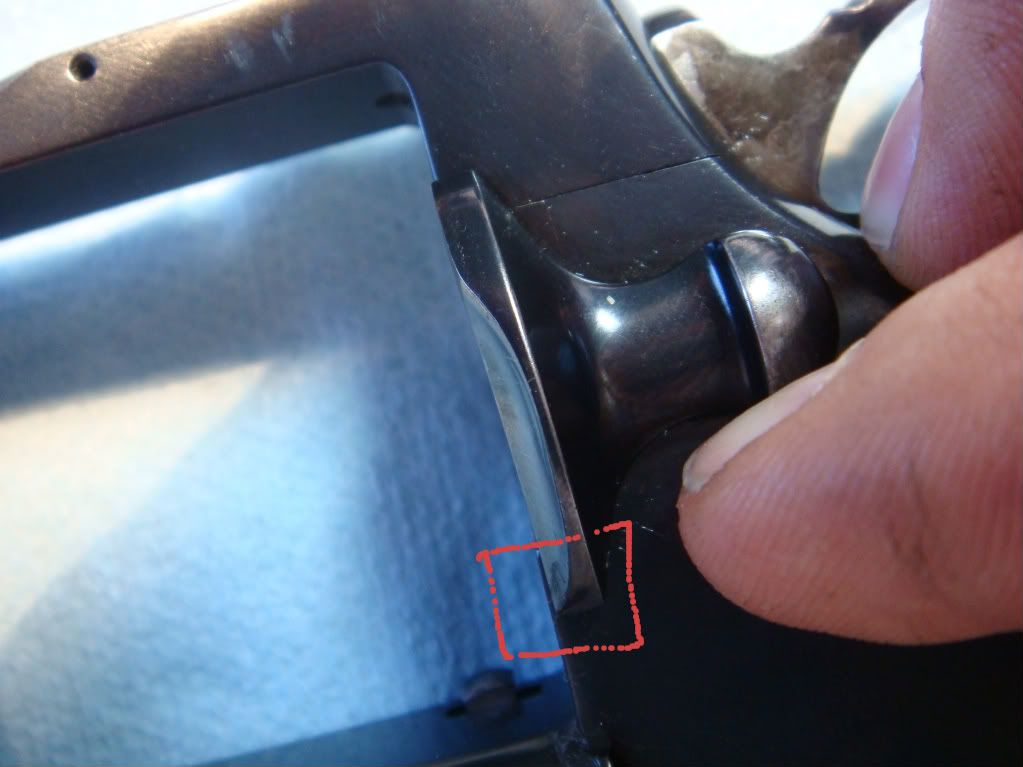
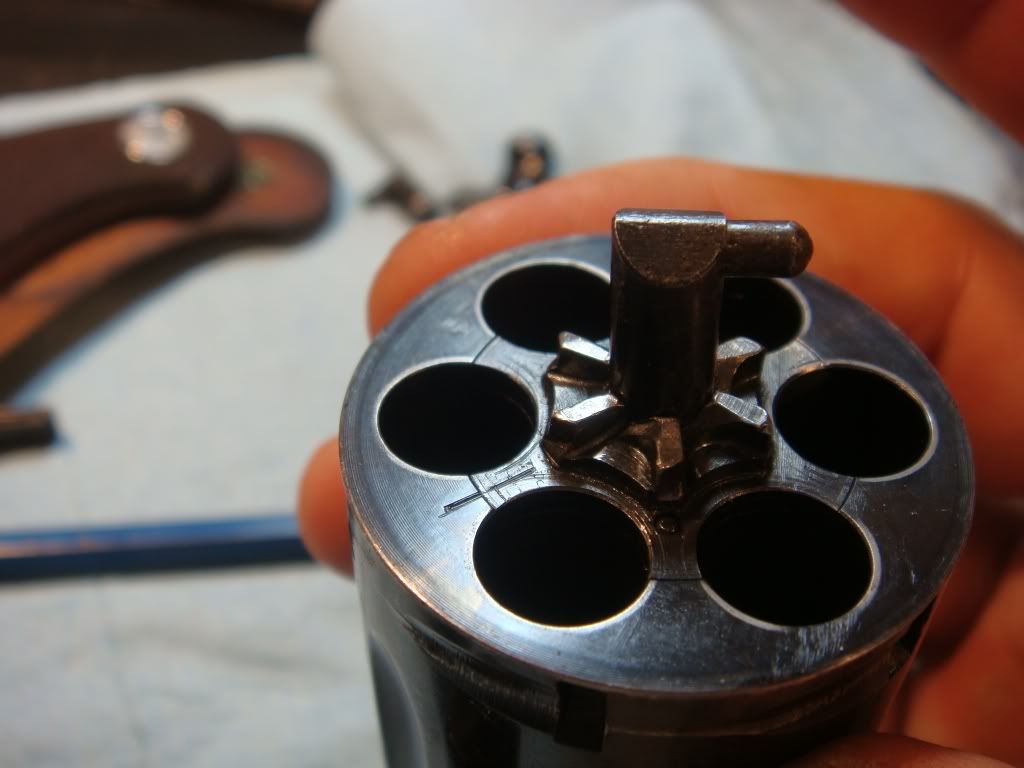
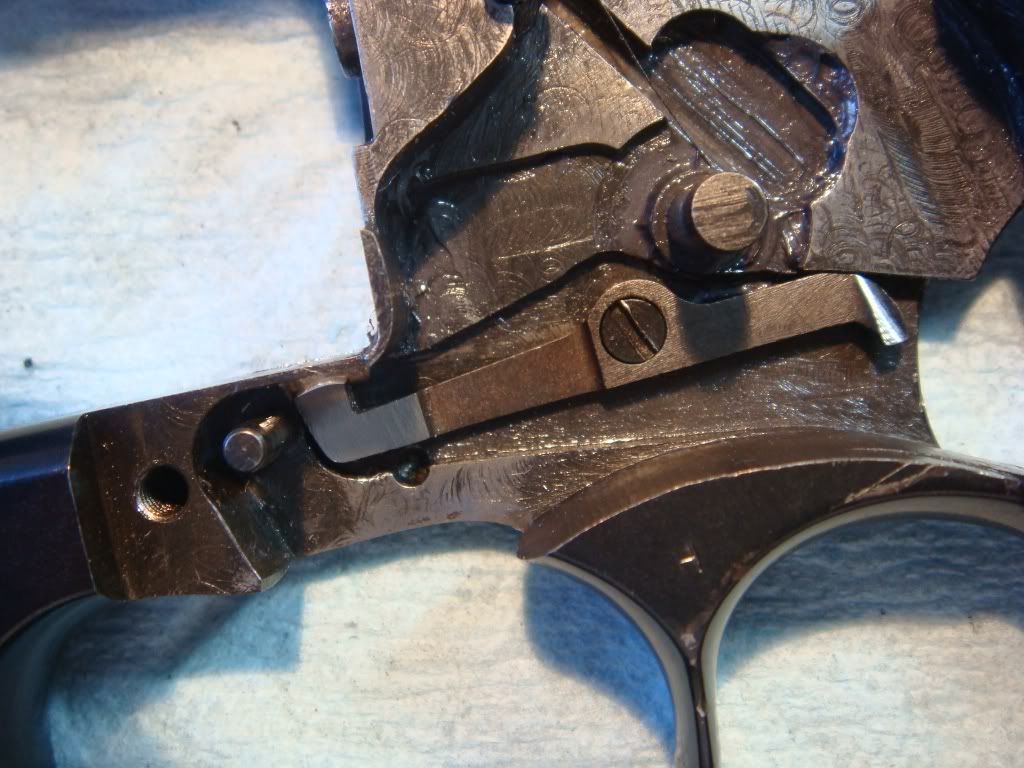
The cylinder shakes for all sorts of reasons. Here's one: the latch is very loose. It also moves up and down significantly (a bit hard to see, but you can sort of tell by using the frame as a reference).
Latch pushed up:
Latch ushed down:
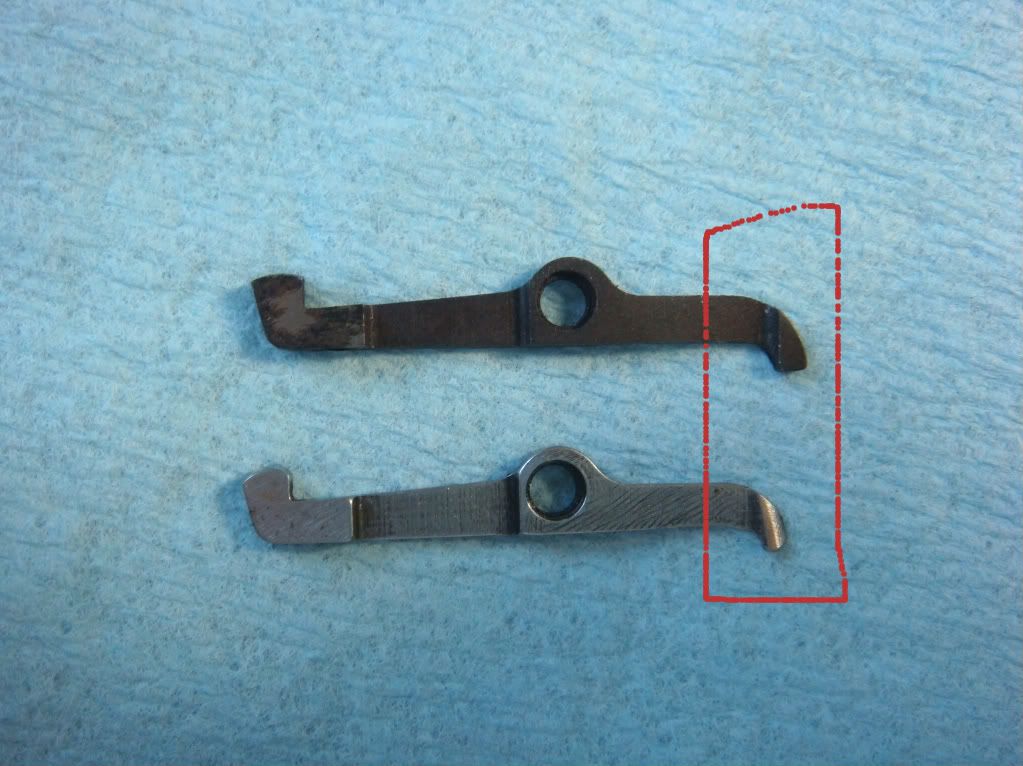
There are only a few things holding the cylinder in place, so we check all of the easily fixable ones: latch pin, latch, and bolt (well that's not as easy).
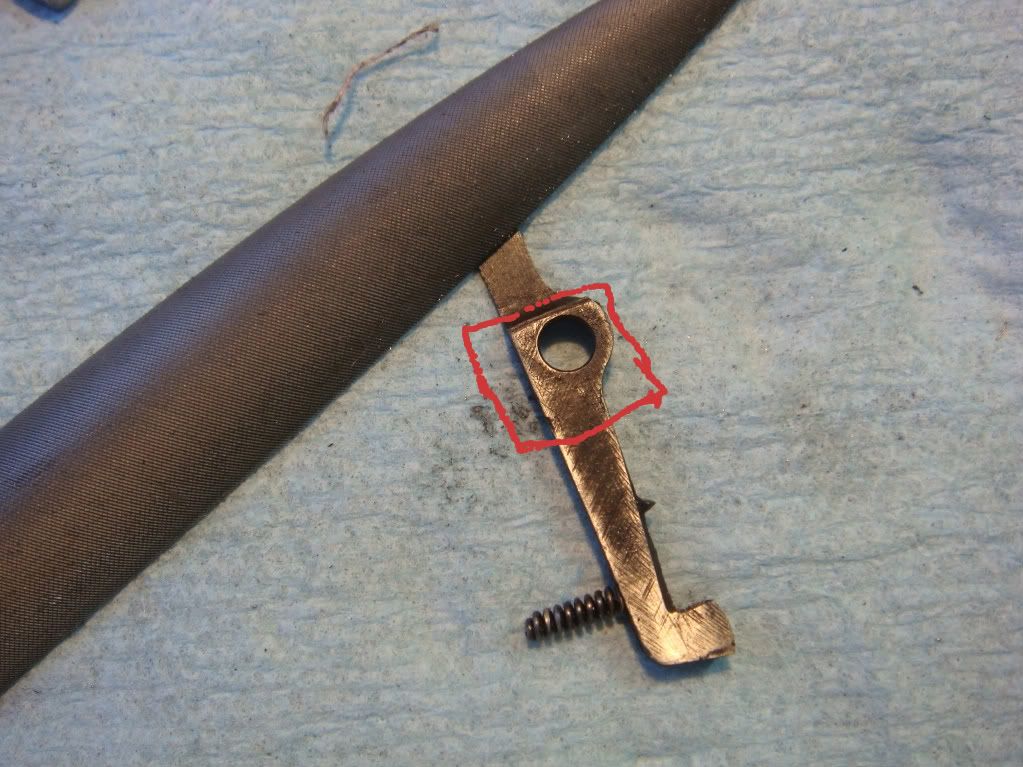
The latch is the easiest, so we try that first by selecting from a set of of used latches to see if any fits tighter.
Fortunately out of the set of options, there is an extremly tight match. It's a bit dinged up, but that makes it match the revolver. It also has the grooves on the latch (left), which I prefer to the smooth recess of the original one (right):
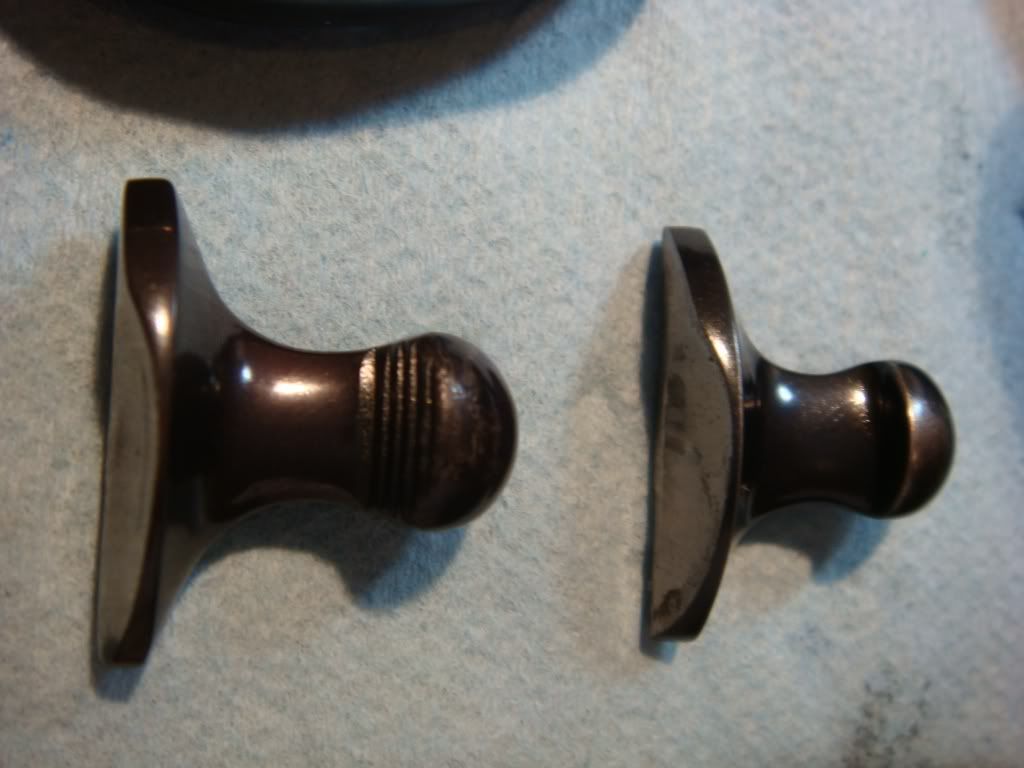
The old latch gets put in a bag tagged with the gun's serial number, and the new one is now in play.
[As a footnote:
I have a set of takeoff parts that I use for poor man's "bin fitting" (ala how dfariswheel describes picking the right-sized sintered part for a MKIII trooper from a box that holds bunch). Since colt parts have to be fitted, it's unlikely that a random part you pull off of one gun will swap in for another. However, if you have 8 or 10 such takeoffs surprisingly often one will be pretty damn close (yeah for gaussian distributions!). And that's good since parts are getting pretty rare --- I always feel a bit guilty consuming a new part.
The takeoffs came from buying the rest of Austin Behlert's stock from his son and from a series of parts kits from disassembled revolvers on GB. These went for between $150 and $250. I wasn't willing to go above $180 so missed on a bunch of sets. In retrospect, given how useful they've proven I should have probably bid a bit higher. And the rest of my takeoffs were bought from Numrich as "new" parts. I don't like those people so much. I'd buy springs from them, but other than that... ]
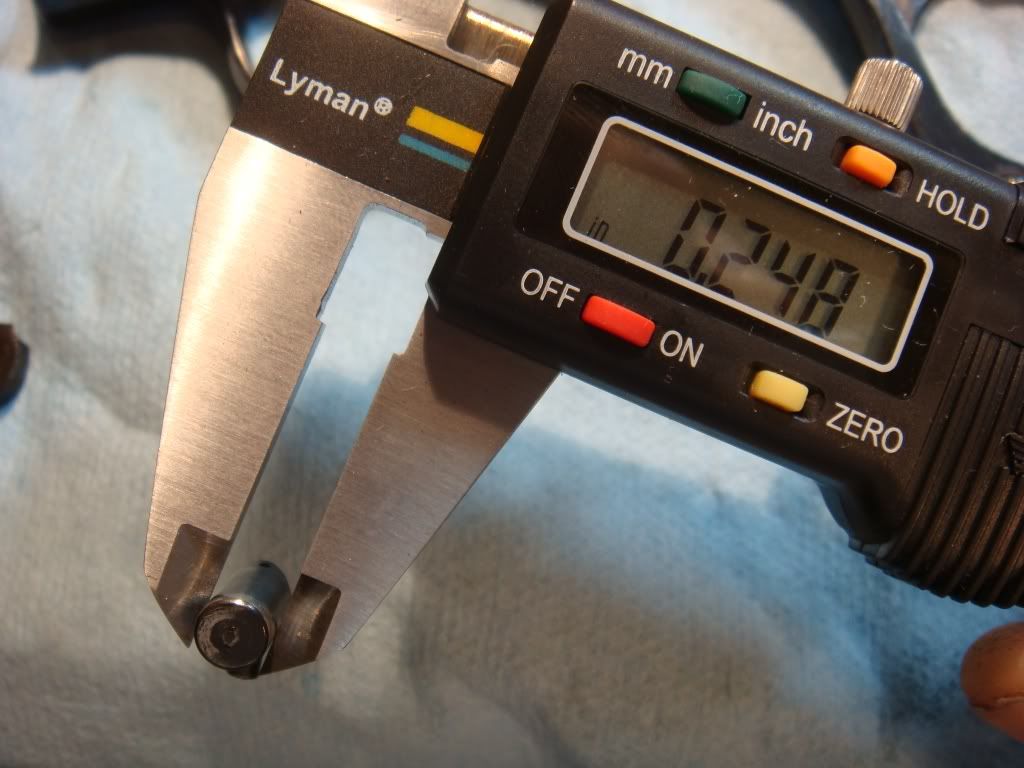
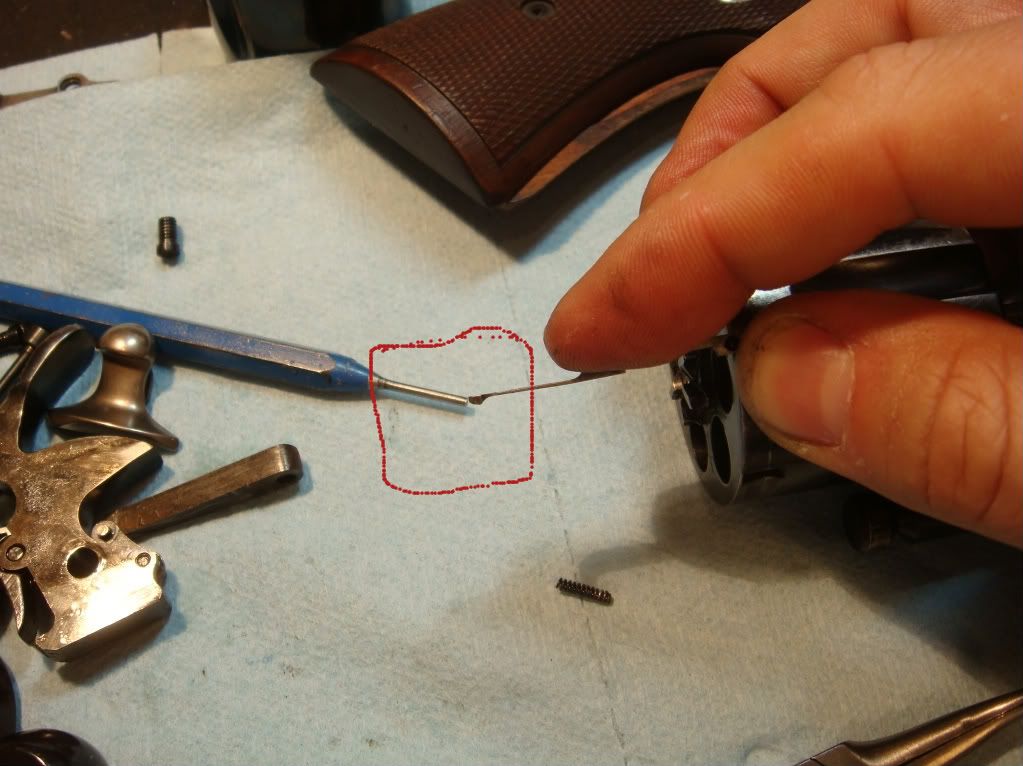
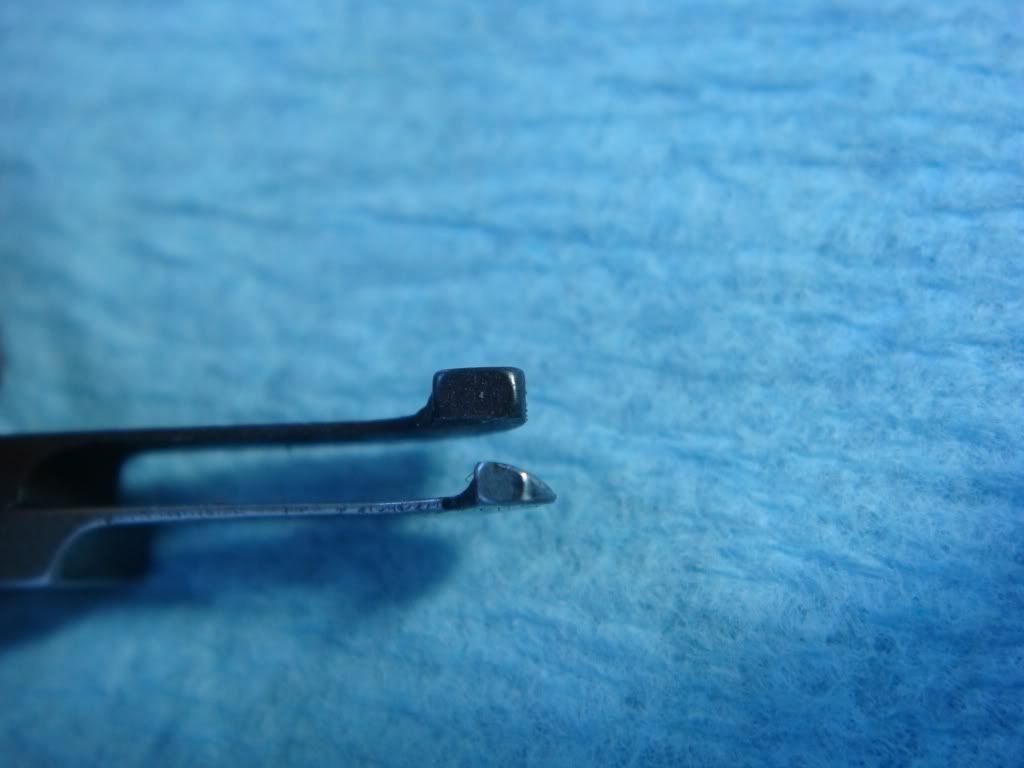
Next easy thing is the latch pin. We grab a new one for this swap. Initially however there seems to be no point in swapping since if you measure both they seem identical. Here's the original one; the new one measures the same:
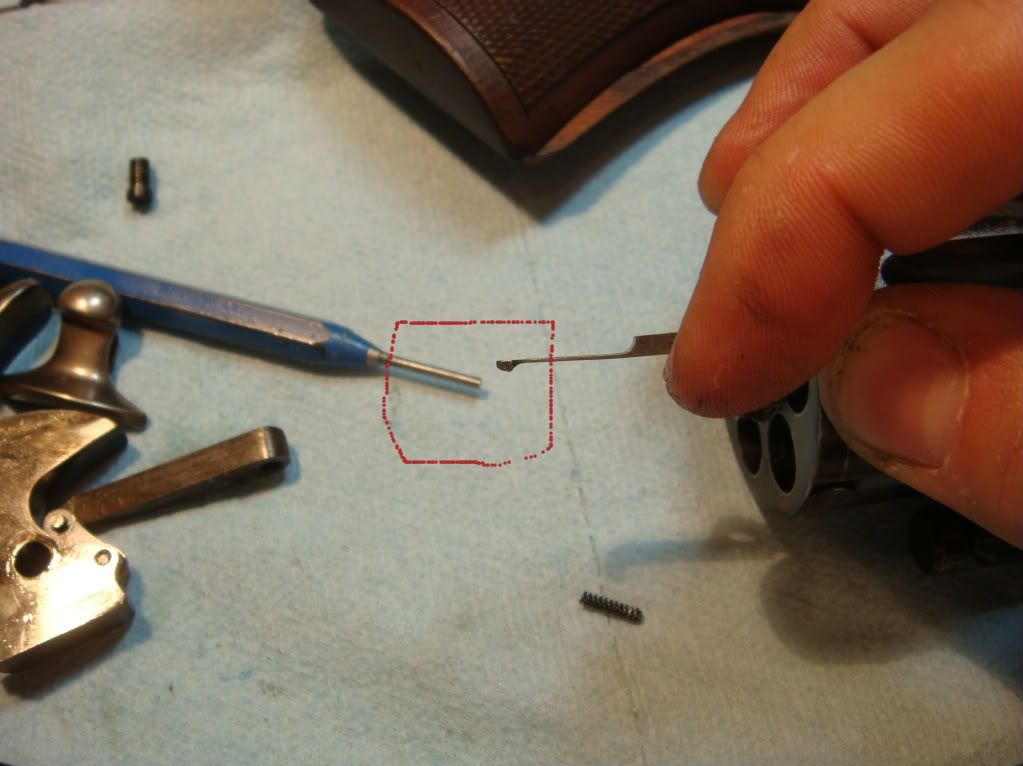
However, when you put the new one in and close the cylinder, much of the lateral shaking is removed (rotational remains). It turns out that while the center is the same, there appears to be enough material worth off the end that the original (right) does not seat firmly into the cylinder ratchet:
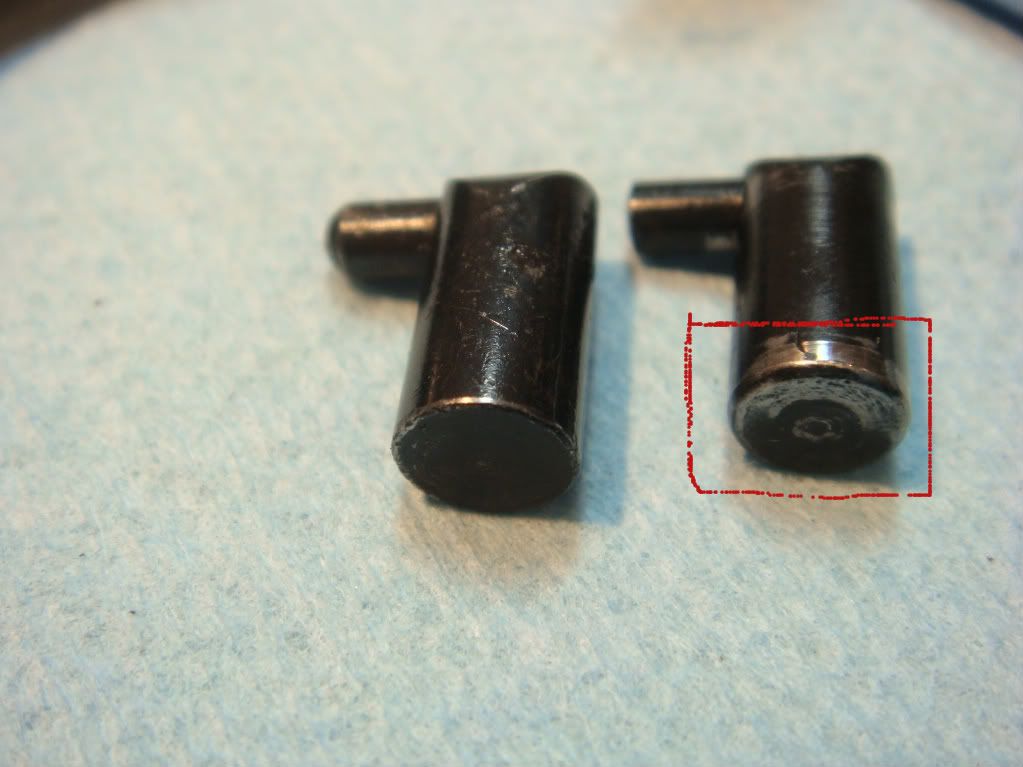
Unfortunately, while the new one seats tighter, if you rotate it freehand in the ratchet, it is not nearly as smooth as the original:
However, we like tight better at this point, so add the old latch pin to the bag as well.
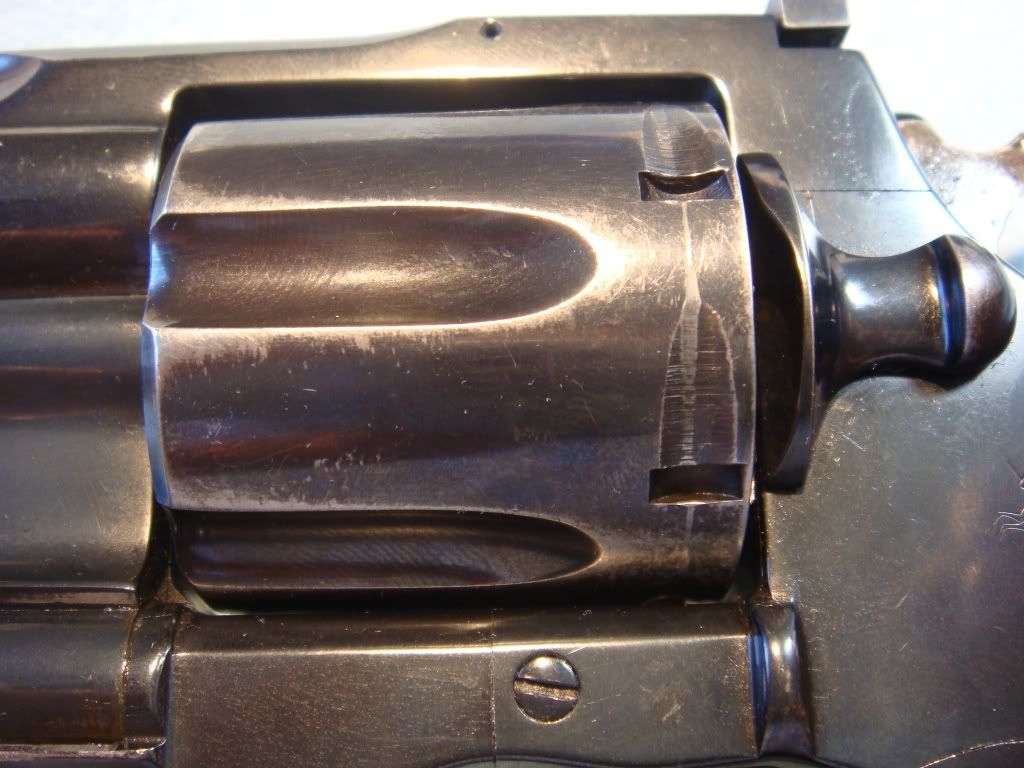
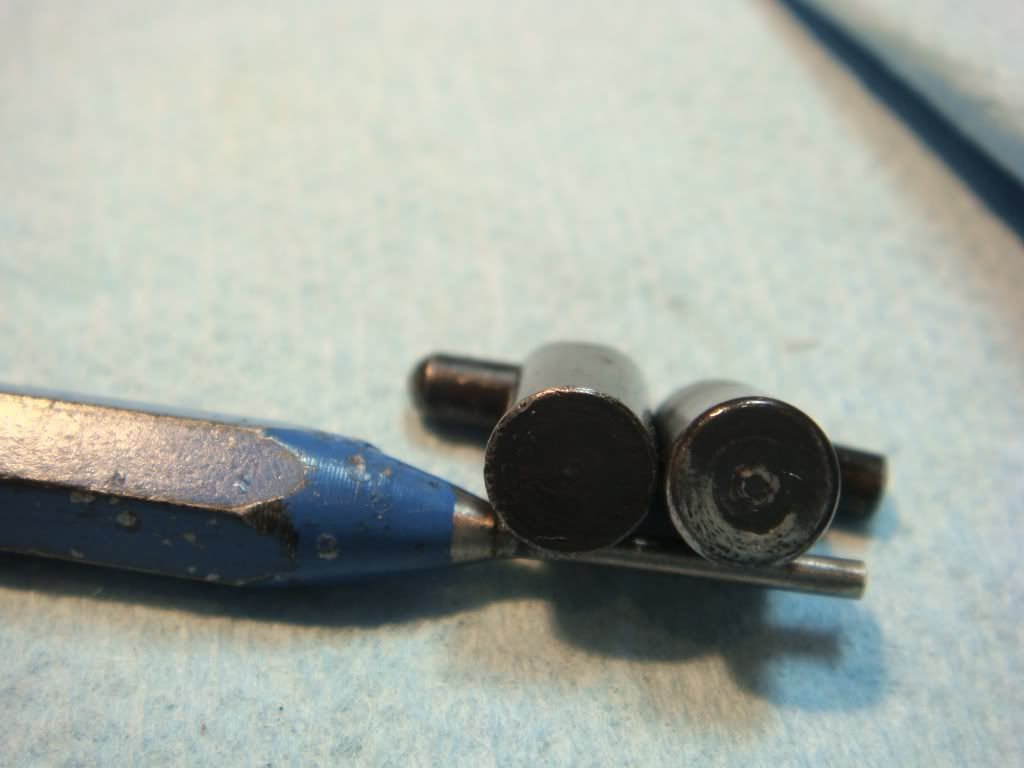
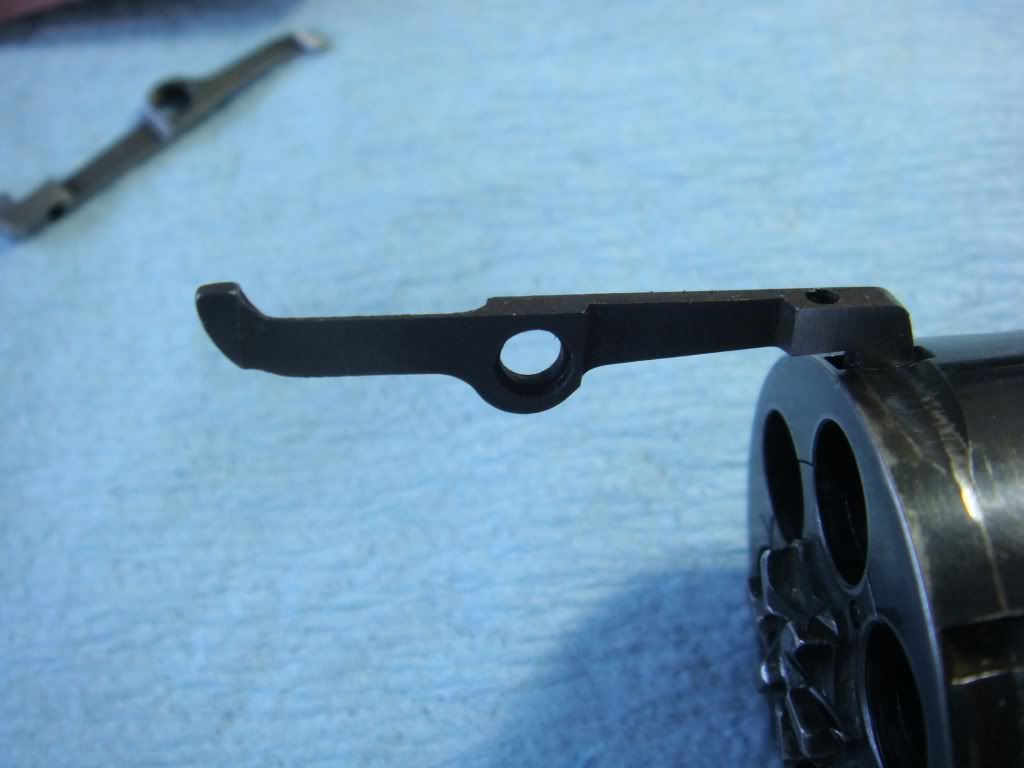
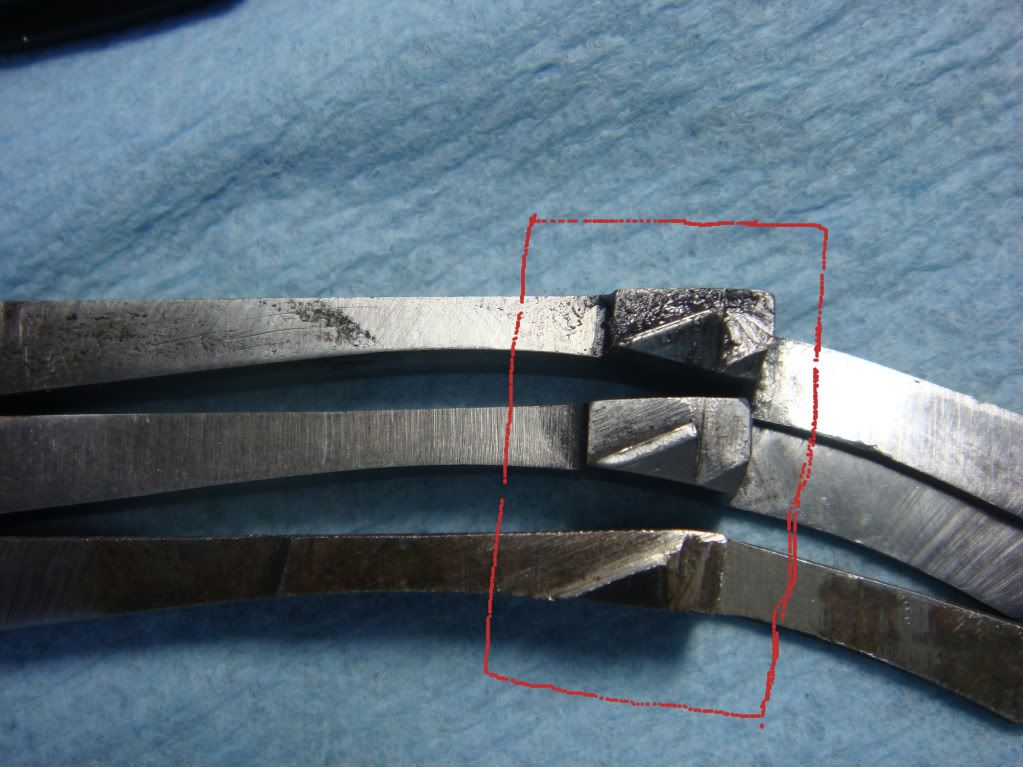
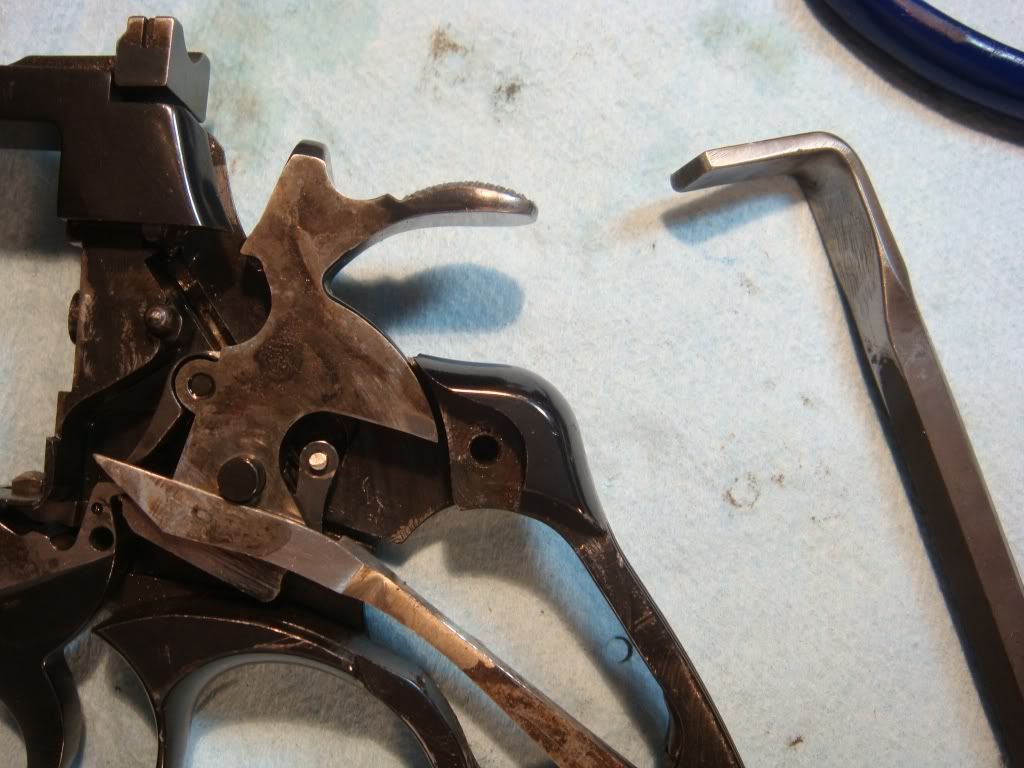
Now we look at the bolt. Unfortunately, the bolt head turns out to be too narrow and contributes greatly to rotational play. If you use the blue pin in the photos as a reference you can see how much it moves when we push it up and down in the cylinder. We'd like as close to zero play at all. We currently do not have what we want.
Pushing down:
Pushing up:
Replacing the bolt is a bit involved. I never really look forward to it. Unfortunately today it's even more involved since the only new bolts I have have oversized cams that will require significant fitting. In the old days bolt cams came as god intended so you didn't have to do much. As a result, there wasn't a lot of ink spilled on how to fit an oversized bolt cam. Which means we are flying blind on the most complicated mass production revolver ever. Given that bolts cost about $25 apiece and we only have 3, that's not the greatest situation.
Since I have around 10 used bolts I try them first, but the cylinder notches on this gun are pretty big so none work.
OK. Time to stop putting of the fun.
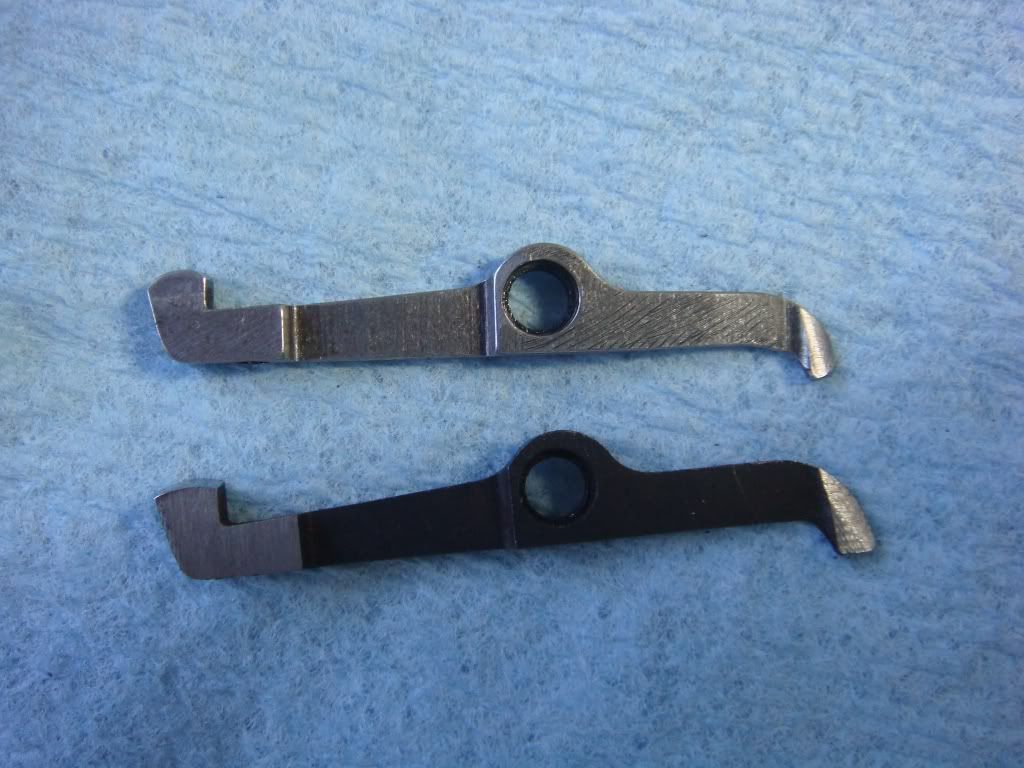
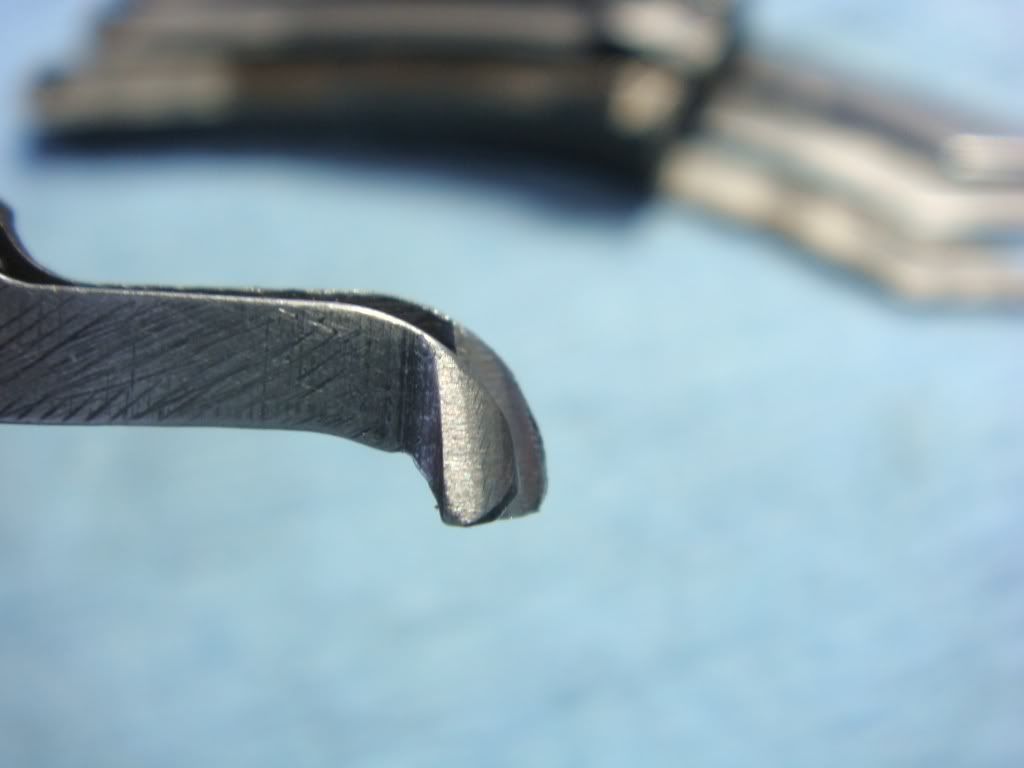
A used bolt on the bottom, the unfit bolt on the top:
As you can see, there is significantly more mass on the bolt's cam. And just in case you can't tell, here's from the top:
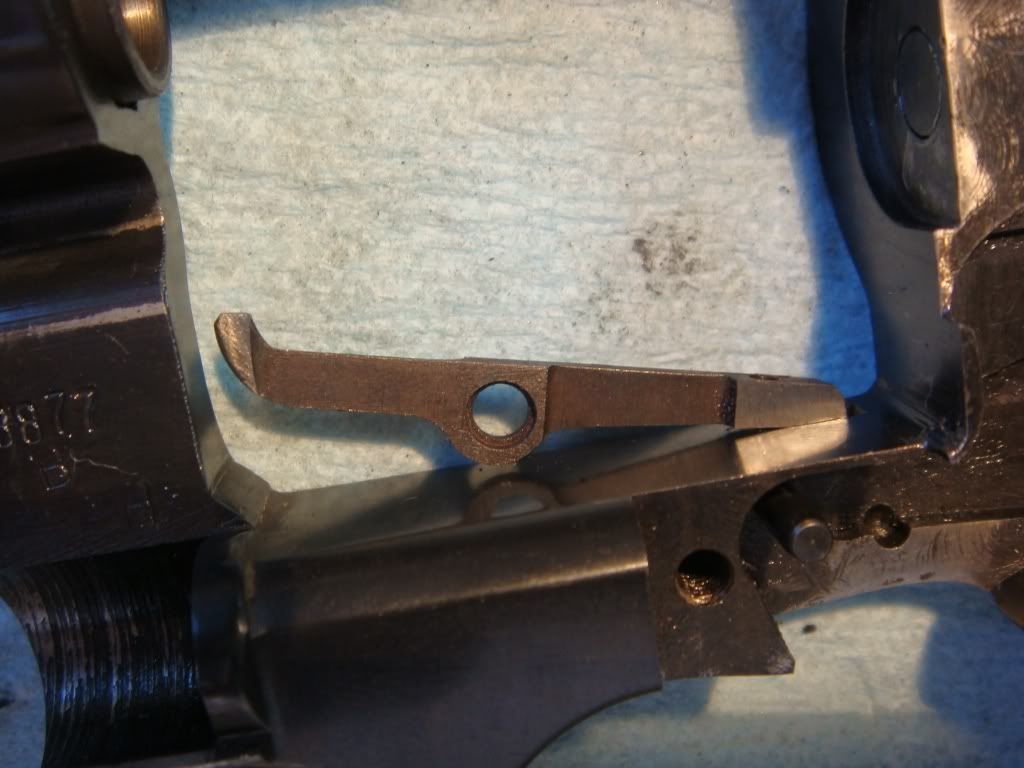
Before we mess with the bolt cam, we need to fit the bolt to the cylinder and then ensure it can move freely up and down in the frame.
So, first file off the left side of the bolt head to allow it to fit within the cylinder notch. Unfortunately, no photos, but we make sure it fits correctly in all 6 notches (one is always smaller than the others). This is where you want to iterate slowly: take a 1-to-3 strokes, check, 1-to-3 strokes, check. You can't put the metal back: always go "too slow" with pythons.
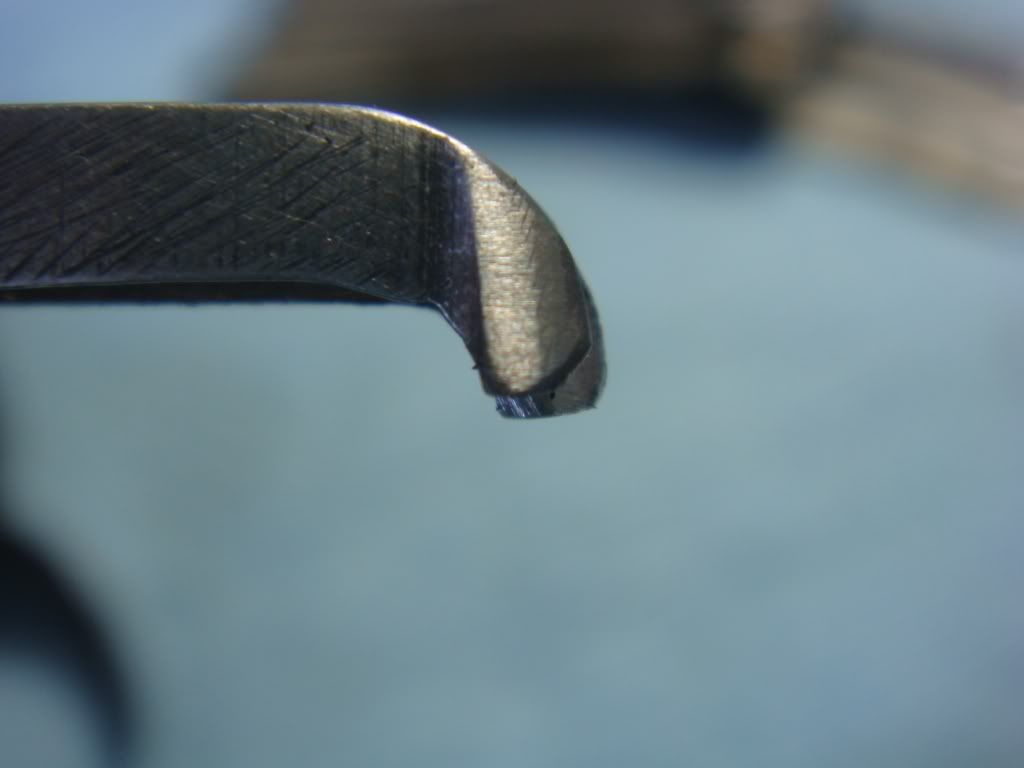
After iterating as above we get this:
We also polish and slightly shape the bolt head (notice slight bevel down on the upper part of photo):

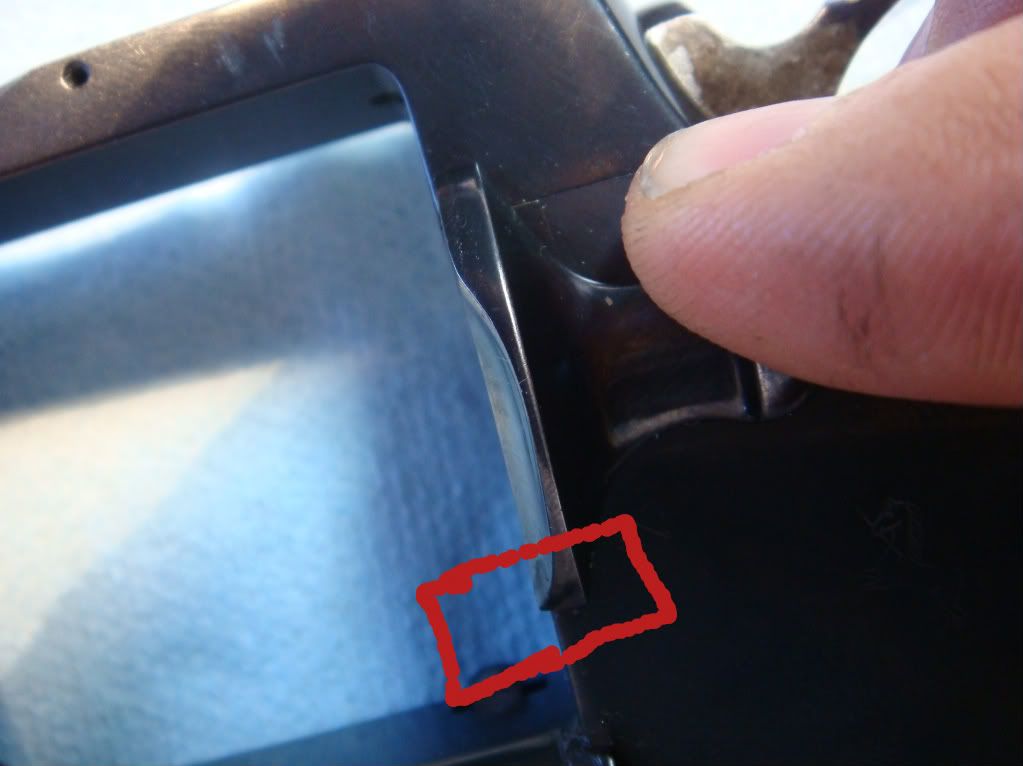
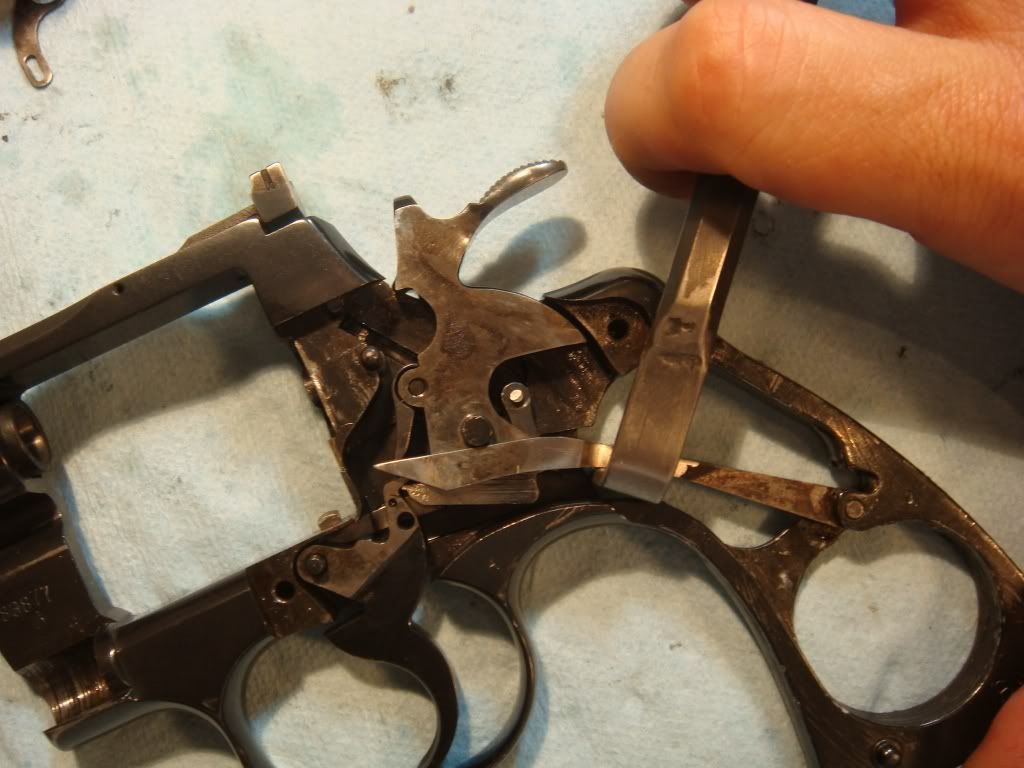
We now check if the bolt will pass through the bolt window. Bolts can bind for two reasons: (1) the bolt head is too big and (2) there are burrs or raised areas in the bolt window stopping it. Unfortunately, when you pick up that file, you have to correctly diagnose which it is or you'll get a sad face. To mostly control for (2) we push the bolt head through from the top. You can usually tell if the problem is the head or the window this way:
There actually is some burring in the window so that gets *VERY LIGHTLY* filed. (All frame modifications are done very very very slowly and only after you are SURE that the frame is the problem. It almost never is, so the best heuristic is NEVER FILE THE FRAME.)
We now check for bolt tension: there should be slight resistence when you push it with your finger:
In our case the bolt is difficult to push at all. So we file from the left side of the bolt. As always: few strokes, check, few strokes, check.
If you file too far and the bolt is loose, you probably will have to throw it away. A *major* mistake is to blindly counterbore the bolt screw hole to make it tighter. If you take too much material off, the bolt screw will portrude from the other side of the frame. For such situations Grant C uses a watchmakers lathe to reshape the bolt screw head. (It may be possible to use jb weld to build it up again from the inside, but that's not recommended.)
OK. Now the not fun part. We try to file off the bolt cam so that it looks like what a normal bolt shipped from colt would look like. The tricky thing here is that it's easy to miss a key feature (how thick the cam is, how it tapers off at the end to a edge, where exactly the bevel begins). Since tolerances often are in the .01s (or .001s?) missing anything is a certain death.
One big issue with these bolts is removing enough material to get correct drop off, but not remove the wrong material and make it impossible to get sufficient pickup. The other is figuring out how much material to remove from the bottom of the cam to get reset for a "reasonable" rebound. I cheated a bit and pulled out three rebound levers, each with smaller and smaller cams. By swapping between these it makes it easier to figure out if the problem is the bolt or the rebound (e.g., too high):
(Again: don't throw anything away: takeoffs serve great purposes like this one of isolating issues. Also you can sometimes attempt a "fix" to an already unusable part to ensure that what you predict to happen actually does.)
We file a bit and get:
Close. But not quite.
Filing some more.
Then putting the bolts back to back you get (new one in back):
The new bolt cam is still bigger, but close to the same shape. Bigger is OK, since we can always remove metal. Fortunately, the bolt resets correctly. Picks up ok. And generally does what it should. I'll spare you the details other than two things I've never seen written up:
One: that the bolt cam can't be too thick or the extra material will hold it partly off the rebound cam and the bolt will almost certainly fall off the side. The normal fix here would be adjusting the cam angle, but that will be pointless in this case: you have to remove thin the cam.
Two: to soften bolt drop (or to make it possible in the first place) there will often be a slight beval at the end of the bolt. You have to be *very* careful where that is. If it is right where the rebound cam meets then (at least from what I can tell) you will have a bad situation: you will be able to get instant bolt pickup, but the rate that it goes up will be insufficient to clear the cylinder. Be very careful about this bevel. Ask me how I know.
OK. So we are mostly good. (I'm not super happy about the cam, but it's workable.)
The only issue is that we don't have instant bolt pickup: as soon as you start to cock the hammer, the bolt should move. Otherwise it will catch the cylinder. It doesn't in this case so we use a Frank Glenn trick (and tool) to bend it up slightly:
That works. Measuring the current pull weight it's pretty heavy:
Did I mention the action sucks? That's the next installment.

No comments:
Post a Comment