NOTE: the stuff below is just for entertainment. I am not suggesting this is what you should do or how you should do it. Consider it a fast way to ruin your gun: DO NOT DO IT ON YOUR COLT! If you see something where I am messing up, please point it out!
So, after fixing the snubby in Part I
http://coltpython.blogspot.com/2009/05/part-i-fixing-most-loose-25-python-ever.html we try to do something about it's really bad action. Heavy, uneven, and gritty.
Smoothing it is pretty easy.
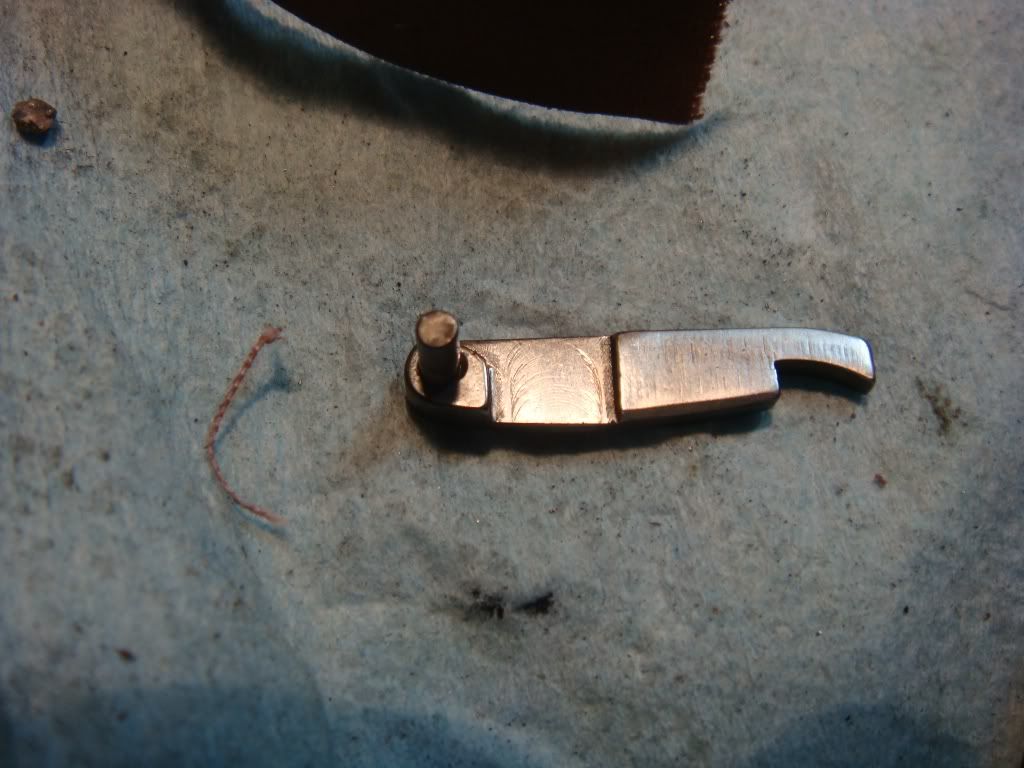
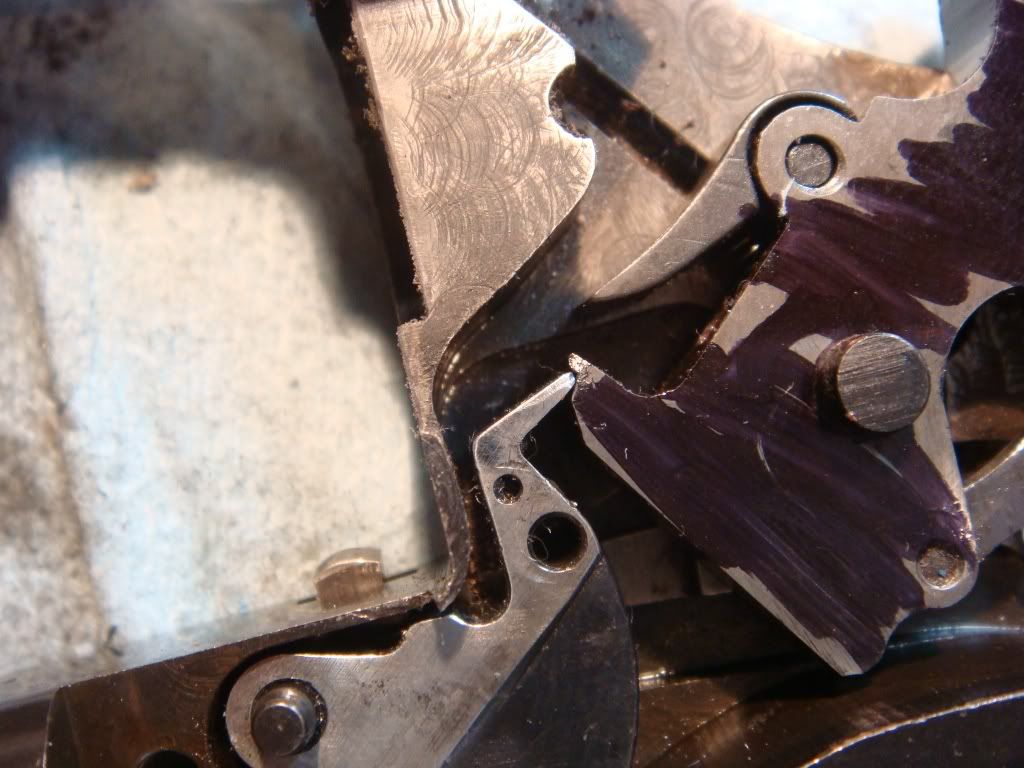
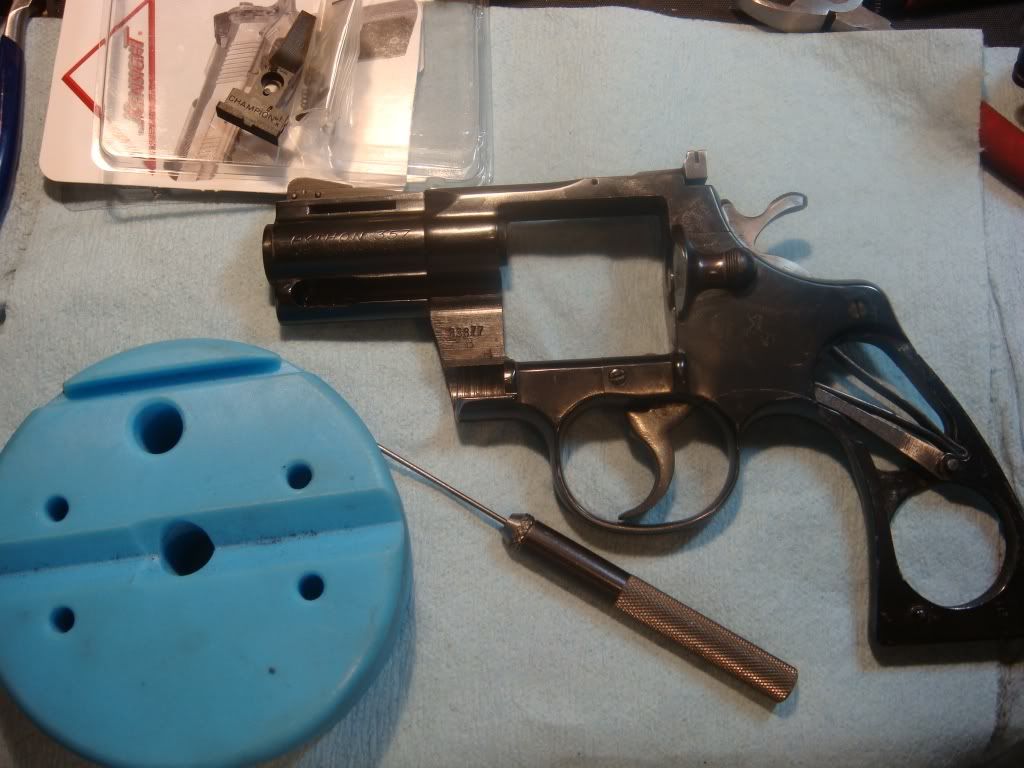
This is what we have to work with:
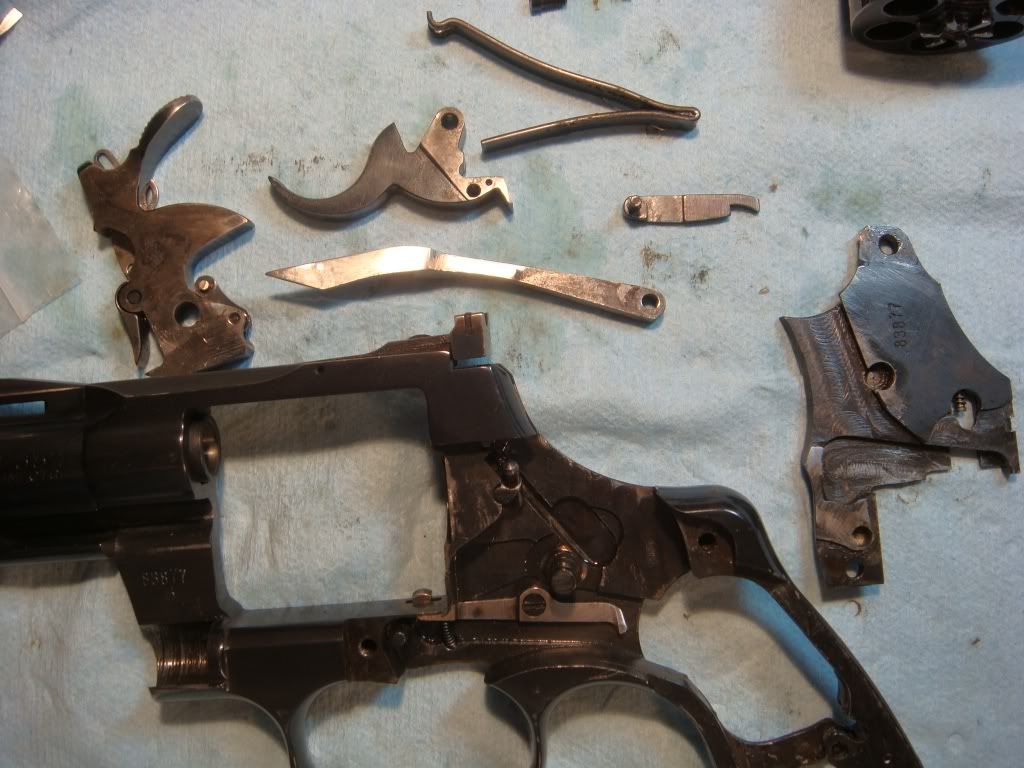
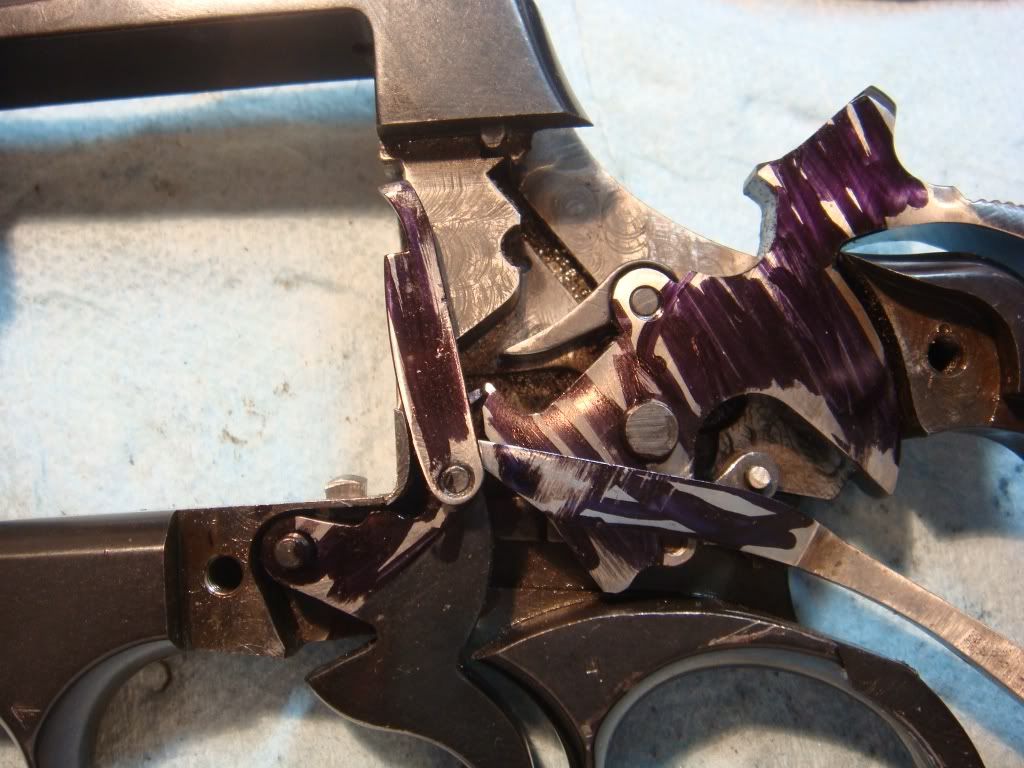
Anything that touches anything is a candidate for causing grit. And from the looks of the parts its not mystery why it could feel like there was dirt in there. The corrosion level is impressive. And the tooling ridges aren't anything wimpy either.
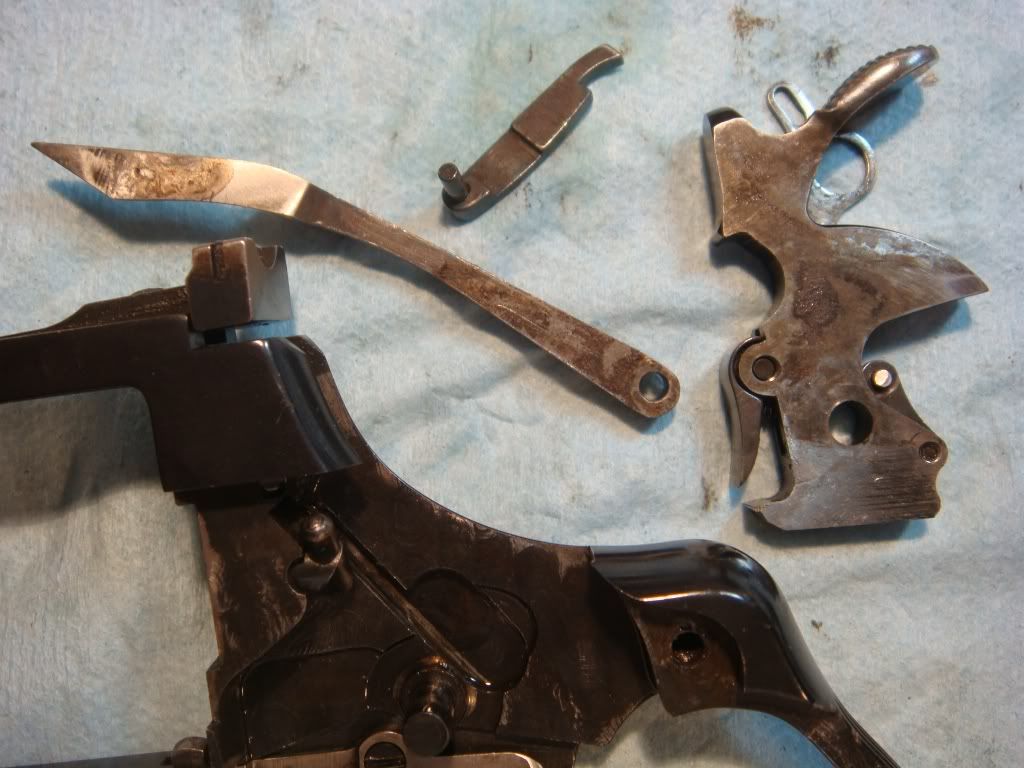
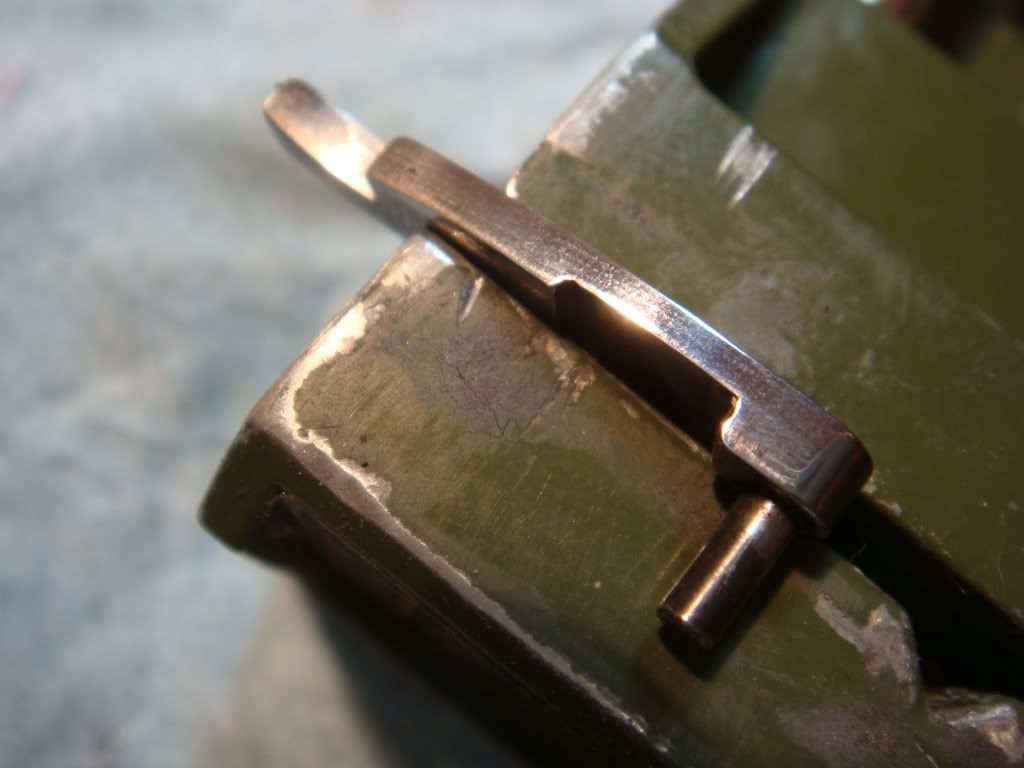
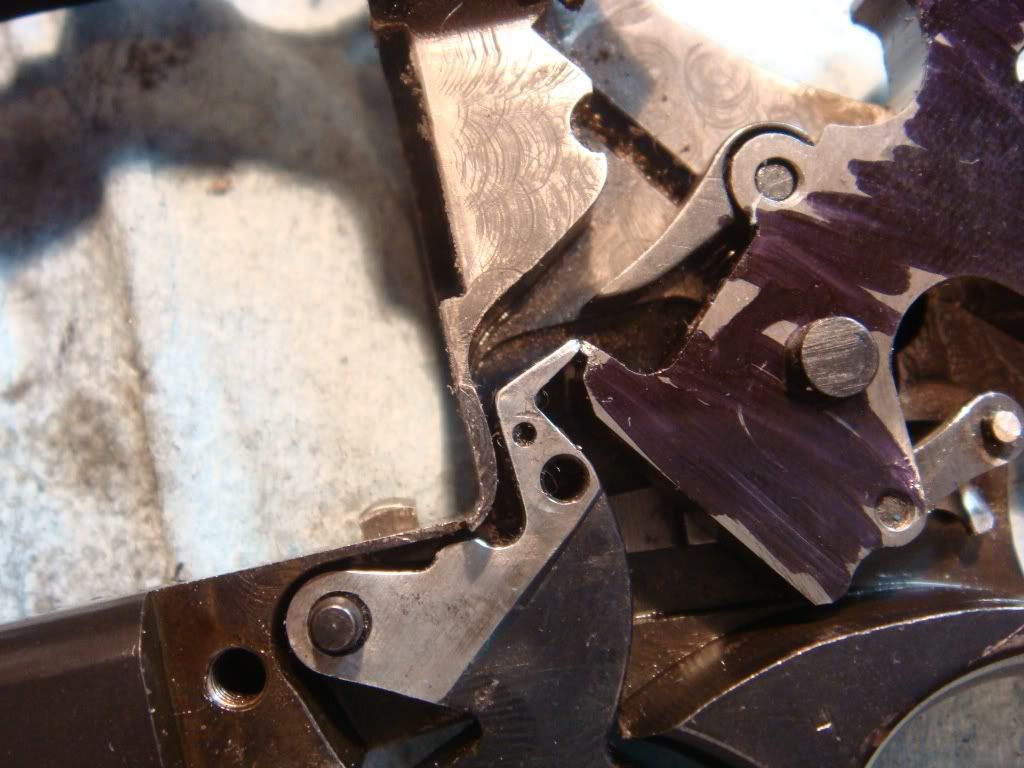
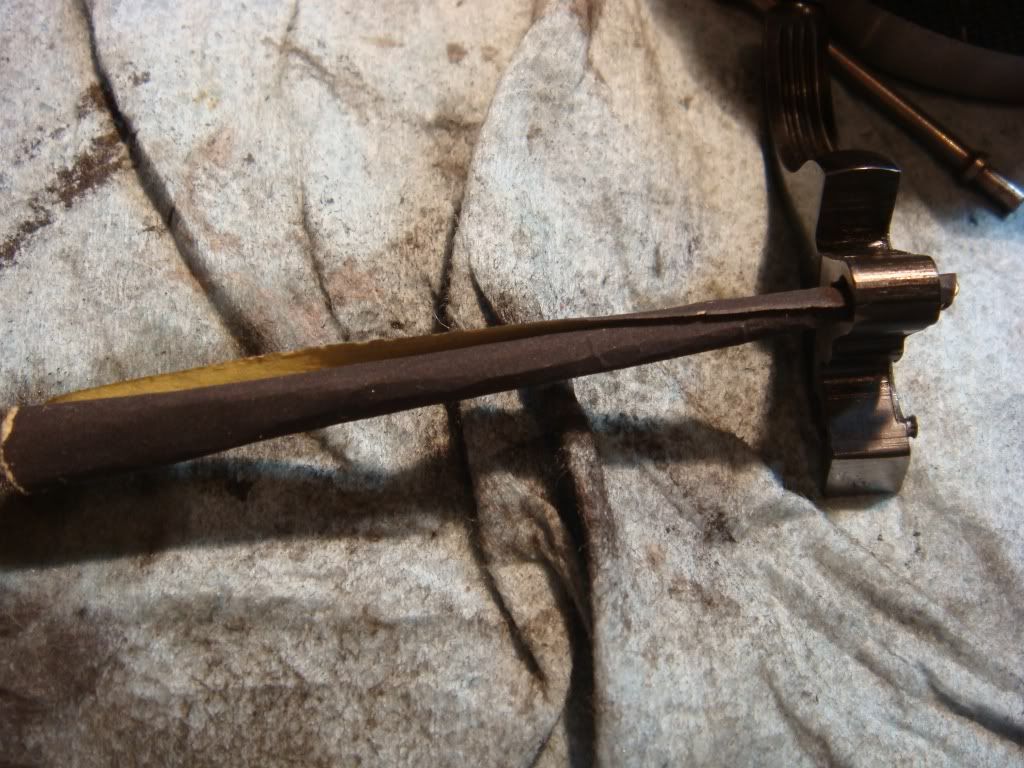
Here's a closer view of the main culprits:
And here's what we'll use, mostly, file backed 600 grit sandcloth (from brownells: this is by far my favorite sanding medium):
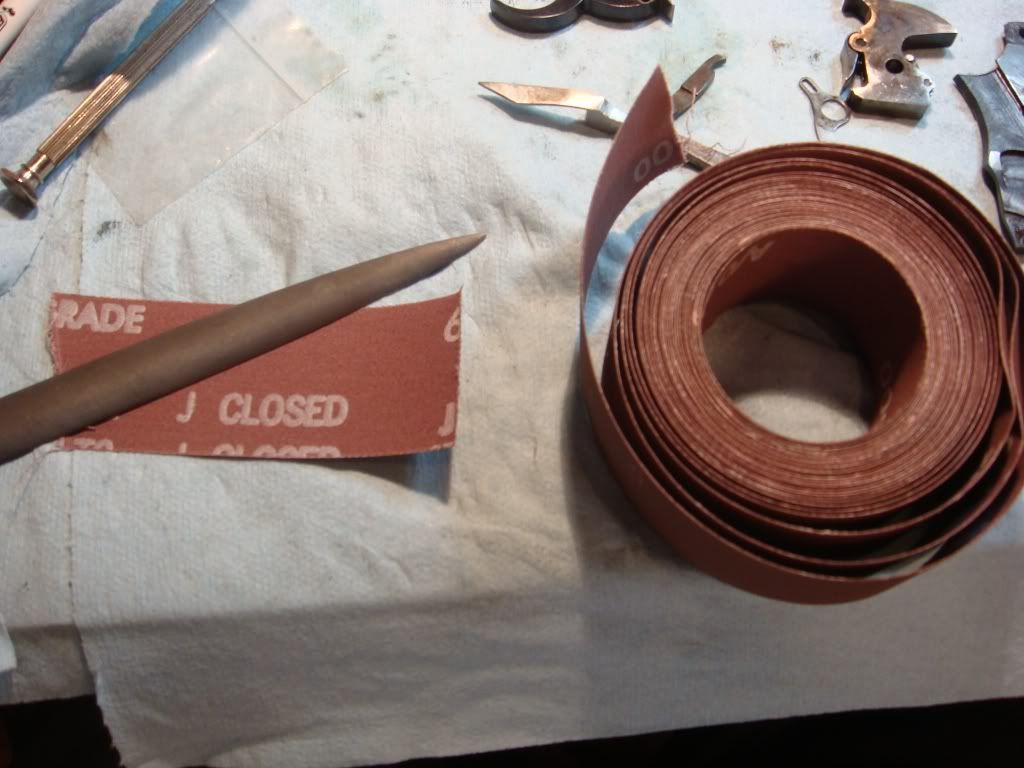
The other tool will be a dremel with large felt wheel and semichrome for final polish (but not removal!) of metal.
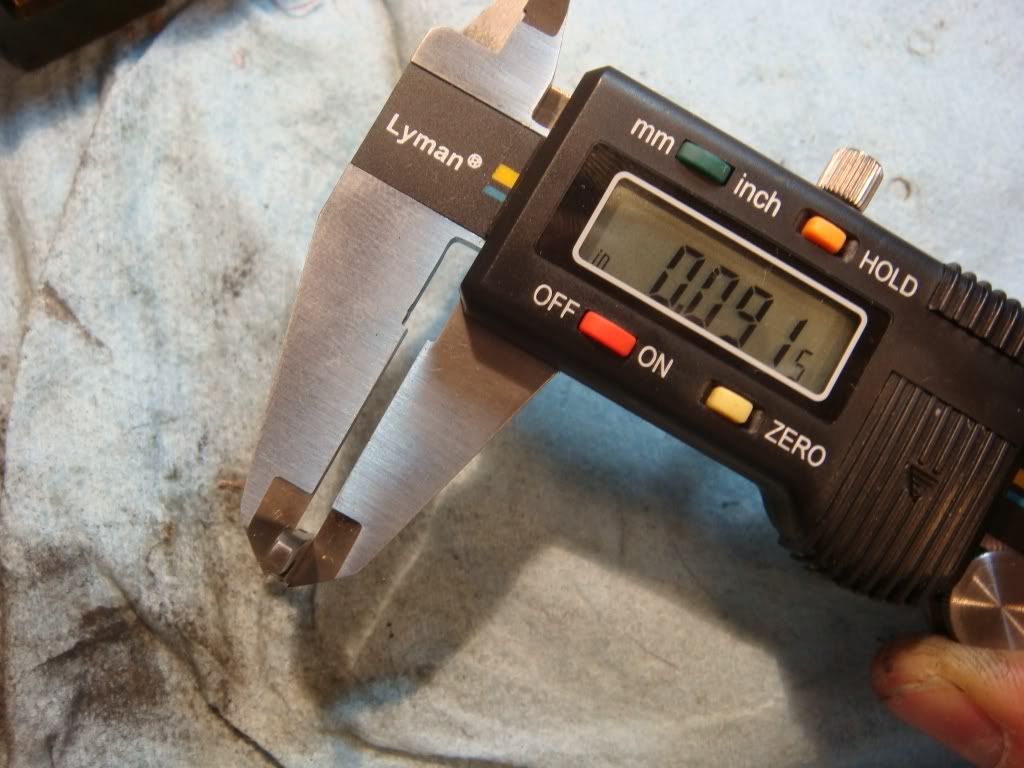
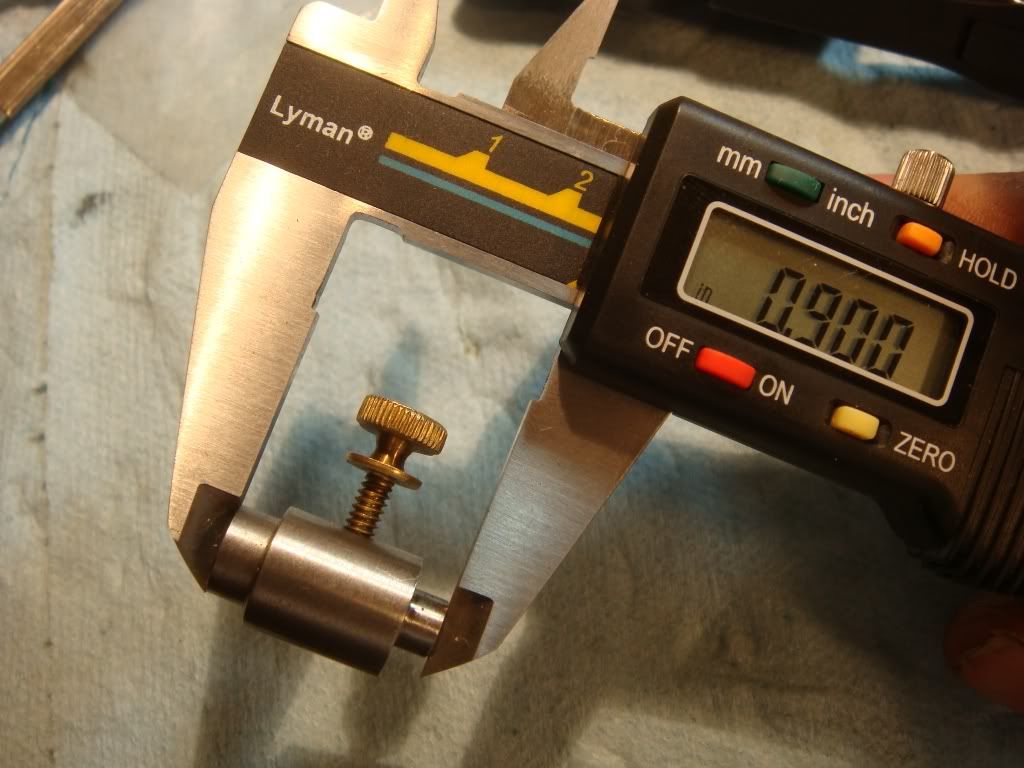
As always: we have two conflicting ideals. Polish any contacts point glass smooth. But remove no metal. To test that we use calipers to measure the width of the hand:
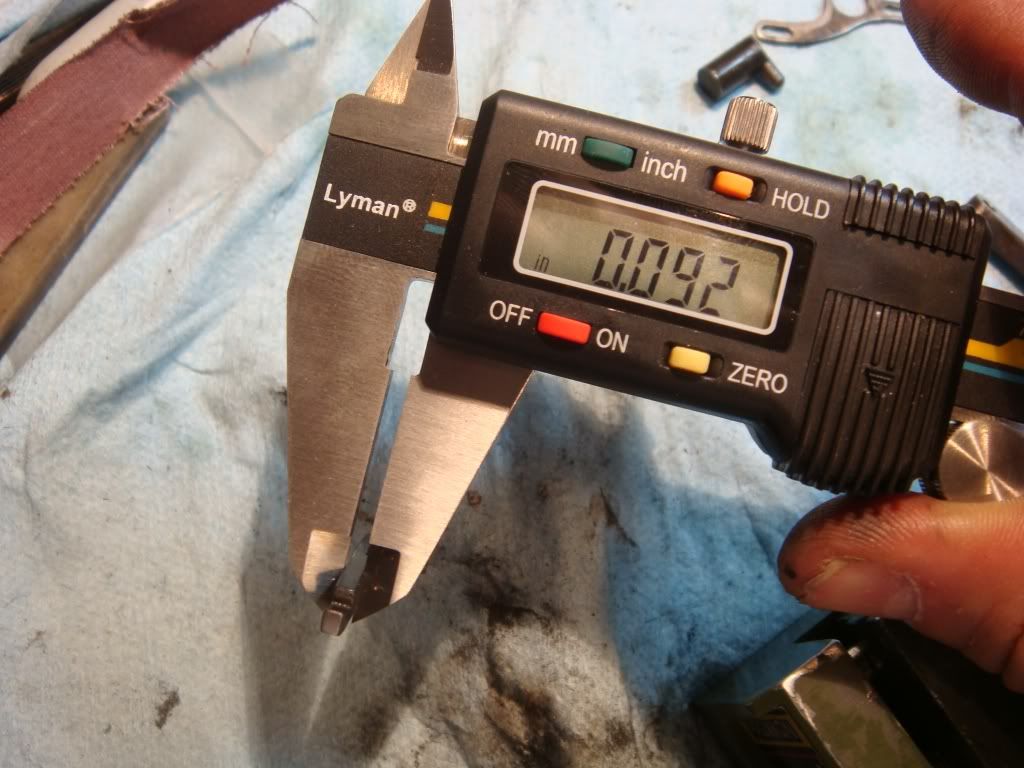
As we polish the left and right side of it, we'll double check against this length (0.092) to make sure we're not causing appreciable changes in how tightly everything will fit. Ideally it doesn't change at all.
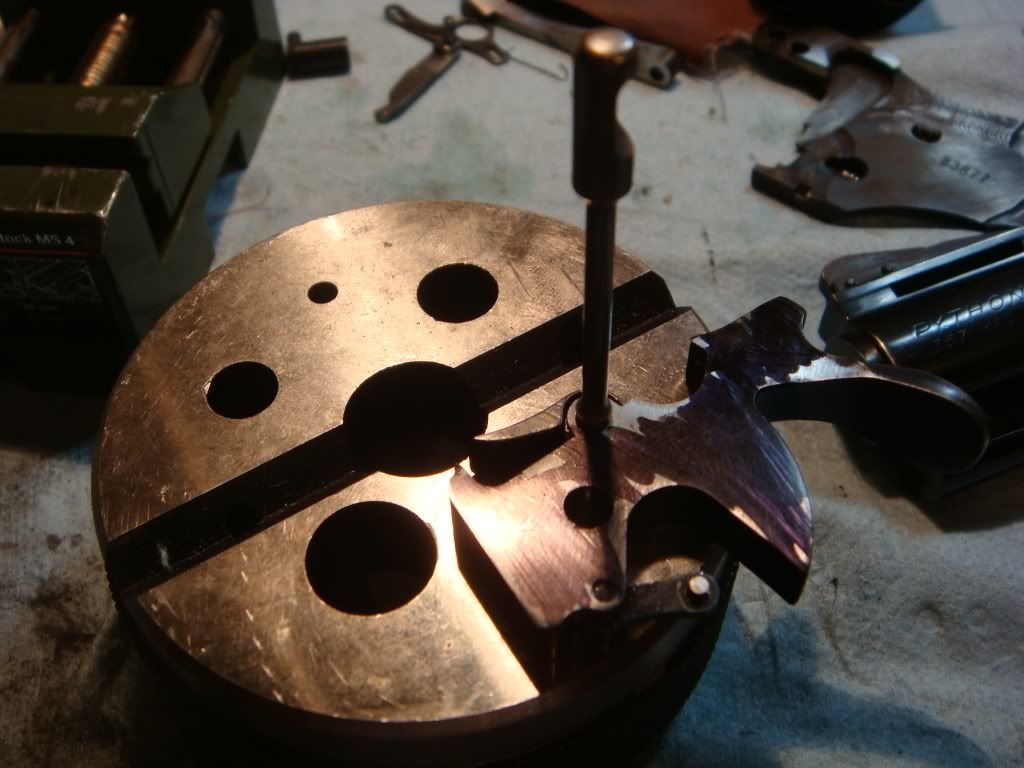
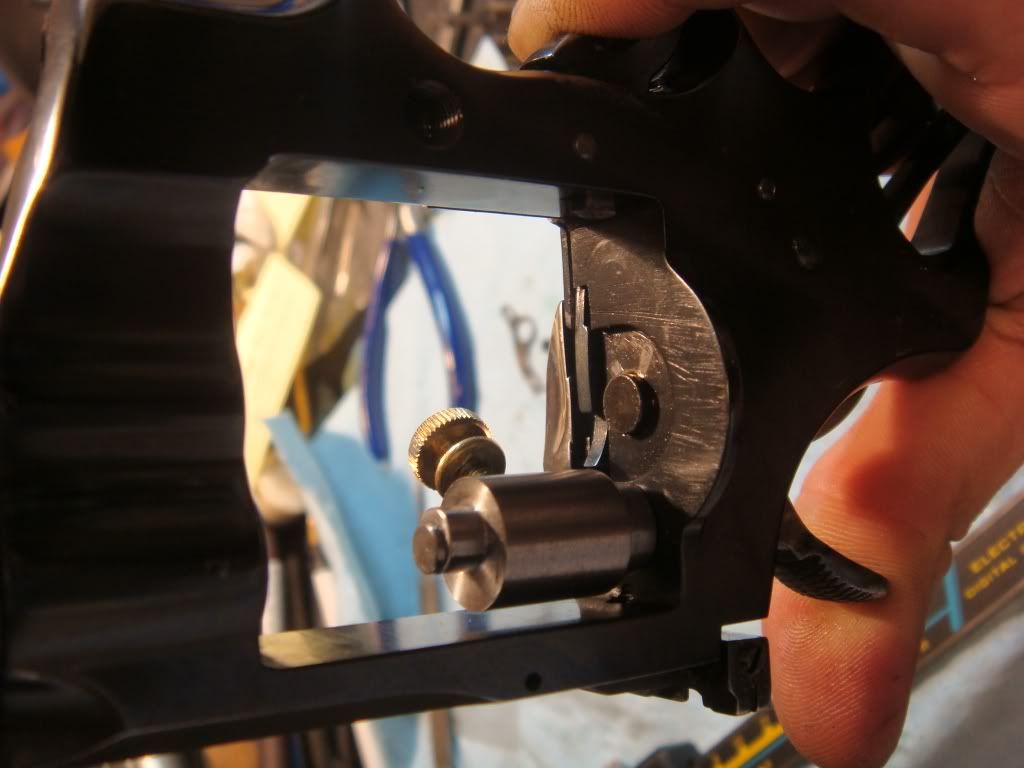
First, do the inside of the hand. We put it in a cheap $20 proxxon vise to hold it steady (I really like this thing; it should be on the drill press but I always use it for file work of small parts).
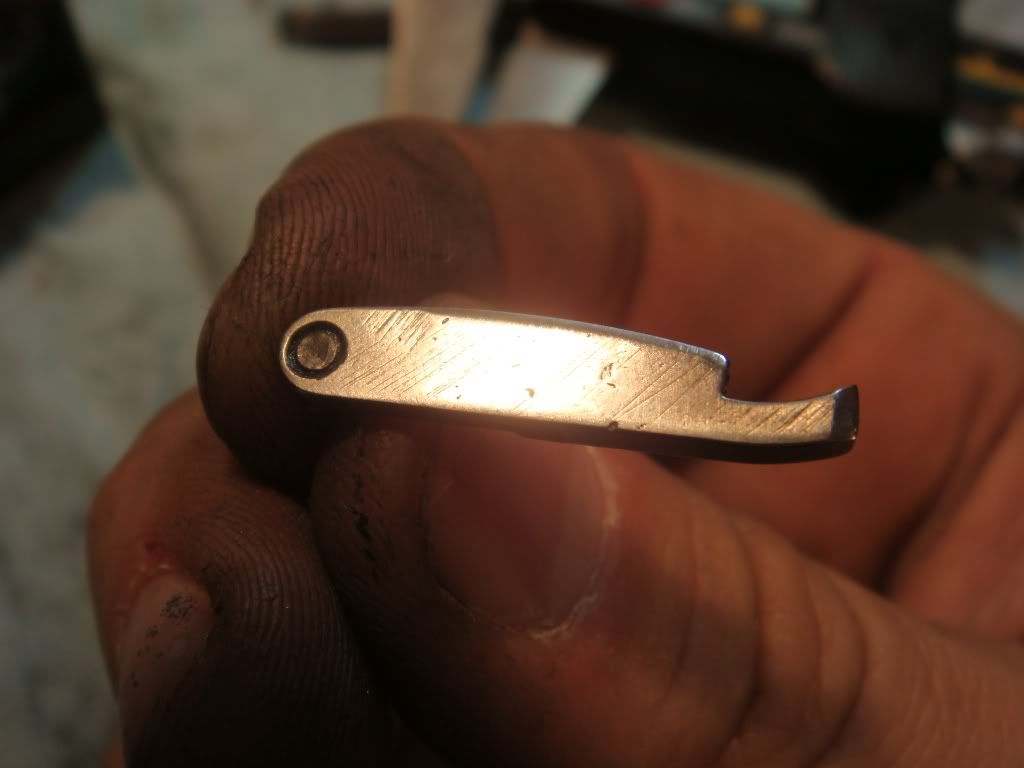
Using both the sandpaper, an arkansas stone for the rebound groove, and finally semichrome we wind up with:
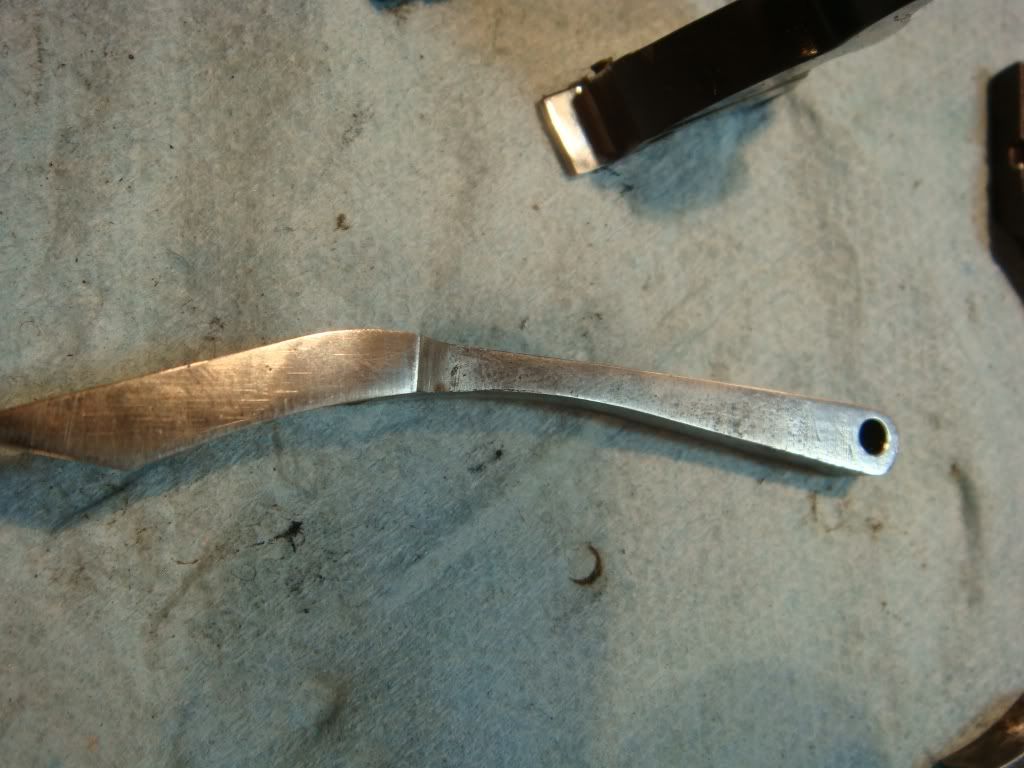
There is a slight bevel on the leading edge of the hand, but it's hard to see for some reason.
Now we do the outside, putting it in the vise:
Producing this:
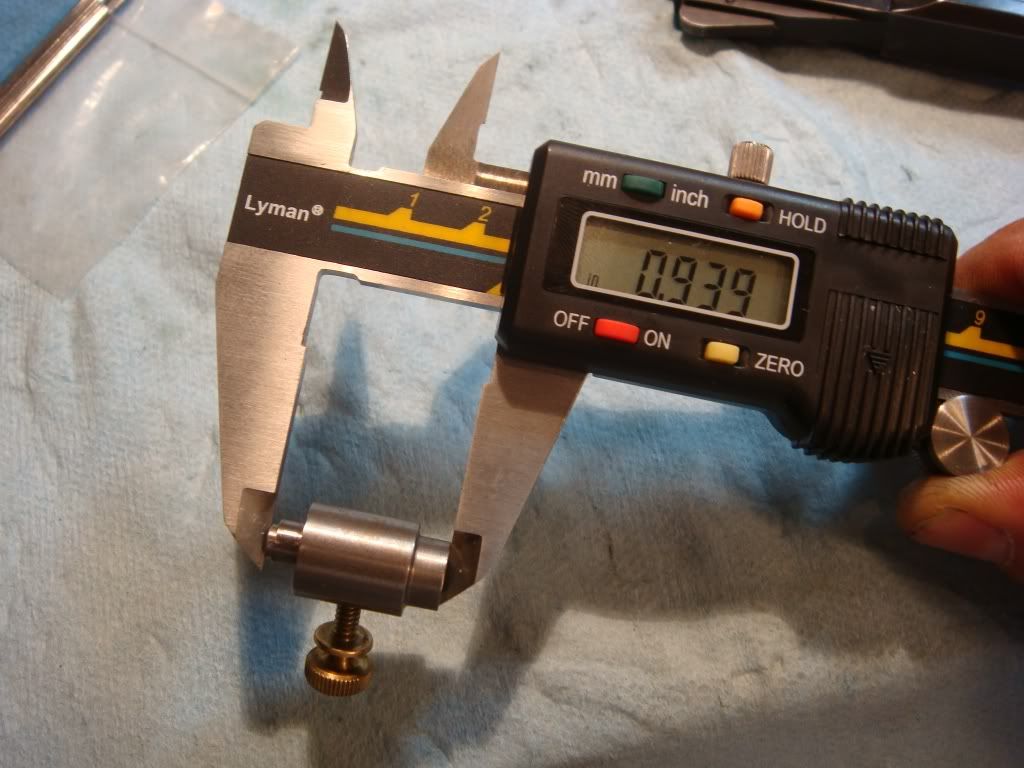
We've lost a .001th of an inch, which isn't bad:
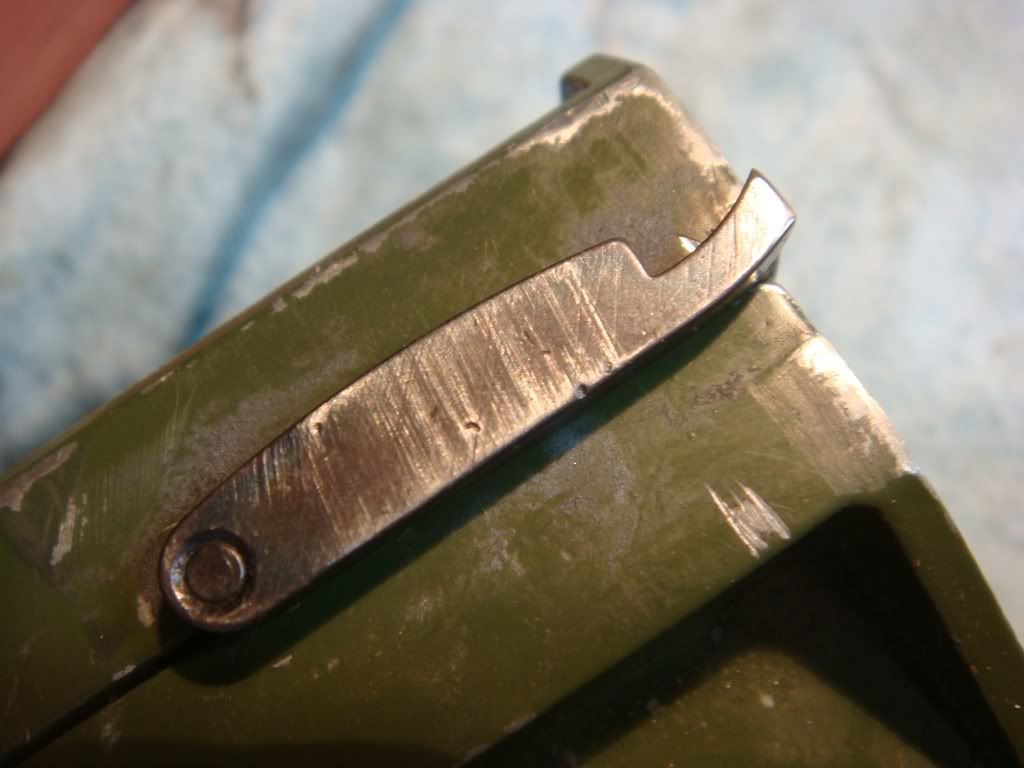
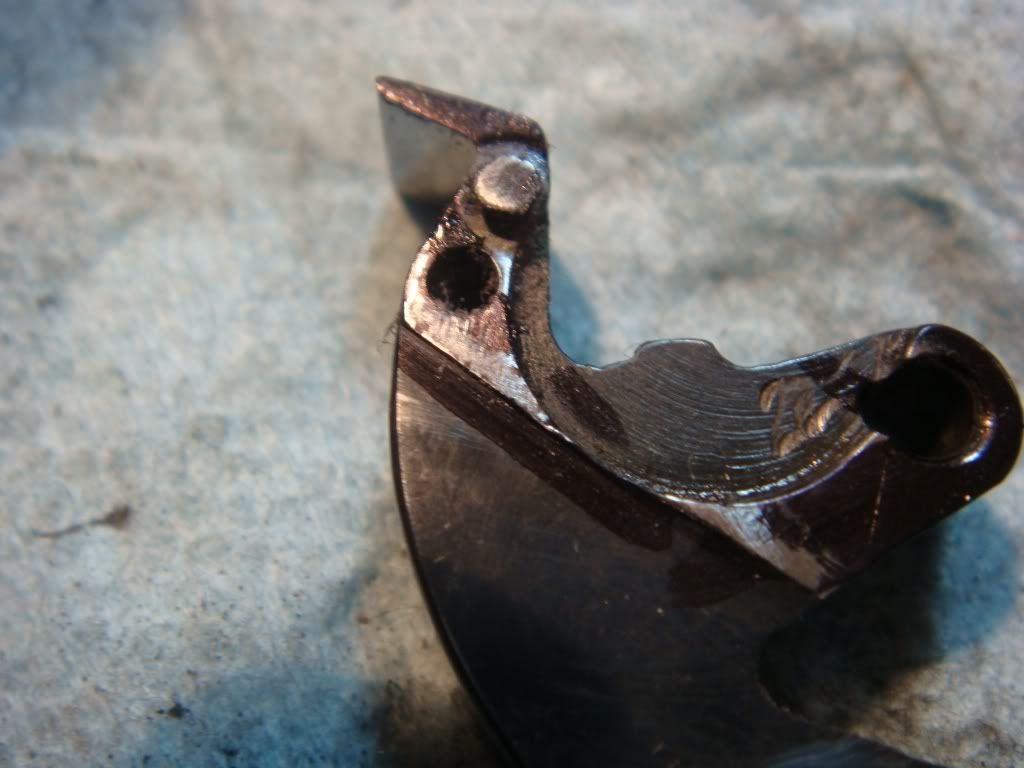
We now polish the leading edge of the hand, getting this:
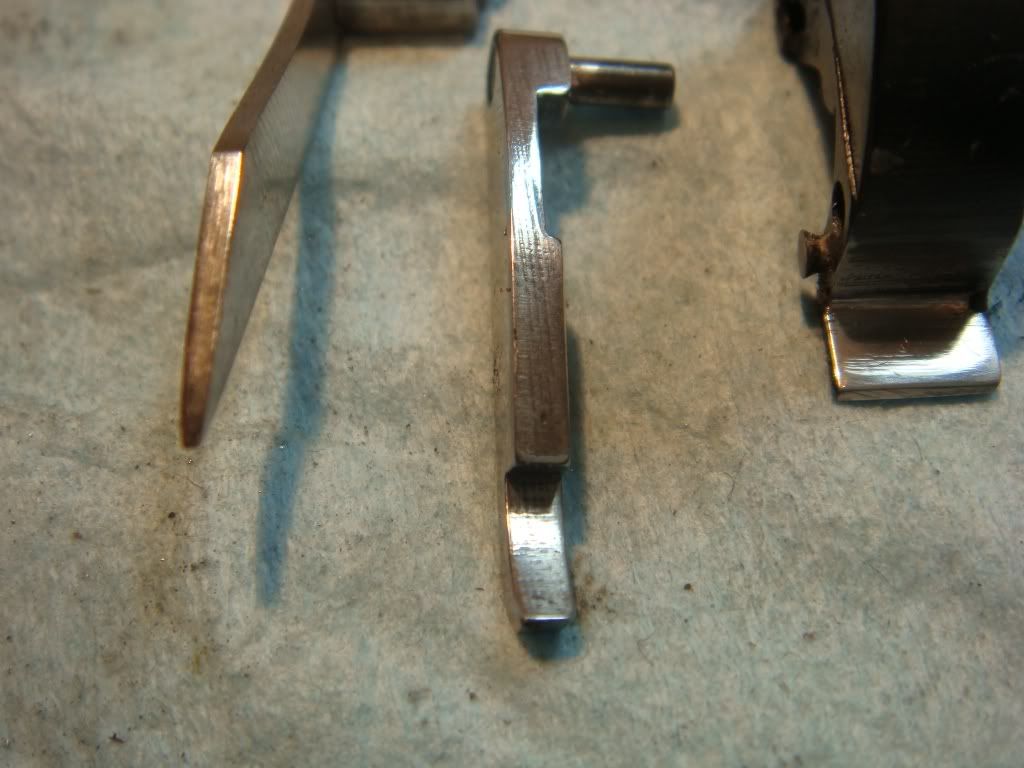
We now polish the top and bottom of the trigger sear:
Note that while there are still marks on the top of the sear I didn't want to remove the amount of material needed to get rid of them. If you drag a fingernail across them you can't feel anything so it's fine that they are there.
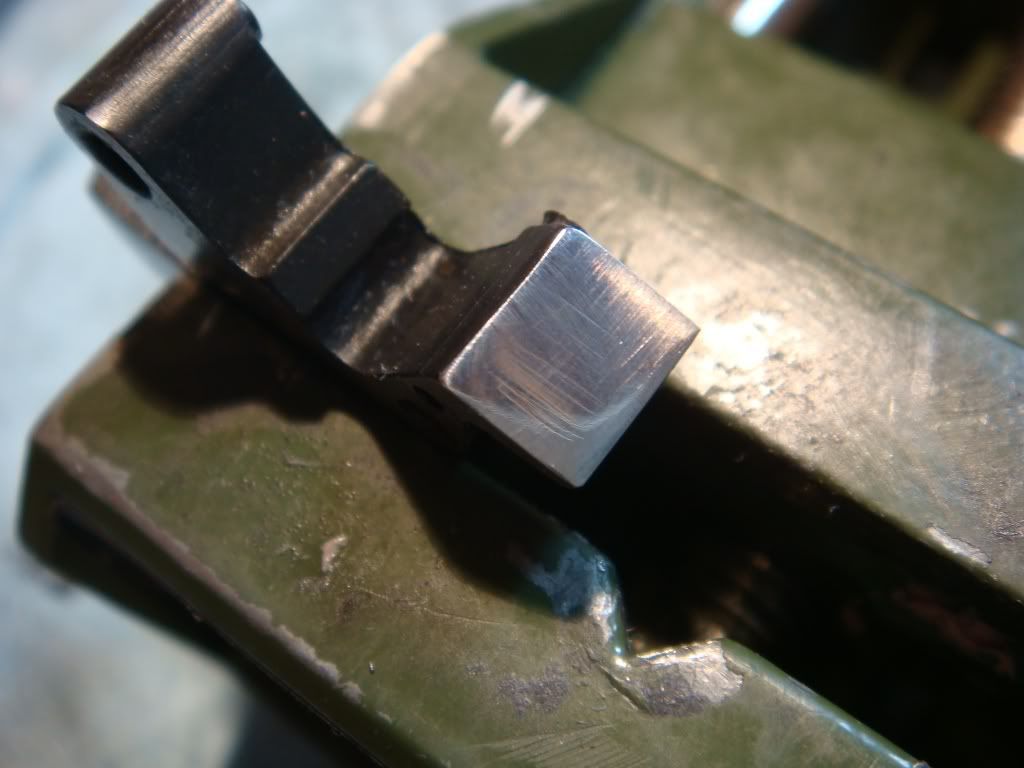
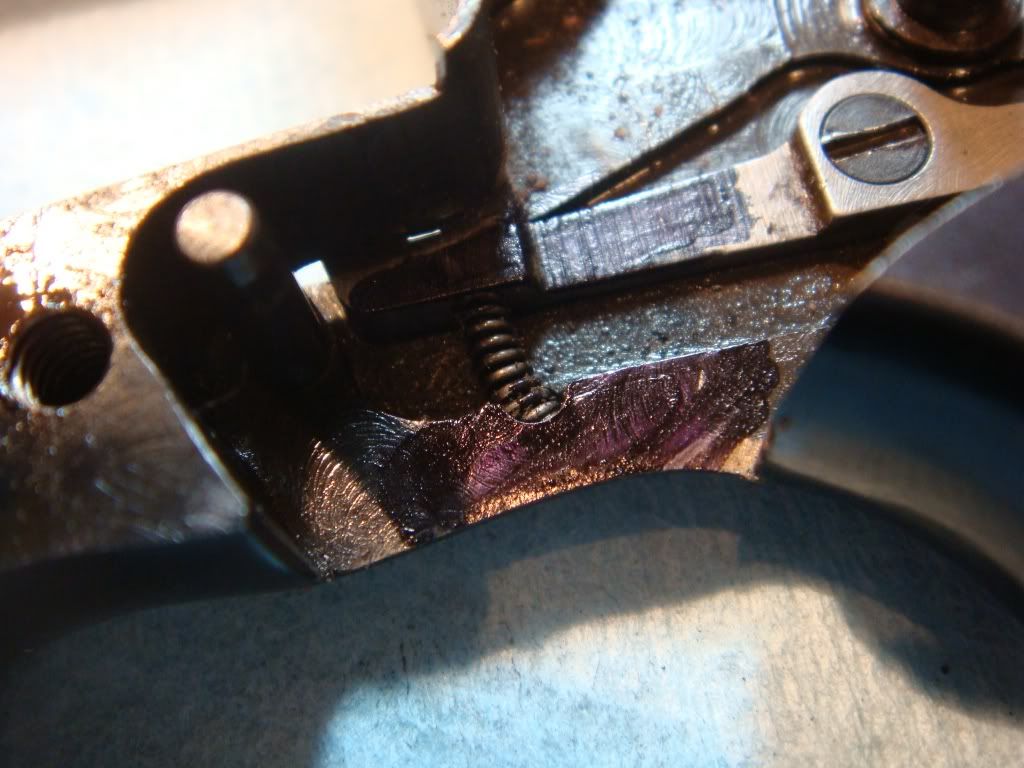
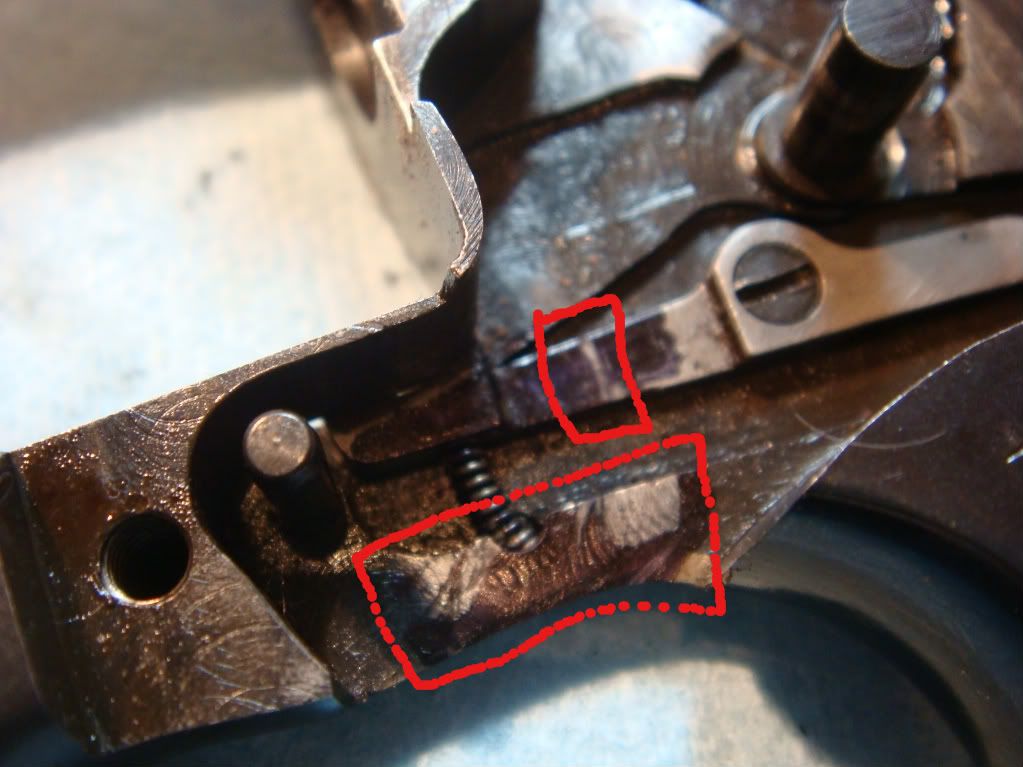
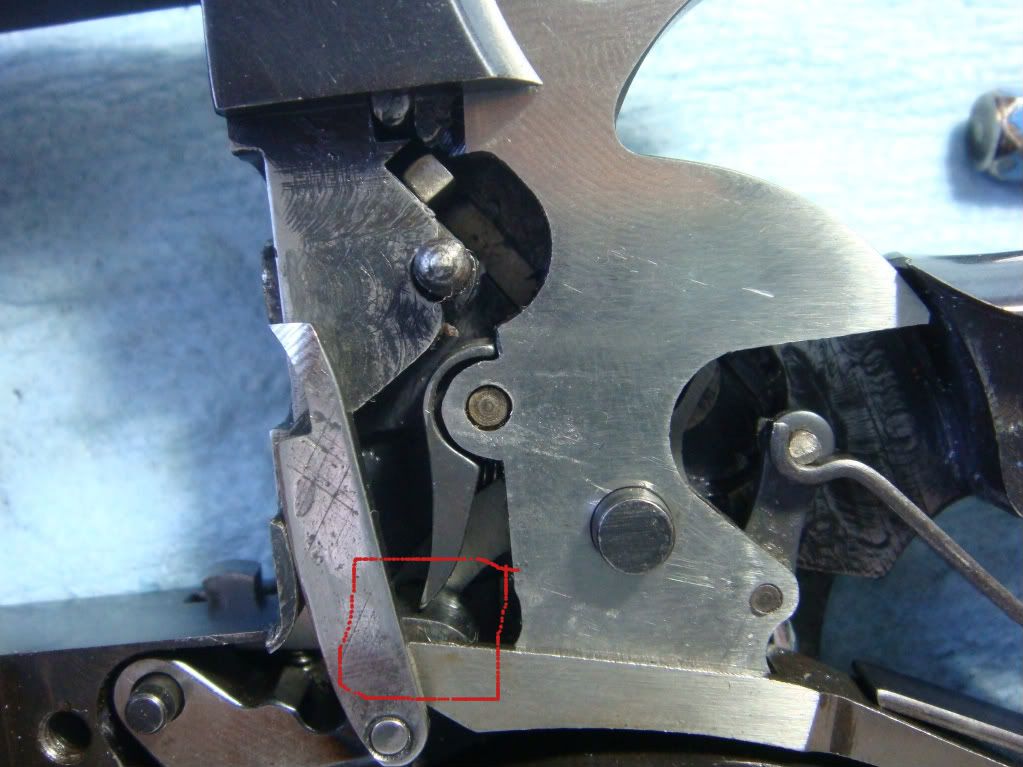
We now polish the inside and outside of the rebound blade as well as the area around where the pin goes in, and finally make sure the cam is smooth. Here's the outside view when we are done:
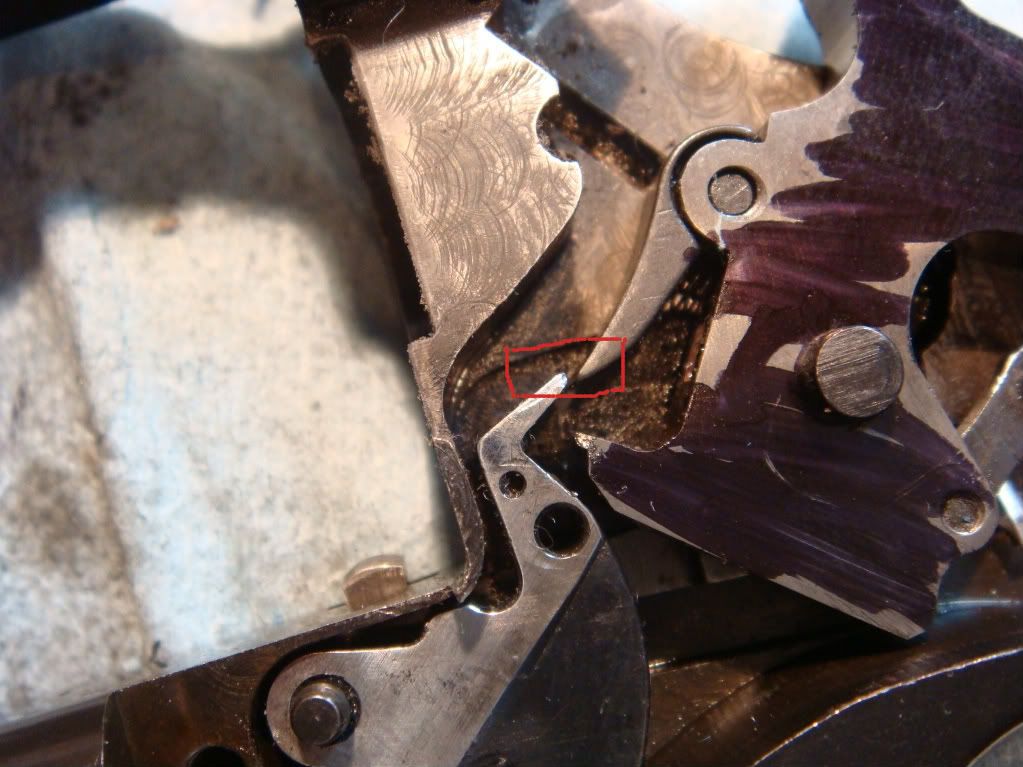
These are crucial edges to make sure smooth:
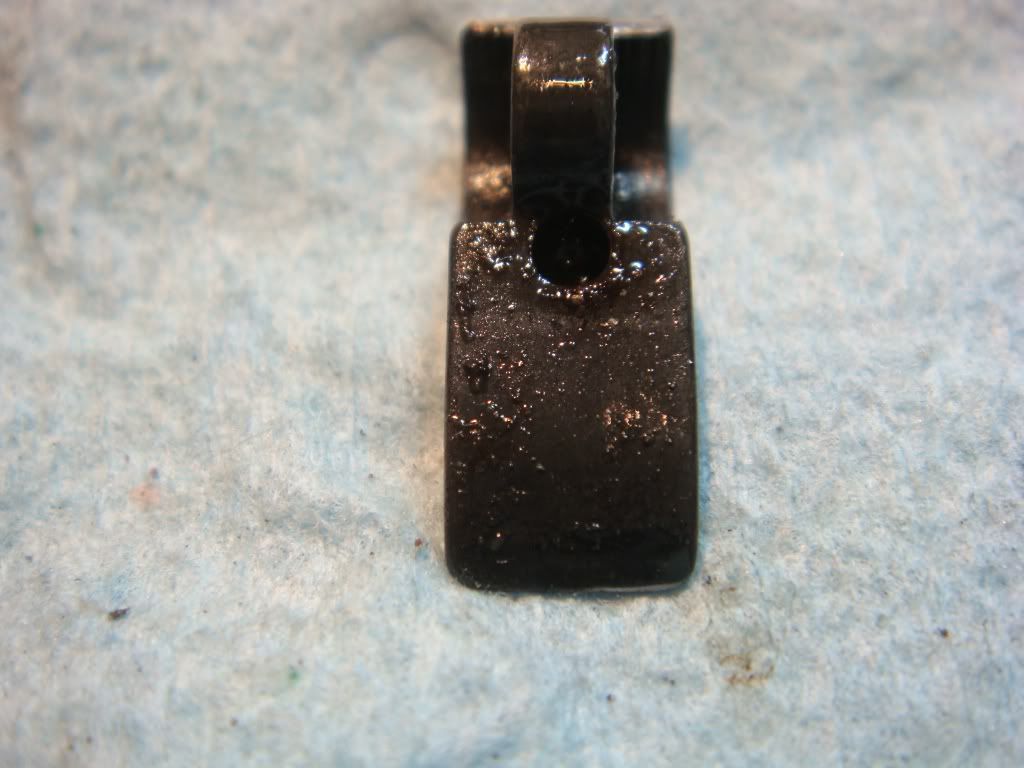
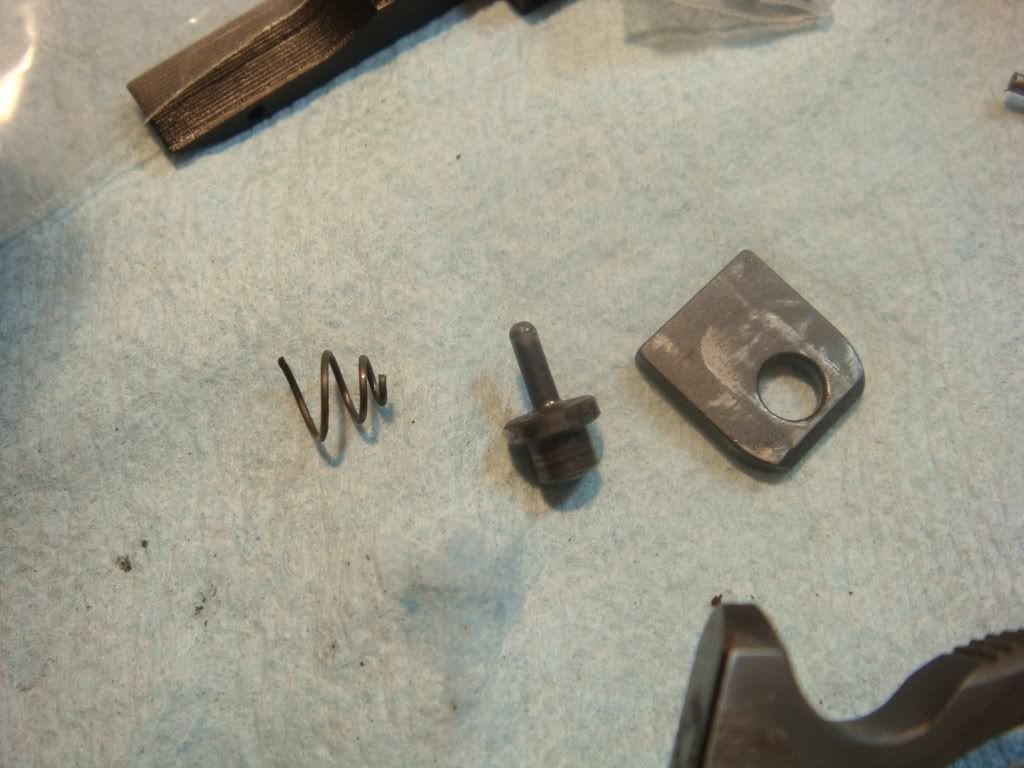
We will now polish the hammer strut (this is the part that is going to be in contact with the sear under high pressure so is crucial for smooth feeling).
Since the strut will be removed from the hammer, we also check that the strut letout is correct. (We should have done this during Part I.)
This is the method I was shown by Frank Glenn. First cock the hammer (with the rebound and spring removed):
Now pull the trigger out til it just *barely* clears the hammer :
Hold the trigger in this position and lower the hammer til the hammer strut is as close to the sear as it can get. Ideally it should be *almost* touching. If it does touch you can get "bumps" when the hammer falls and hits the sear. If it's too far, the hammer will drop at different points in SA and DA mode, totally screwing up your timing.
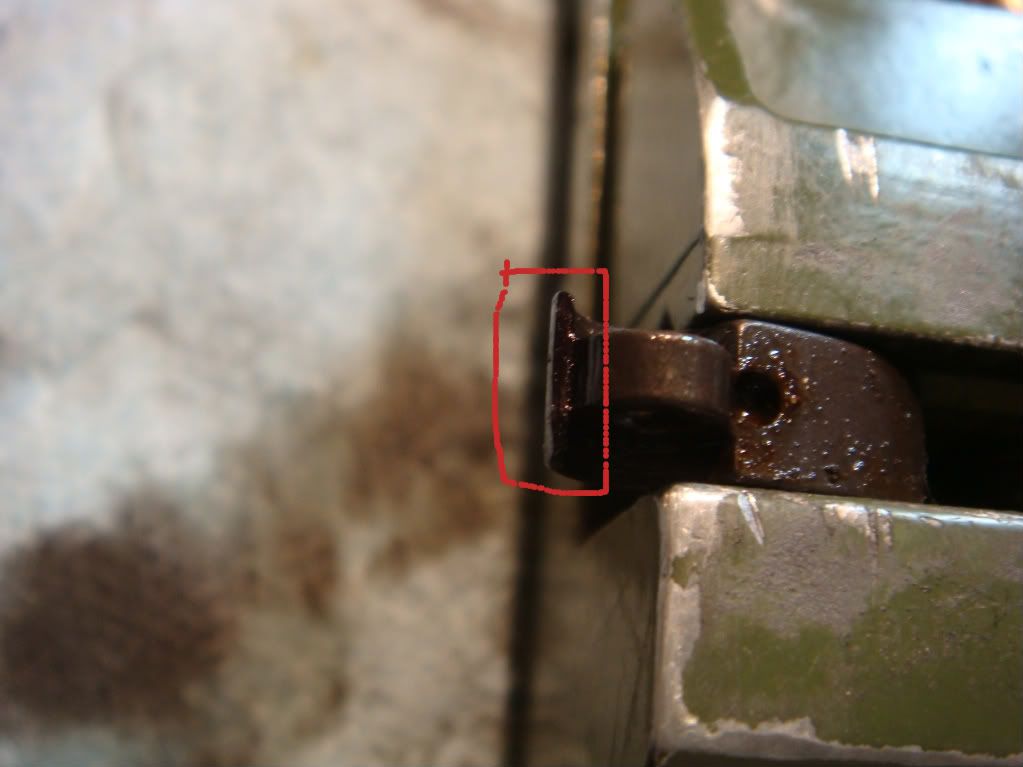
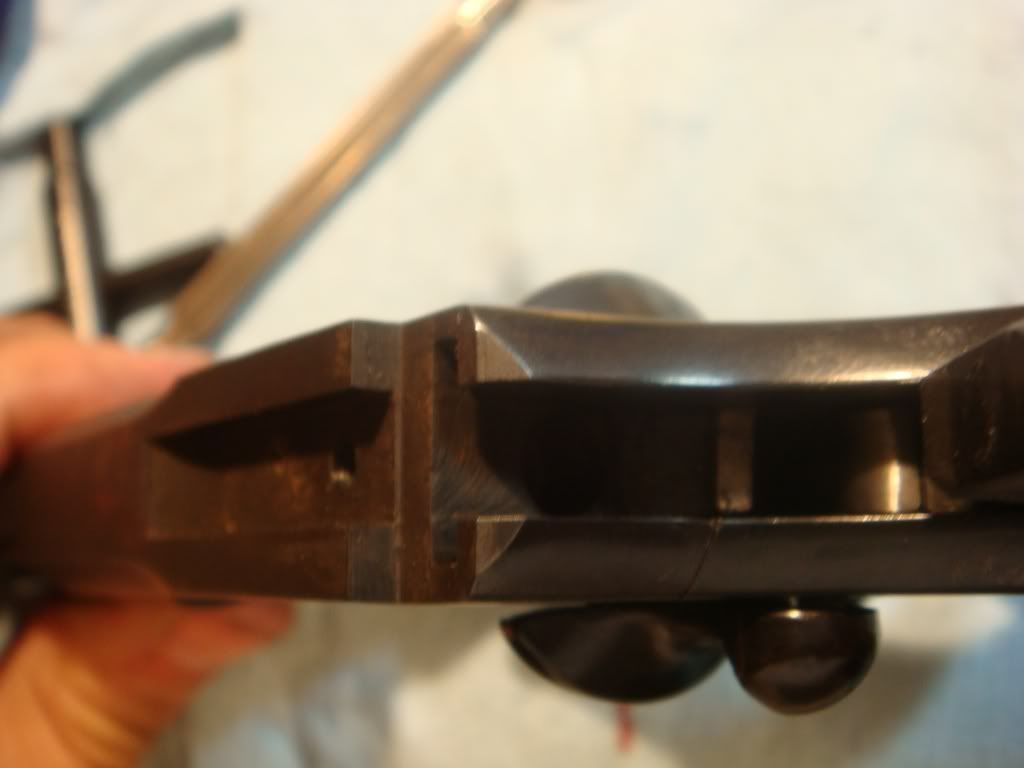
In our case, there is a significant gap:
We'll fix that by filing material off the back of the hammer strut so it points out farther.
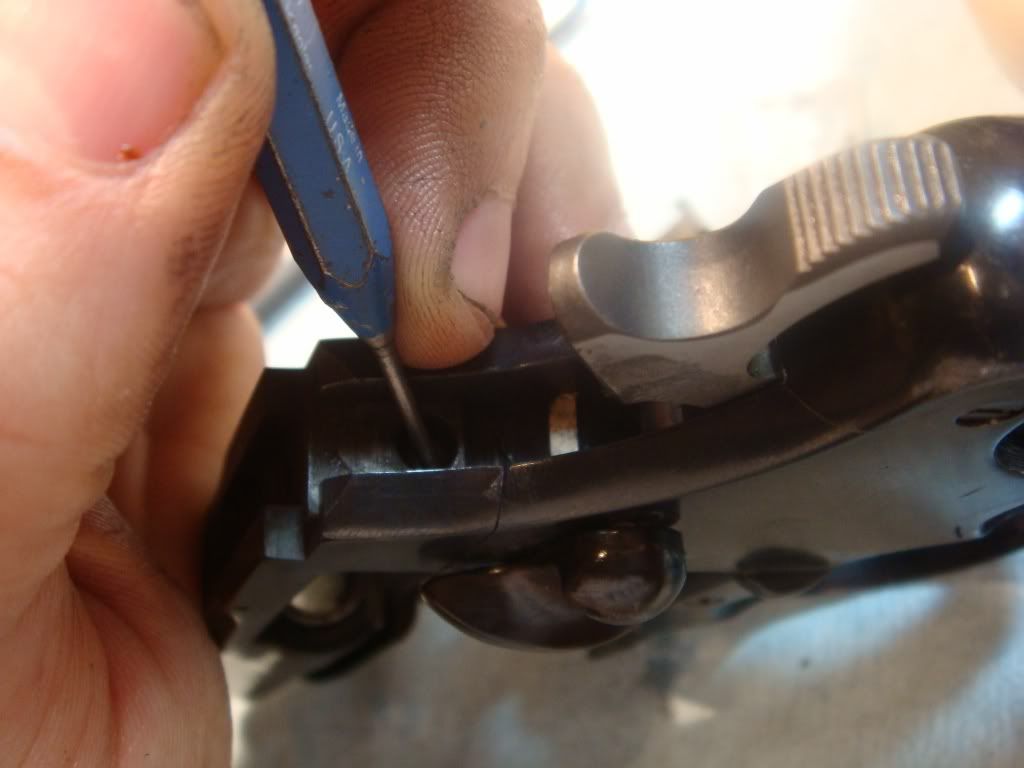
First we knock the pin holding the strut most (but not all) of the way out using Frank's little tool:
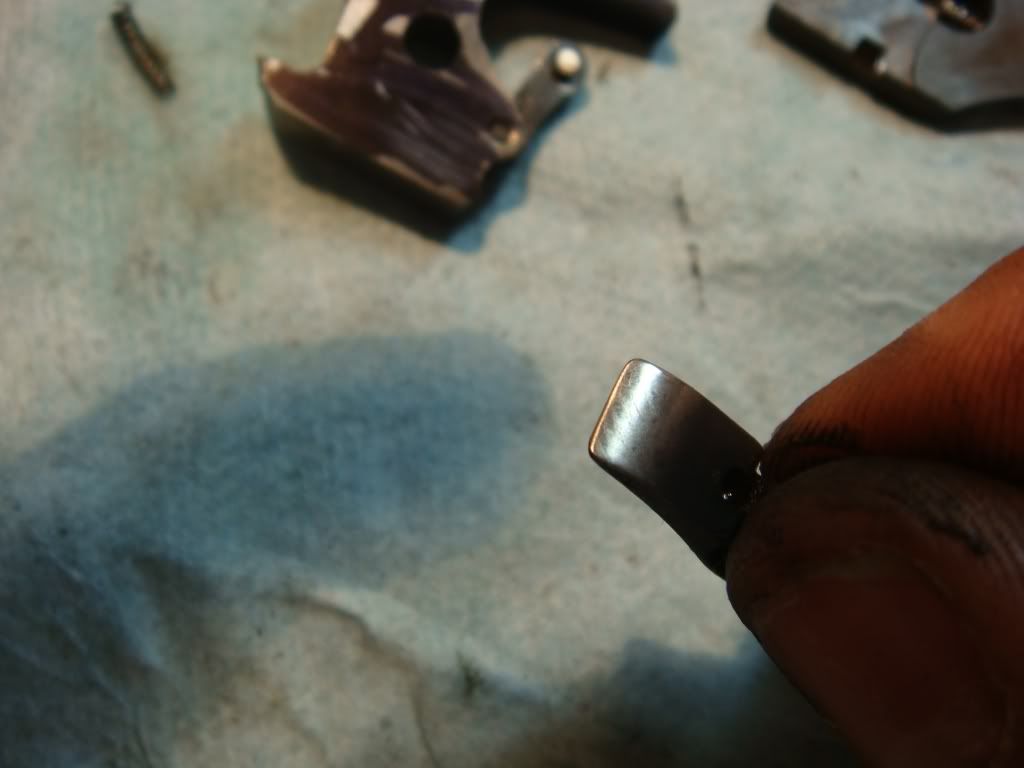
We now do the first easy task: polish the strut. Our initial view: not pretty:
After polishing:
We also polish the most of the front: this is the surface the trigger sear drags down during reset so it can be annoying if it isn't smooth.
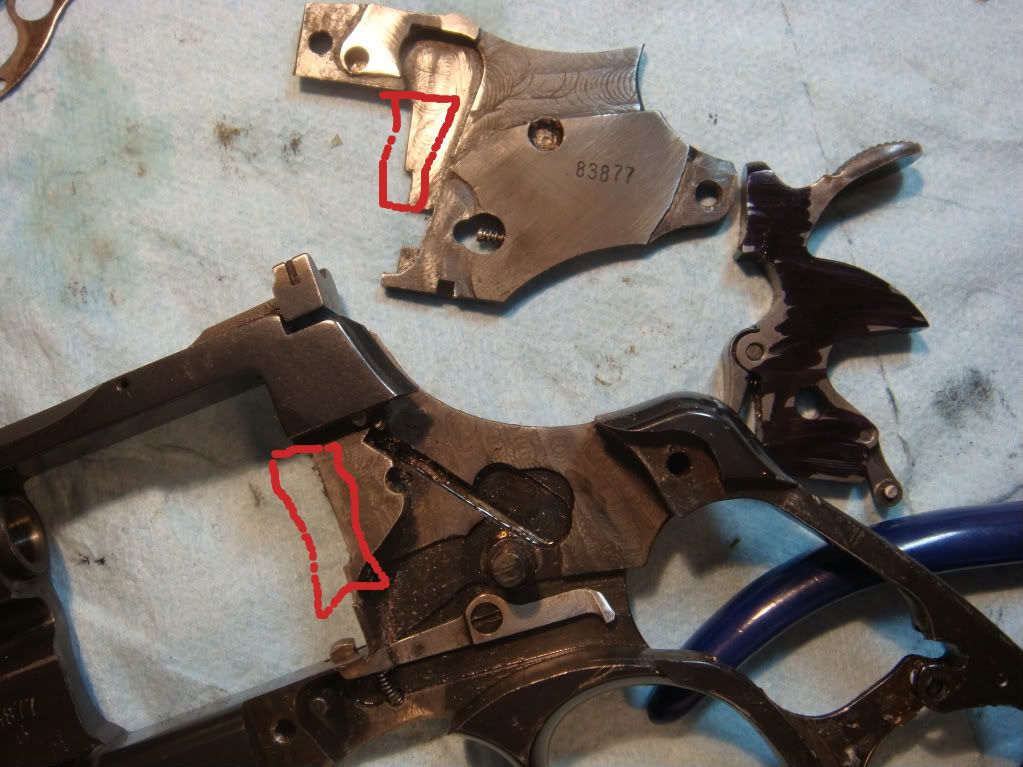
Now that the strut is cleaned up, we make it point out farther so it's closer to the sear near the SA release point. In the vise, mark with a sharpie so we don't remove too much, and so we don't do it unevenly.
Apparently I didn't take a photo, so you'll have to believe my wild assertion that we got the letout under control and that the strut went back on the hammer.
We now polish the inside of the frame, both the sideplate and the frame itself. Again *DON'T REMOVE METAL!* This is just a slight polish and deburring. Note the slight bevel on the edges where where the hand will be moving:
Now we try to smooth out the trigger a bit since even when it's by itself it feels really rough. First polish out the trigger pin hole (suggested to me by a reputable gunsmith):
This makes a nice difference. Now we sharpie up everything that could be causing an issue (bolt, frame, hammer) to see where the ink gets rubbed off as we rotate the trigger up and down. Before:
After. The drag marks leap out:
We file some off the trigger skirt and a bit off the safety pin:
Additionally we smooth the frame near the trigger window a bit (not shown).
Now we leap forward likely too fast, apply a sharpie to *everything* that moves:

Reassemble the revolver, dry fire a bunch, take apart. Anything with ink worn off shows where to polish. Here's the big view of the left:
And the other side of the hammer and hand:

We polish the hammer (though not near the hole since that would (I believe) let it still contact the sideplate.
At this point we do major surgery and install a curved sear trigger to eliminate stacking and cut a couple of pounds off the pull. I won't show it since it's basically what we did in the previous post on the bull barrel python. Here' the trigger in the gun. Notice the sear is curved and that the hammer toe has a groove cut out:
In this case, since it's an old gun, I removed the original trigger and hammer and put them in a bag with the other parts we've removed. This curved trigger was a used one, and the hammer is a non-target hammer. It makes more sense for a carry gun and, perhaps latter it's going to get bobbed, so I really don't want to ruin a target hammer for that.
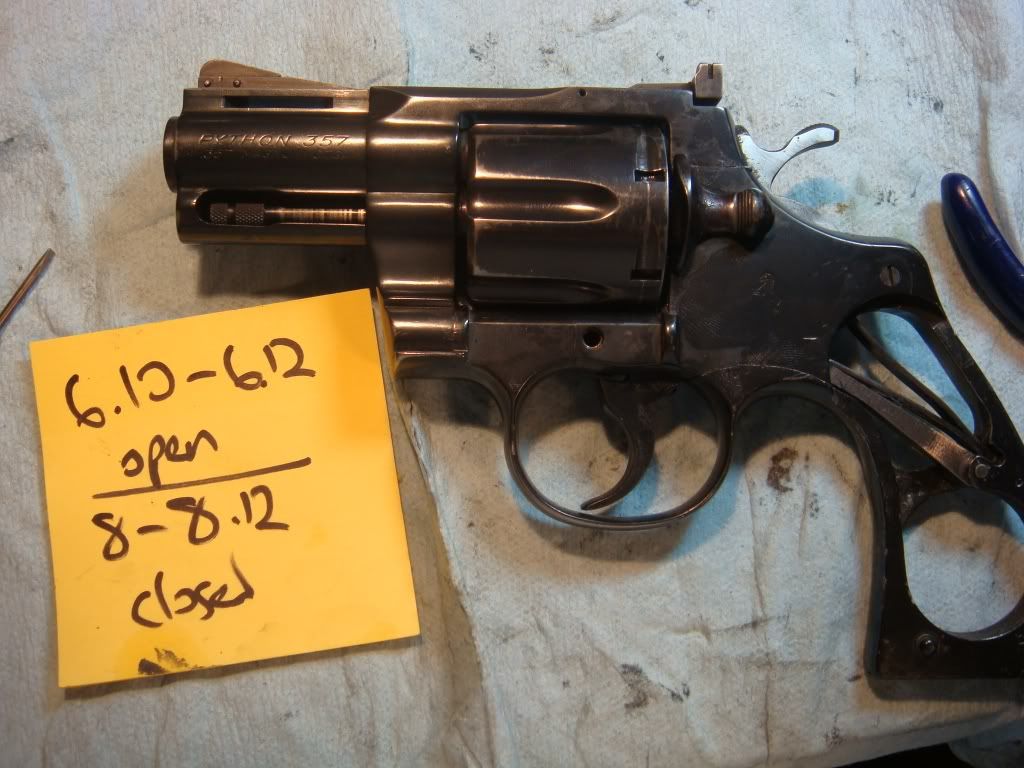
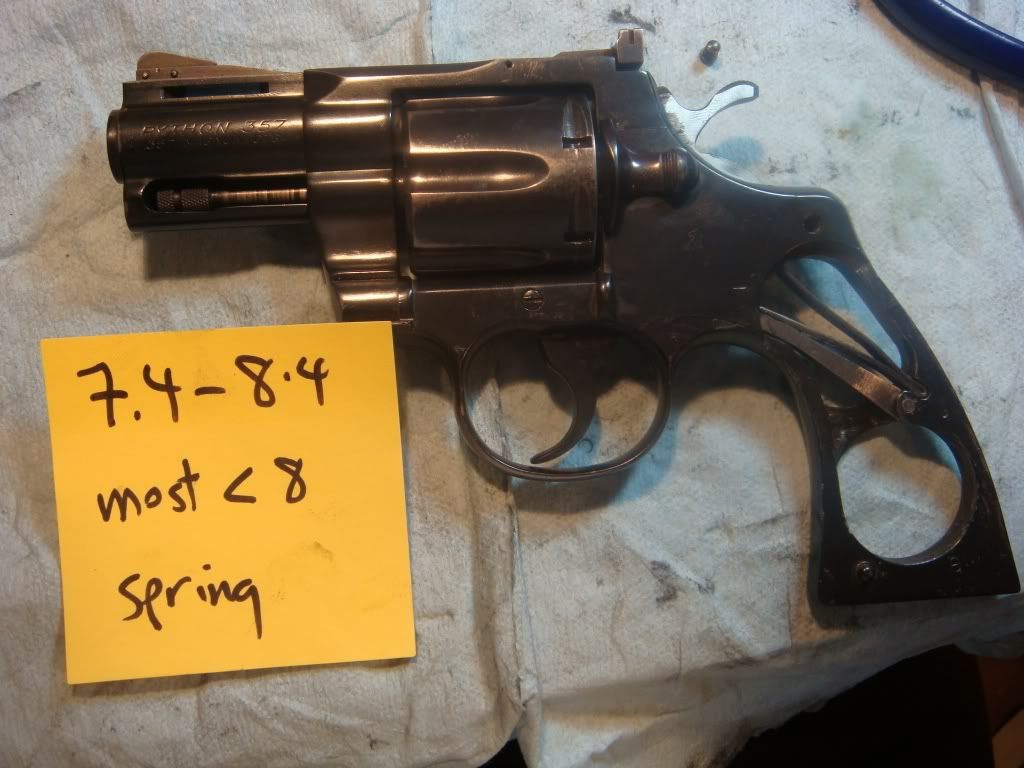
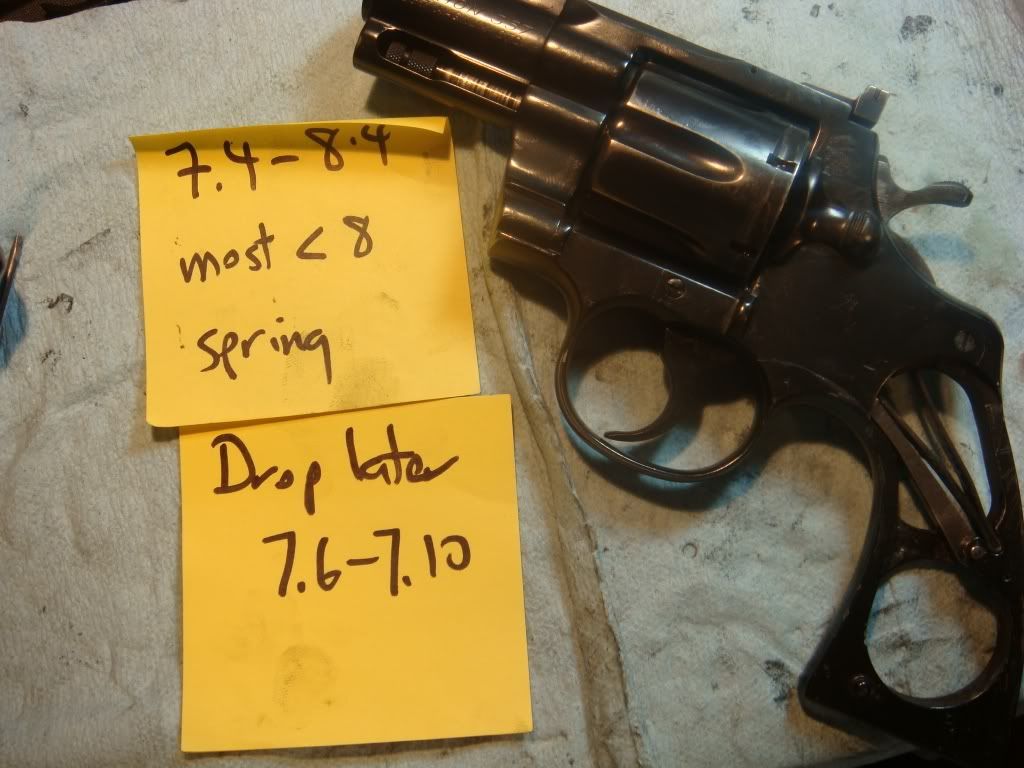
In any case we now clean all the parts to get rid of the various abrasives and put brownells action lube on everything and then measure the pull both with the cylinder closed and opened:
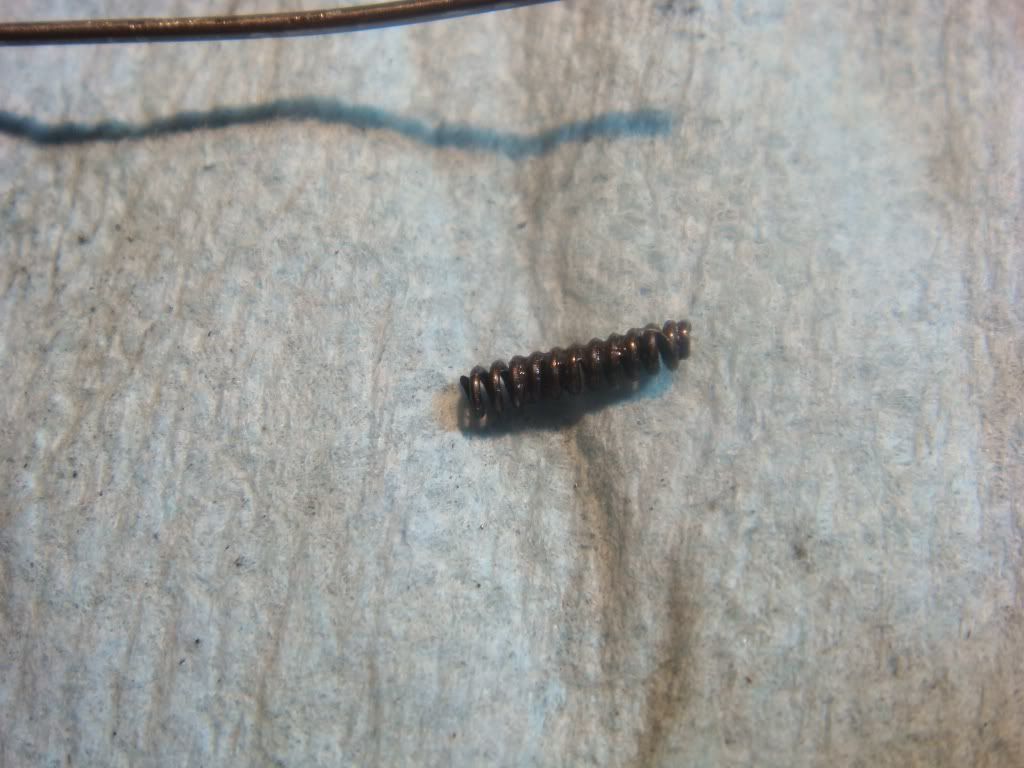
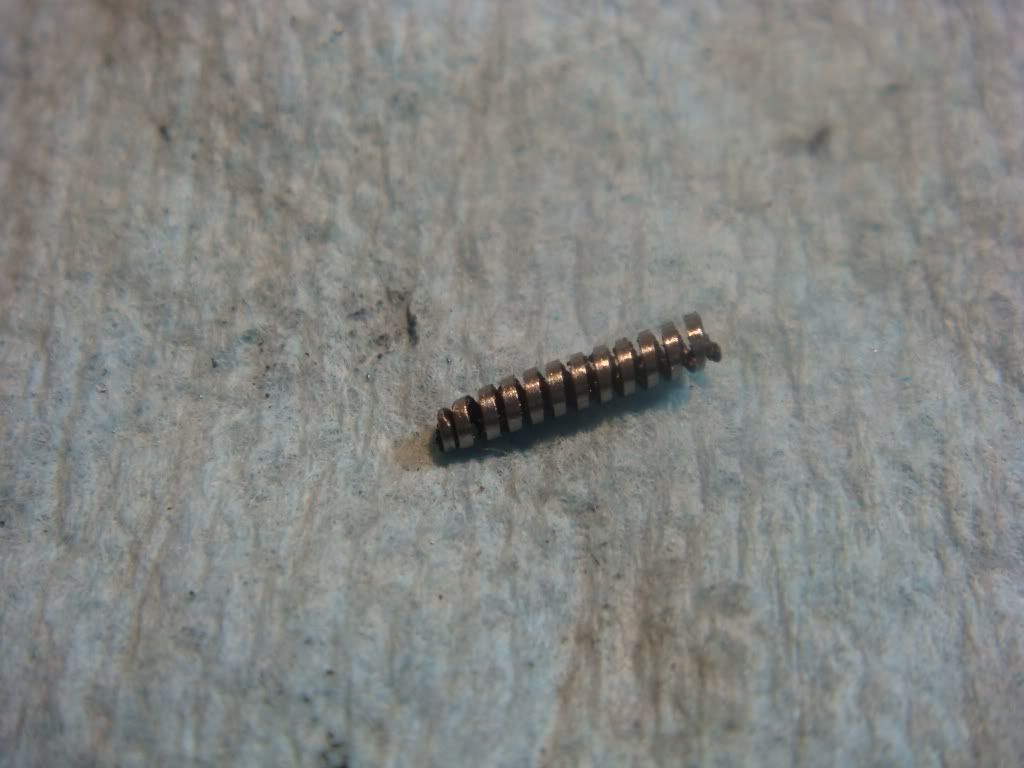
There's a nontrivial drop in pull with the cylinder open. The cylinder closed is another story. Very gritty. The culprit here is partly the ridges in the cylinder groove, which we can't fix now. The other is that the bolt spring is stock. So we use a trick used at the colt shop: file the outside of the bolt spring to weaken it. (Frank was taught it and told me about it though he uses a different approach; Dfariswheel also mentioned it.)
Here's the spring initially:
And after it gets filed:
Looks like it produced about an 8oz drop!
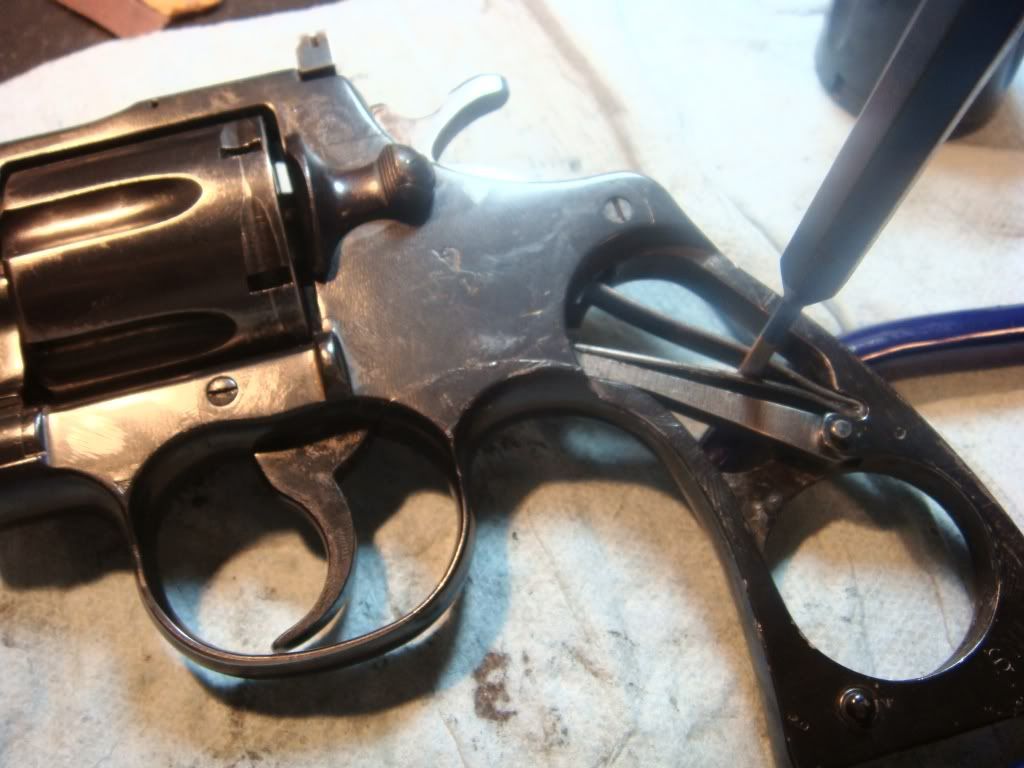
Of course there is a high variance. Partly this is because the bolt is dropping early, so is dragging over more of the notch. We make the bolt drop slightly later than 1/2 of the cylinder groove making another non-trivial improvement.
Finally, we modify the mainspring. The old school way is to put a pin in the notch and cock a couple of times:
We basically do that and wind up with:
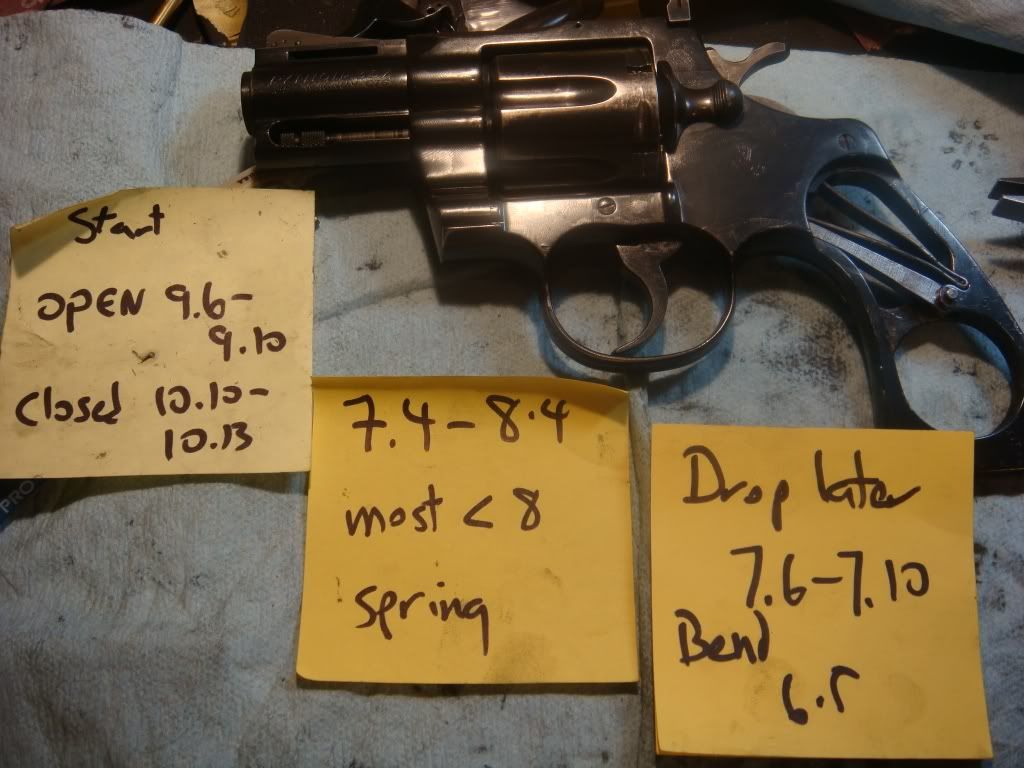
Not bad at all: there is essentially no variance in the DA pull of 6lb8oz. Now, of course merely making it that light doesn't tell us anything: you can make it 0oz but you won't get any ignition. However, note that most of the improvement did not touch the mainspring.
Given that we are right on the edge of weight, I want to make sure that the trigger pin is long enough. And replace the sight with a kensight, which is identical to the old elliasons, which I find much more accurate for long range (yeah, I know, don't make no sense for a snubby...).
Measuring the firing pin potrusion. We measure the gauge as it is normally:
Then push it against the potruding pin:
Then measure the difference:
Definitely on the low end. So we replace the pin with a longer one.
About to take out the sight:
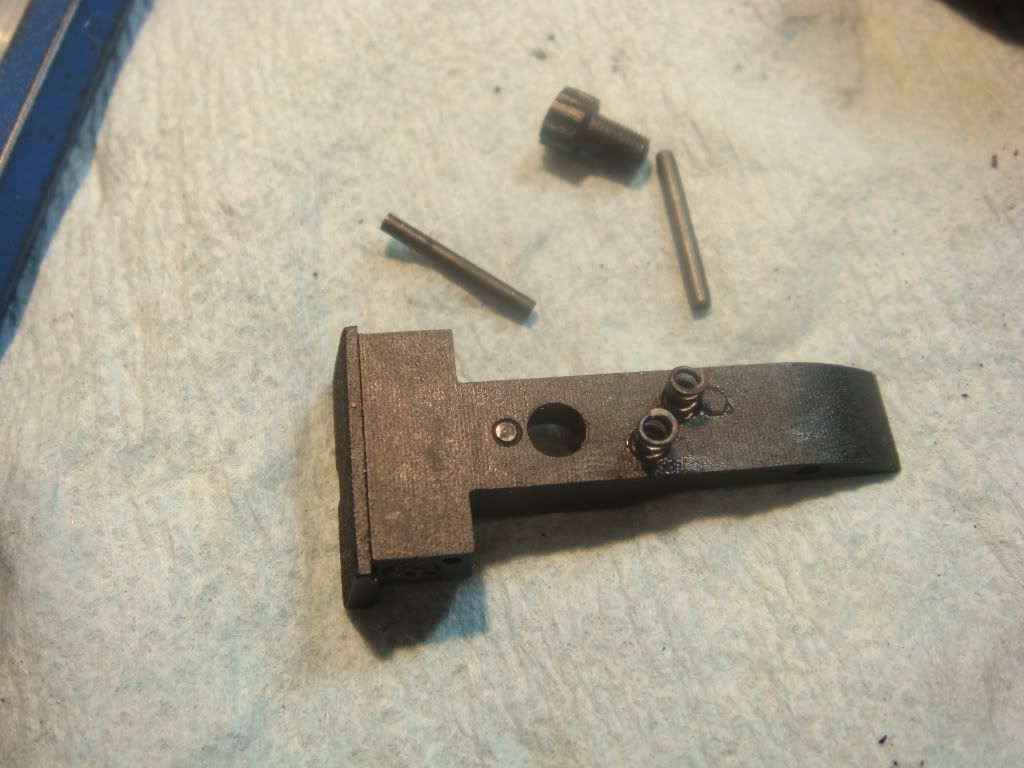
Removing firing pin plate:
Firing pin, plate and spring:
And here's the bare frame:
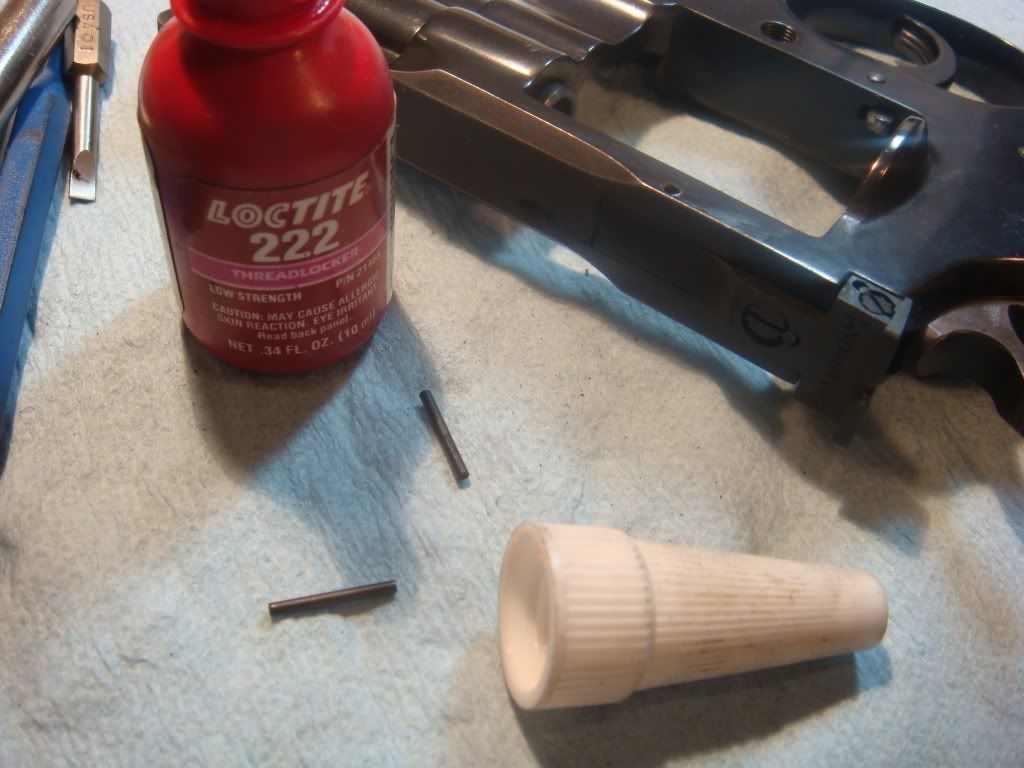
Sight:
I use locktite on the pin:
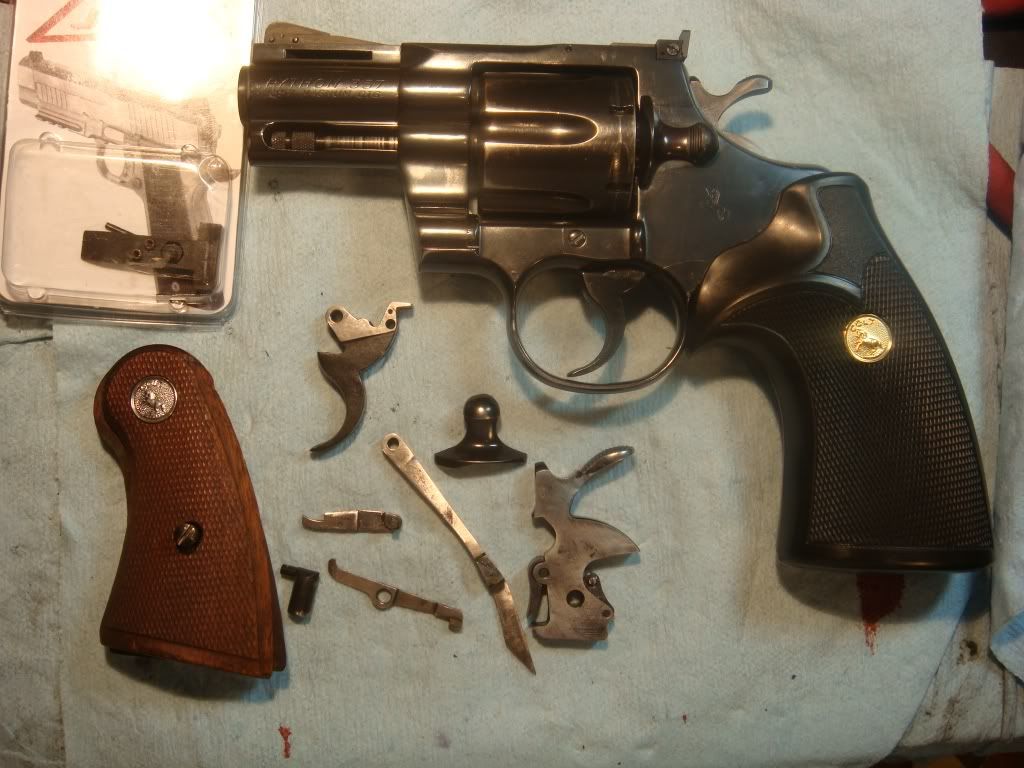
And there you have it. Here's the fixed and tuned revolver. Note all the original parts we've saved. I didn't change any original part; just replaced them with take offs. That way we always have the original set, just in case someone gets all hell bent on having them with the gun. I like the look of the original non-original service grips but they are too small for my hands, at least for rapid fire with 357mag so we put on the larger rubber grips:
Hopefully after all of that the gun shoots much better. TBA!

DRE thanks for your time in creating this Blog. It is invaluable.
ReplyDeleteThank you! I would be wary about following my procedures. Amateurs like to talk alot but may not know what they are doing :)
ReplyDeleteDRE, Thank you very much! I did most of your recommendations and I was able to reduce from 13# to 7# in DA.
ReplyDeleteI sent my 4" Colt Python, on recommendation from COLT to Glenn Customs and got it back and DA miss fires so much I can't use it for anything but single action target shooting. Can I just swap out the main spring and bring it back to being USEFUL?
ReplyDelete